
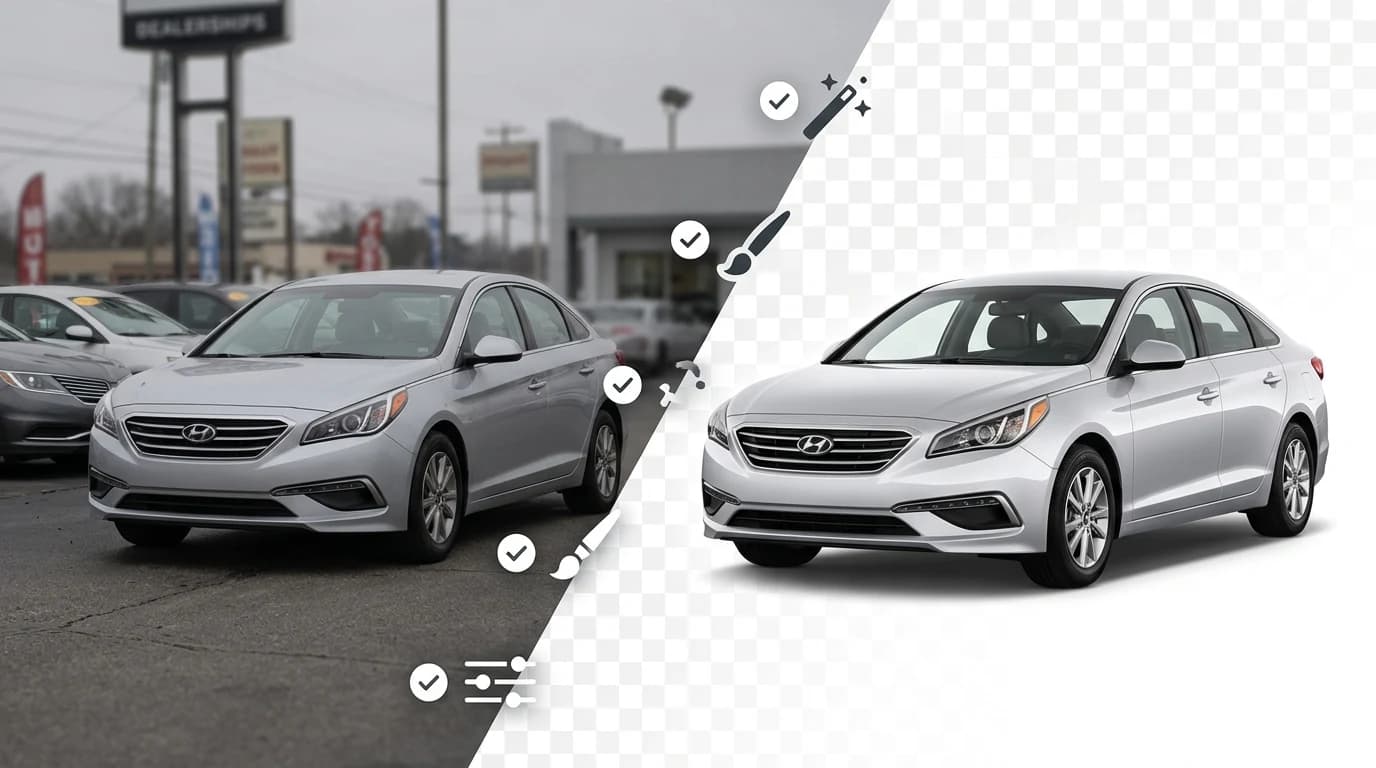
Transparent backgrounds have become essential for automotive dealerships and photographers competing in an increasingly visual digital marketplace. When a vehicle photo displays against a cluttered lot, distracting scenery, or inconsistent lighting, potential buyers struggle to focus on the asset itself—and your listing suffers in search rankings and click-through rates. A clean, transparent or professionally replaced background transforms ordinary lot shots into studio-quality assets that command attention across classified platforms, dealership websites, and social media feeds. This distinction directly impacts conversion rates: buyers spend more time engaging with polished imagery, and dealerships can showcase entire inventories with visual consistency without expensive studio rentals or reshoot logistics.
Quick Answer: The fastest way to create a transparent background for car photos is using AI-powered background removal tools that automatically detect vehicle edges and strip the background in seconds. You can then export the image with transparency (PNG format) or replace the background with professional studio options. Modern solutions handle this in a single click—no manual masking or design skills required.
This guide walks you through multiple methods to achieve transparent backgrounds, from free online tools to professional-grade solutions. You'll learn when transparency serves your needs best versus when a replacement background delivers better results, common pitfalls that compromise image quality, and how to integrate transparent backgrounds into your broader photo workflow. Whether you're managing a dealership catalog, listing vehicles on Turo, or building a photography portfolio, mastering this skill eliminates costly post-production bottlenecks. We'll also explore how platforms like Car Photo Booth streamline the entire process, allowing you to process dozens of images while maintaining studio-level consistency.
Table of Contents
- Understanding Transparent Backgrounds and PNG Format
- Manual Methods: Using Photoshop and GIMP to Remove Backgrounds
- Fast AI-Powered Solution: Automated Background Removal for Dealerships
- Turning Car Photos into Silhouettes and Creative Effects
- Best Practices for Exporting Transparent Images and Maintaining Quality
- Choosing the Right Transparent Background Method for Your Business
Understanding Transparent Backgrounds and PNG Format
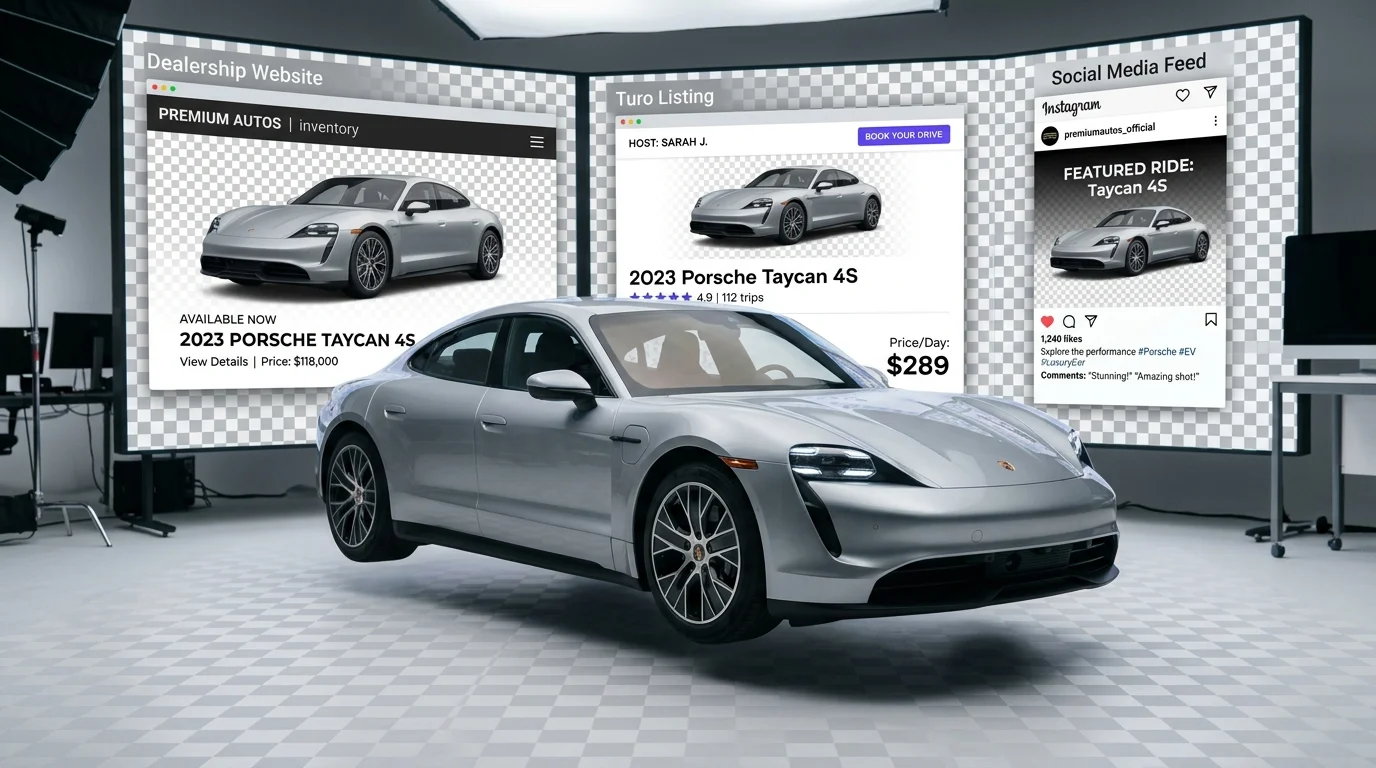
A transparent background is an absence of color data in specific areas of an image, allowing whatever sits behind it—whether a website, design mockup, or printed material—to show through. This differs fundamentally from a solid-colored background like white or gray. In automotive photography, transparency enables flexibility: the same vehicle image can be placed over showroom settings, outdoor landscapes, or minimalist studio backdrops without re-shooting or manual masking.
The technical distinction between opacity and transparency matters here. Opacity measures how solid or see-through a pixel is, on a scale from 0% (fully transparent) to 100% (fully opaque). PNG format preserves this transparency data through an alpha channel—a fourth layer of information beyond the standard red, green, and blue color channels. JPEG files cannot store transparency; they compress images by discarding this alpha data, forcing a solid background color instead. A photograph saved as PNG can be 3–10× larger than the same image at JPEG 85% quality, but according to data from the Data Conversion Center, PNG files support transparent backgrounds while JPEGs do not.
For dealerships and Turo hosts managing multiple listings, this distinction is critical. When you export a vehicle image with a clear background in PNG format, you maintain complete flexibility to apply different backdrops across platforms—professional showroom settings for your website, lifestyle scenes for marketplace listings, or pure transparency for catalog integration. This adaptability eliminates the need to re-process the same vehicle photo multiple times for different channels.
Manual Methods: Using Photoshop and GIMP to Remove Backgrounds
For dealerships and photographers who prefer direct control over the editing process, desktop software offers precision that automated tools cannot always match. Adobe Photoshop and GIMP (the free alternative) both provide selection and deletion capabilities designed for this exact task, though they require manual effort and skill development.
Adobe Photoshop: The Professional Standard
Photoshop's selection tools—particularly the Quick Selection Tool and the Refine Edge feature—allow you to isolate vehicle edges with surgical precision. Start by opening your car photo and selecting the Quick Selection Tool from the toolbar. Click and drag across the background you want to remove; Photoshop intelligently detects color and contrast boundaries. For automotive photos, this works well on clean lot backgrounds or studio settings, but struggles with reflections on the car's surface or complex lighting.
Once your background is selected, refine the edges by going to Select > Refine Edge. This opens a dialog where you can adjust feathering (softness of the selection border) and shift edges inward or outward. For vehicles with metallic paint or glass, increase feathering to 2–4 pixels to avoid harsh halos. After refinement, delete the background by pressing Delete or Edit > Clear, then ensure your layer has an alpha channel (Layer > Transparency > Add Layer Mask. Finally, export as PNG to preserve transparency: File > Export As, select PNG format, and confirm transparency settings.
The process typically takes 15–30 minutes per vehicle when handling reflections and fine details, making it difficult to scale for high-volume dealerships managing dozens of listings weekly.
GIMP: The Free Alternative
GIMP replicates Photoshop's core functionality without the subscription cost. Open your image and select the Free Select Tool (lasso) or the Fuzzy Select Tool (magic wand) to outline the background. For cleaner results with vehicles, use Select > By Color Tool, then click the background to select all similar tones. Adjust the Threshold slider to control how aggressively GIMP selects neighboring colors—start at 15 and increase if needed.
Once selected, delete the background via Edit > Clear. Before exporting, add an alpha channel if GIMP hasn't done so automatically: Layer > Transparency > Add Alpha Channel. Then export as PNG: File > Export As, choose PNG format, and confirm the transparency checkbox is enabled.
Practical Tips for Automotive Photos
Vehicle edges demand extra attention. Use the Zoom tool to magnify problem areas—windows, mirrors, and trim—and refine selections manually with the eraser tool set to a small brush size. For reflections on the hood or doors, consider keeping a subtle shadow or highlight rather than removing every trace; this maintains dimensional realism that pure white backgrounds can lose.
Both tools handle tire sidewalls and undercarriage details poorly if lighting is uneven. Shoot vehicles in consistent light or accept that you'll spend additional time cleaning up these zones with the clone or healing brush.
When Manual Editing Becomes Impractical
For dealerships processing 50+ vehicles monthly, manual background removal becomes a bottleneck. This is where AI-powered solutions like Car Photo Booth eliminate the time investment entirely—removing backgrounds and applying professional backdrops in 10 seconds per image, rather than 15–30 minutes. The trade-off is control versus speed; choose based on your volume and deadline constraints.
Fast AI-Powered Solution: Automated Background Removal for Dealerships
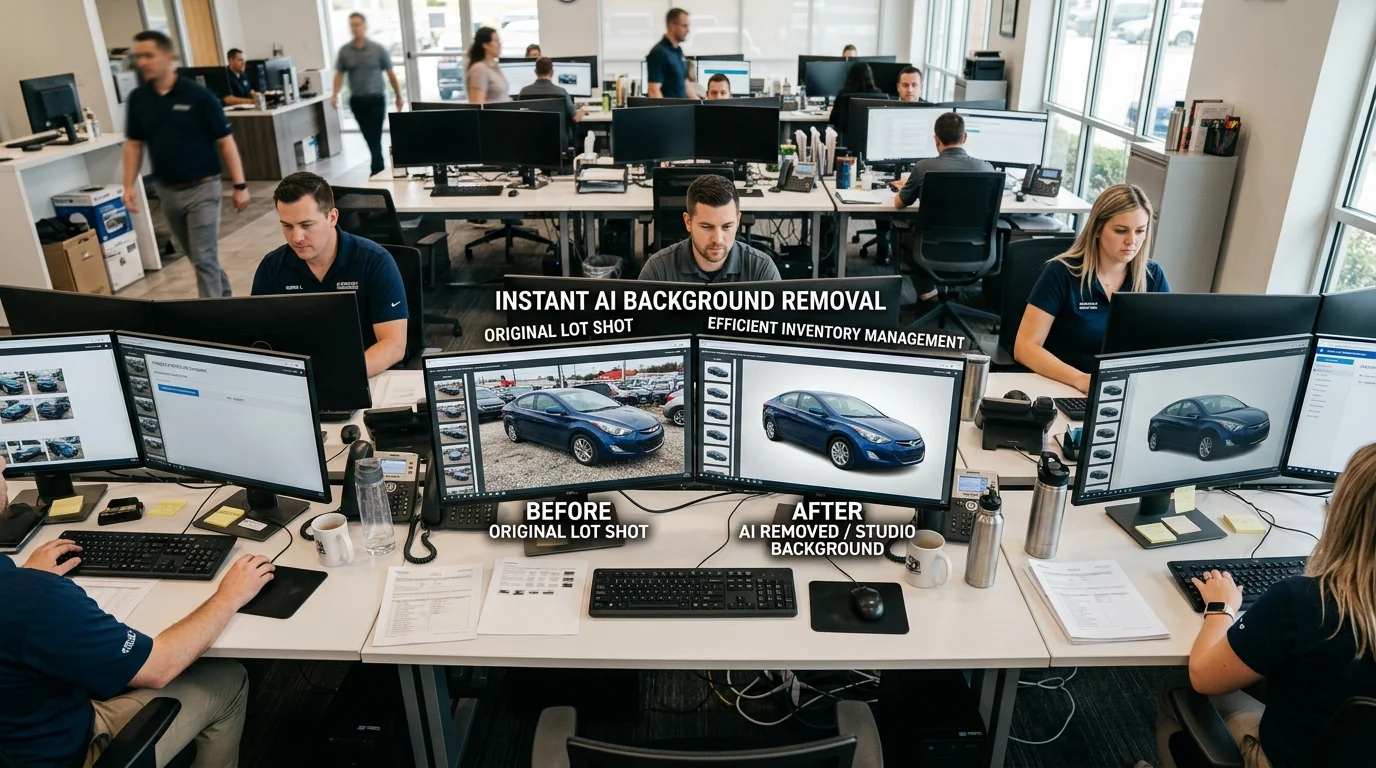
The shift from manual editing to AI-driven background removal represents a fundamental change in how dealerships approach inventory photography. Where Photoshop and GIMP demand hours of painstaking work per vehicle, artificial intelligence handles the entire process in seconds—transforming raw lot photos into polished, professional images ready for online listings.
The workflow is straightforward: upload a car photo, let the AI identify and remove the background, select from a library of professional backdrops, and export as a transparent PNG or composite image. No masking tools. No layer management. No expertise required. For dealerships processing 50 or more vehicles monthly, this efficiency gain translates directly to cost savings and faster inventory turnover. According to research on instant car background removal, dealerships using AI background removal report click-through rate increases of 18 to 35 percent on automotive marketplace platforms compared to listings with raw lot photography.
Consider the time investment alone. Manual background editing typically consumes 10 to 20 minutes per image when done properly—accounting for edge refinement, shadow cleanup, and quality control. AI-powered tools reduce that to under 30 seconds per vehicle. For a dealership adding 100 new listings monthly, that represents roughly 17 hours of labor reclaimed. At standard photographer rates, this alone justifies switching to automated solutions.
Car Photo Booth exemplifies this approach. The platform removes backgrounds and applies one of 100+ professional car backgrounds—showroom, white studio, outdoor scenes, urban settings—in a single automated pass. Users upload, select a backdrop, and download 4K-quality PNGs without touching a single adjustment slider. The consistency across your entire catalog becomes a secondary benefit; every vehicle receives identical lighting, backdrop quality, and professional treatment, eliminating the visual fragmentation that plagues dealership websites relying on mixed photography sources.
The trade-off is straightforward: you surrender granular control over every pixel in exchange for speed and scalability. AI occasionally struggles with complex reflections, translucent windows, or unusual vehicle angles. But for the majority of standard lot photography—the bread-and-butter inventory that fills your online catalogs—automation delivers results that rival studio sessions at a fraction of the cost and timeline.
Turning Car Photos into Silhouettes and Creative Effects
Silhouettes transform car photos into bold, graphic assets that stand out in promotional materials and social media feeds. By converting a vehicle into a high-contrast shape against a transparent background, you create a versatile design element that works across comparison layouts, banner graphics, and lifestyle imagery. Silhouettes excel when you need visual impact without competing details—think side-by-side model comparisons, feature highlight graphics, or minimalist social media posts where the vehicle's profile becomes the focal point.
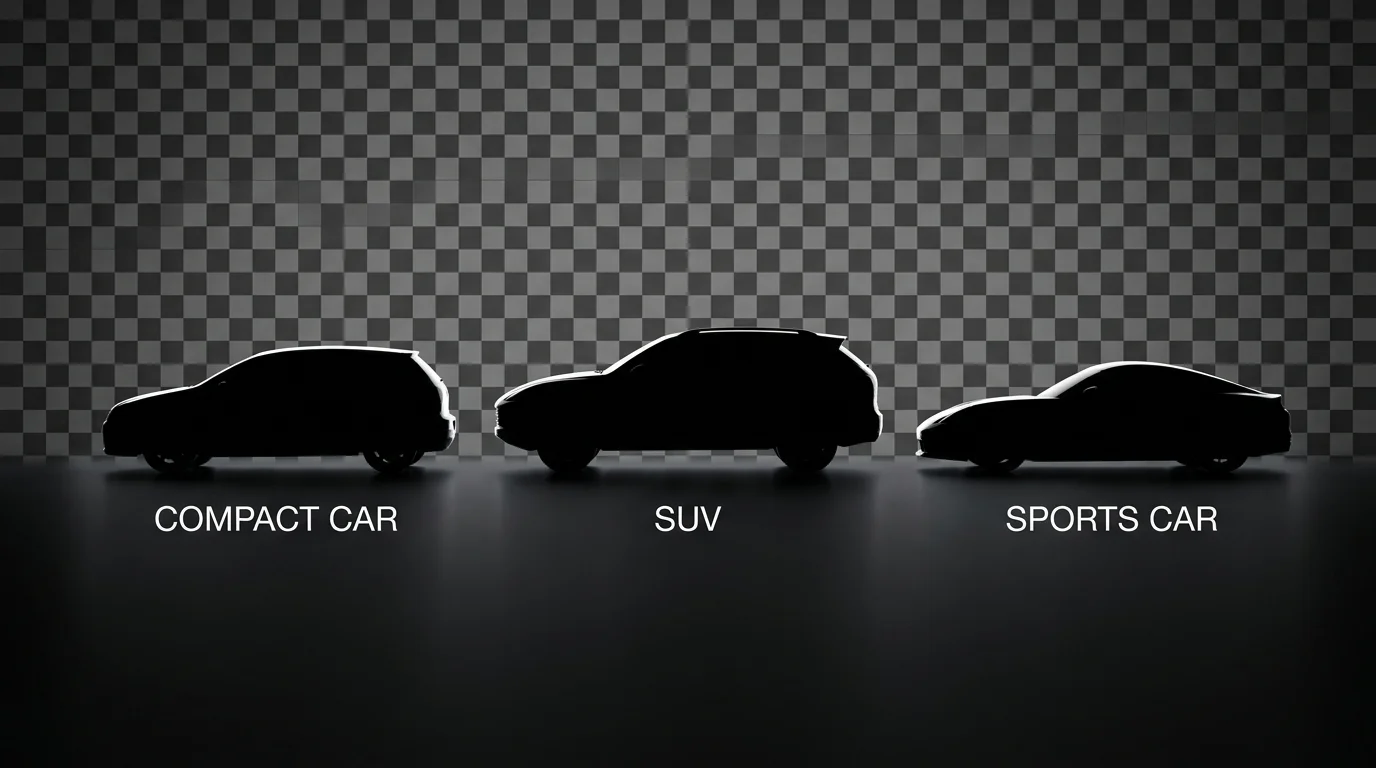
Creating a silhouette requires adjusting contrast and threshold values before removing the background entirely. In Photoshop, duplicate your layer, desaturate it, then push the Levels or Curves adjustment to pure black and white by crushing midtones. GIMP users follow a similar path: convert to grayscale, then apply the Threshold tool to force pixels into absolute black or white. Once you've achieved that high-contrast silhouette, proceed with standard background removal—the solid black shape separates cleanly from the background, leaving you with a crisp transparent PNG.
The trade-off is intentional loss of detail. Reflections, chrome trim, and window tinting disappear into the silhouette, which is precisely why this technique works for graphic design contexts rather than detailed product showcases. For dealerships running frequent promotional campaigns, silhouettes paired with your dealership's color palette or logo create cohesive, recognizable branding across multiple listings. Automation tools like Car Photo Booth streamline this workflow by handling background removal instantly, though silhouette effects require that manual threshold adjustment beforehand—a worthwhile investment for marketing collateral that demands visual consistency and impact.
Best Practices for Exporting Transparent Images and Maintaining Quality
Exporting a PNG with a clear background requires deliberate attention to settings that most dealerships overlook. The moment you save as JPEG instead of PNG, transparency vanishes—JPEG does not support transparency and will fill those areas with a solid color, typically white or gray. Always verify your file format before export. In Photoshop, use File > Export As and select PNG from the dropdown; in GIMP, go to File > Export As and confirm the .png extension. This single decision determines whether your transparent background survives the save.
Color profile management affects how your image appears across devices and platforms. Embed the sRGB color space during export—this is the standard for web and e-commerce platforms. Photoshop's export dialog includes an option to "Convert to sRGB"; GIMP users should flatten the image to sRGB before exporting. Mismatched color profiles cause subtle shifts in vehicle paint color and metallic finishes, which damages credibility in online listings where shoppers make split-second judgments.
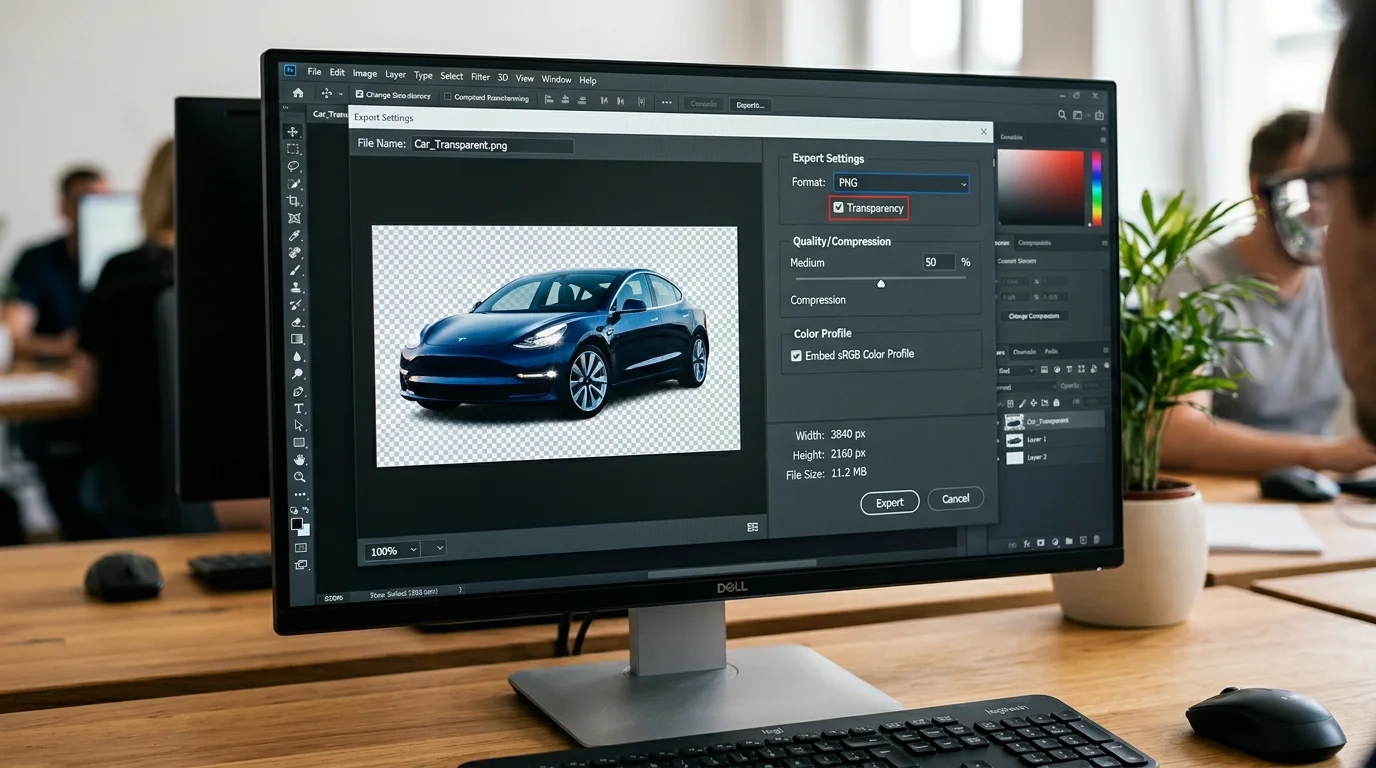
Compression settings demand balance between file size and visual fidelity. PNG compression is lossless, meaning quality never degrades, but file sizes can grow large. Set compression to medium (level 6–8 in most tools) for web use—this keeps files under 2MB while maintaining sharpness. For batch processing multiple inventory photos, automate exports using Photoshop's Image Processor or GIMP's batch mode to ensure consistency across hundreds of listings without manual intervention per image.
Resolution preservation is critical. Export at 72 DPI for web display, but maintain pixel dimensions of at least 1200×800 pixels to support high-resolution previews on modern devices. Over 90% of vehicle purchases begin online, and the vast majority of shoppers make a 'keep or discard' decision on a vehicle within milliseconds of seeing the primary photo—crisp, detailed images directly influence that decision. Dealerships using Car Photo Booth benefit from automatic 4K export handling, which eliminates these technical decisions entirely and ensures every image meets platform requirements without manual quality checks.
Choosing the Right Transparent Background Method for Your Business
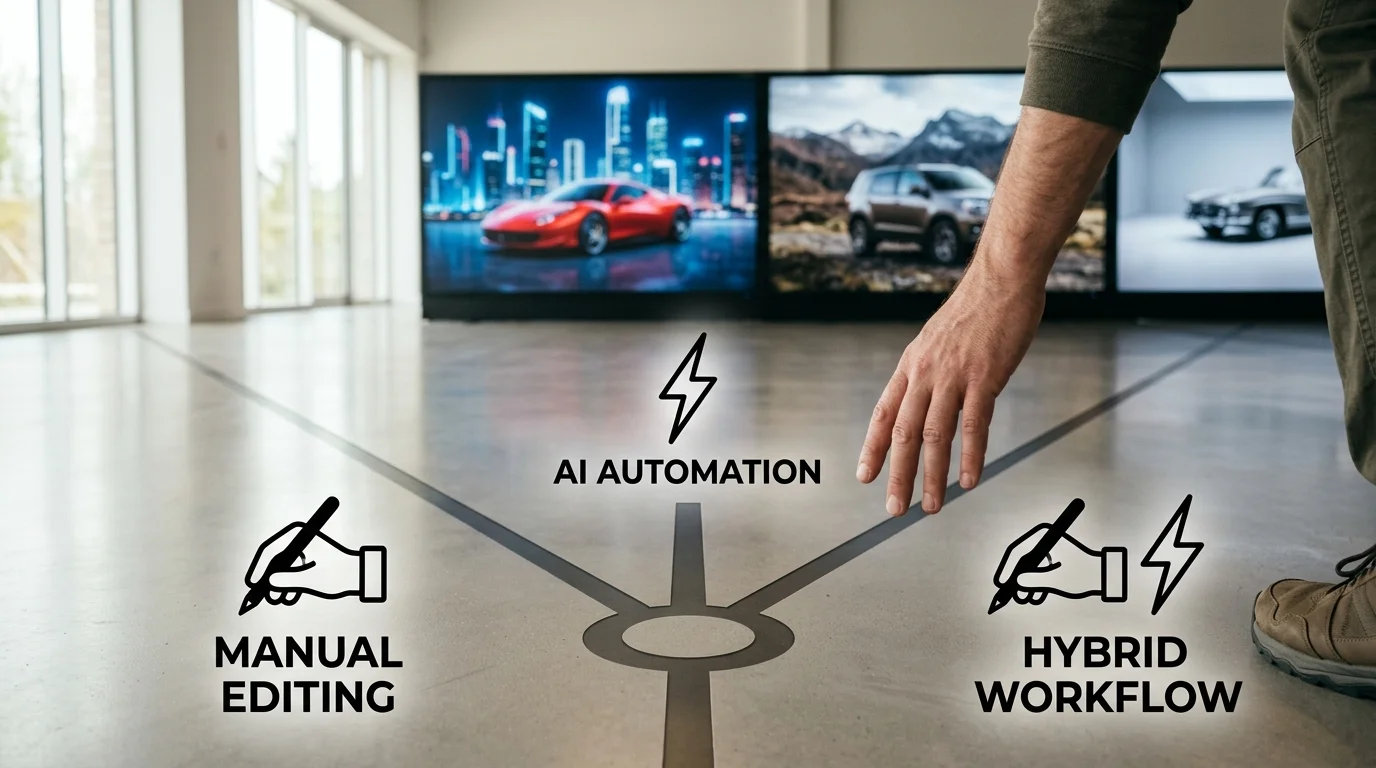
The method you select for making a picture transparent background depends on three variables: budget constraints, image volume, and timeline expectations. Each approach—manual editing, AI automation, and hybrid workflows—serves different business needs, and understanding their trade-offs ensures you invest resources where they matter most.
Manual methods using Photoshop or GIMP deliver maximum control and customization. You can preserve fine details, handle complex vehicle angles, and create bespoke effects that automated systems might miss. However, this approach demands skilled operators and consumes 15–30 minutes per image. For dealerships managing 50+ inventory photos weekly, manual editing becomes prohibitively expensive and inconsistent. This method works best for occasional users, specialty vehicles, or highly customized creative needs where precision justifies the time investment.
AI-powered solutions prioritize speed and consistency. Tools remove backgrounds in seconds, apply professional backdrops instantly, and require zero technical expertise. Volume becomes an asset—processing 200 photos costs the same effort as processing two. For dealerships, Turo hosts, and high-volume sellers, AI tools eliminate the bottleneck that manual editing creates. The trade-off: less granular control, though modern AI systems handle most vehicle angles and lighting conditions reliably.
Hybrid workflows combine both approaches. Use AI for batch processing routine inventory shots, then reserve manual refinement for edge cases or premium listings requiring artistic direction. This maximizes efficiency while preserving quality where it matters.
For dealerships and commercial sellers, AI automation typically delivers the best ROI. Try Car Photo Booth free—process your first batch instantly and compare results against your current workflow. You'll see whether the speed and consistency gains justify adoption for your operation.