

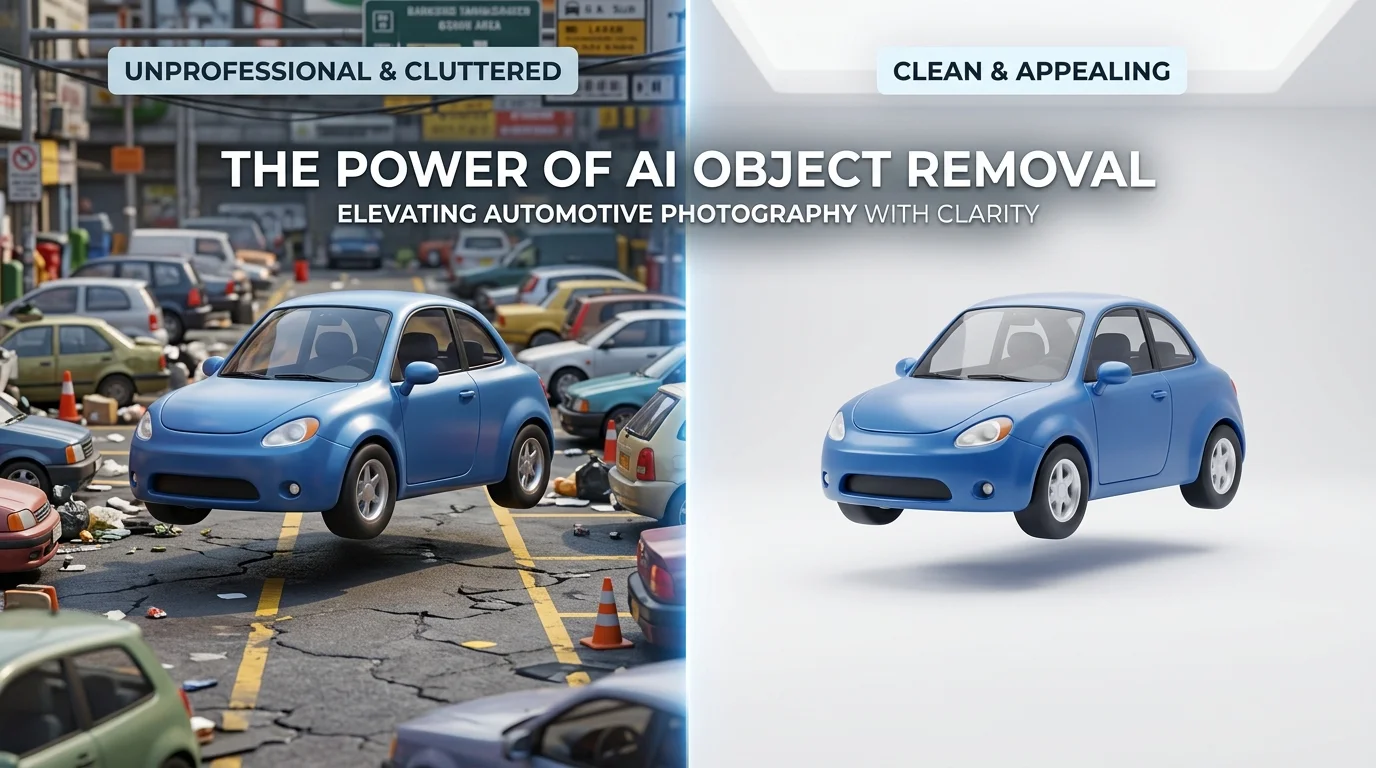
Poor-quality car photos are costing dealerships thousands in lost sales. When potential buyers encounter cluttered backgrounds, unwanted objects, or inconsistent lighting in your inventory listings, they move on—often to competitors with more polished presentations. Whether it's a stray person in the frame, distracting lot elements, or environmental clutter that detracts from the vehicle itself, these imperfections compound across dozens of photos and damage your dealership's professional image online.
The solution lies in modern AI-powered object removal technology that can eliminate unwanted elements from vehicle photos instantly, transforming lot shots into studio-quality images that convert browsers into buyers. This approach has become essential for dealerships managing large inventories, Turo hosts selling rental experiences, and automotive photographers competing in an increasingly visual marketplace.
Quick Answer: Use AI background removal and object deletion tools to eliminate unwanted elements from car photos in seconds. Most modern platforms automatically detect and remove distracting objects while preserving vehicle detail, then allow you to replace backgrounds with professional studio options. This process typically takes 10-15 seconds per image, requires no technical skills, and costs a fraction of traditional studio photography.
This guide walks you through the mechanics of removing objects from vehicle photos, explains why AI-powered solutions outperform manual editing for automotive inventory, covers common pitfalls, and shows you the fastest path to gallery-ready images that drive higher click-through rates and faster sales cycles.
Table of Contents
- Why Background and Object Removal Matters for Auto Sales
- Step-by-Step Guide to Removing Objects from Car Photos
- AI-Powered vs. Manual Object Removal: What Works Best for Dealerships
- Maximizing Results: Pro Tips for Clean, Professional Car Photos
- Common Questions About Removing Objects from Vehicle Photos
- Transform Your Car Inventory Photos with Smart Object Removal
Why Background and Object Removal Matters for Auto Sales
The difference between a vehicle photo that converts and one that doesn't often comes down to visual clarity and professionalism. When buyers browse listings, they're making split-second judgments based on image quality. Distracting backgrounds—parked cars, street clutter, people, or inconsistent lighting—pull attention away from the vehicle itself and signal to potential buyers that the dealership doesn't take presentation seriously. According to research from Xcite Auto, 95% of car buyers perceive professionally-presented vehicles as higher in value, while 87% are significantly more likely to click on well-lit, cleanly framed photos over blurry or cluttered ones.
The business impact is measurable. Dealerships that transition from inconsistent lot photography to polished, studio-quality images see click-through rate improvements between 25 and 40 percent. For inventory-heavy operations, this translates directly to more qualified leads and faster sales cycles. Yet achieving this consistency traditionally required either hiring professional photographers at $10–$30 per vehicle (or $50+ for premium packages) or investing $25,000–$60,000 in a physical photo booth—both solutions that strain budgets and create scheduling bottlenecks.
This is where removing unwanted objects and replacing backgrounds becomes operationally essential. Rather than retaking shots or relying on expensive manual editing, AI-powered object removal instantly eliminates distractions and applies professional studio backgrounds, transforming lot photos into gallery-ready images in seconds. For Turo hosts, dealerships managing hundreds of SKUs, and automotive photographers competing on speed and quality, this approach eliminates the friction between capturing inventory and publishing it online.
Step-by-Step Guide to Removing Objects from Car Photos
Removing unwanted objects from vehicle images is straightforward when you understand the workflow. Whether you're dealing with a cluttered lot background, a reflection in the windshield, or a stray person in the frame, the process follows a consistent pattern that most modern tools have standardized. Here's how to execute it efficiently.
Step 1: Upload Your Car Photo
Start by selecting the image you want to edit. Most tools accept JPG, PNG, and WebP formats. Simply drag the file into the upload area or click to browse your device. The system will process the image and display it in the editor within seconds. At this stage, you're not making any changes—just loading the raw material.
Step 2: Identify Objects to Remove
Examine the photo carefully. Look for distracting elements: parked cars in the background, people, signage, water spots, or debris on the vehicle itself. Mark these mentally or note them down. The clearer your intention, the more precise your removal will be. This step takes 30 seconds and prevents wasted processing time.
Step 3: Select the Removal Tool
Access the object removal or healing tool in your editor. Most AI-powered platforms offer a brush or lasso selection mode. Choose the tool that matches your object's shape—a brush for organic shapes, a lasso for irregular edges. This flexibility matters because precise selection directly affects output quality.
Step 4: Mark the Object for Removal
Carefully trace or paint over the unwanted element. Be thorough but avoid overlapping into areas you want to keep. The AI processes only the marked region, so accuracy here is essential. According to research on AI object removal tools, processing typically takes 2–5 seconds for simple removals and 10–15 seconds for complex scenes with large objects.
Step 5: Review and Refine
Once processing completes, inspect the result. The AI fills the removed area by analyzing surrounding pixels and textures. If the result shows artifacts or unnatural blending, you can refine the selection and reprocess. Most tools allow unlimited iterations without quality loss.
Step 6: Export Your Polished Image
Download the final image in your preferred resolution. Professional dealership listings benefit from 4K exports, which preserve fine details and ensure crisp rendering across all devices and platforms. Save the file and move to your next vehicle.
Why This Matters for Your Workflow
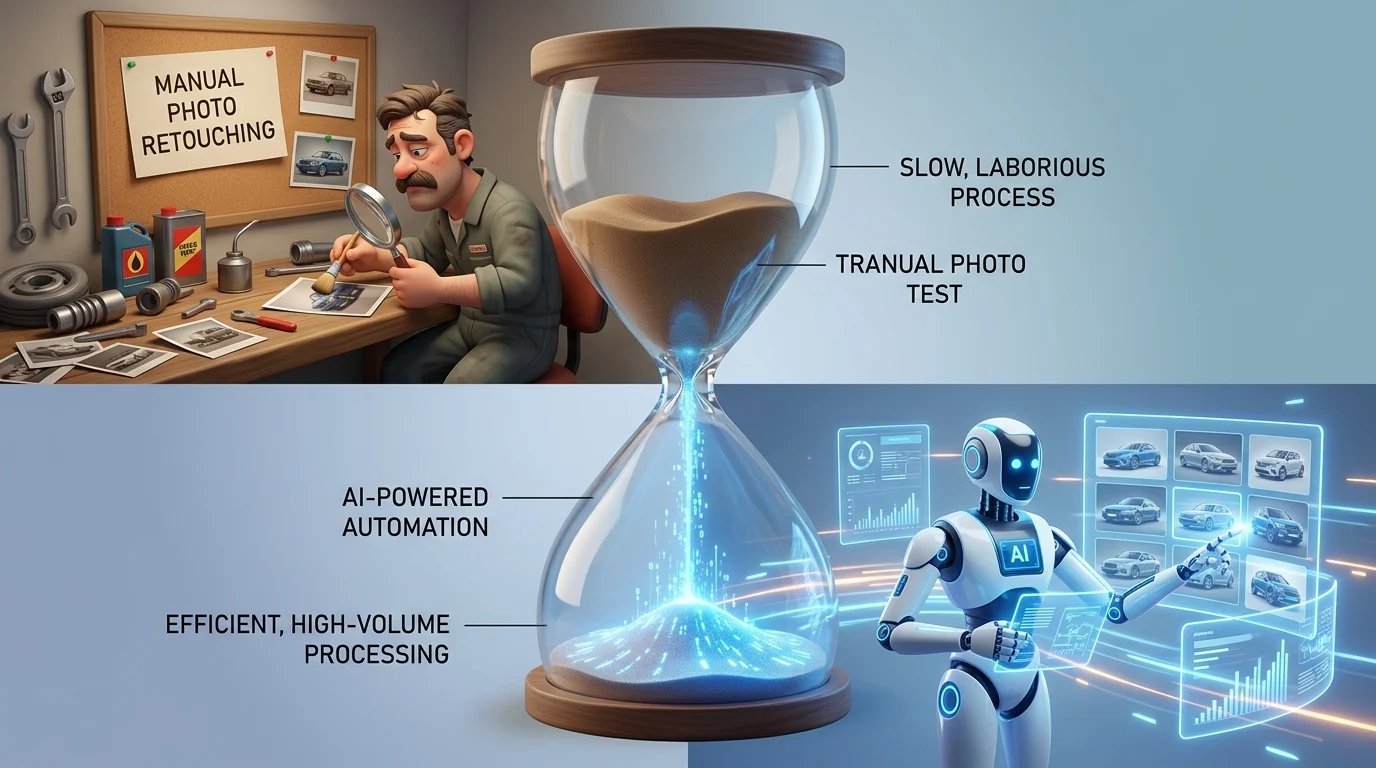
Manual removal using Photoshop requires technical skill and consumes 10–15 minutes per image. AI-powered approaches compress this to under two minutes, even for beginners. Car Photo Booth automates this entire sequence—you upload, the system identifies and removes distractions, and applies a professional studio background simultaneously. For dealerships processing 50+ vehicles weekly, this acceleration directly reduces labor costs and accelerates inventory publication.
AI-Powered vs. Manual Object Removal: What Works Best for Dealerships
When you need to remove objects from car photos—a reflective pole in the lot, a cluttered background, or unwanted shadows—three distinct approaches compete for your time and budget. Understanding their trade-offs is essential for scaling your dealership's photo workflow.
Manual Editing using Photoshop or GIMP gives you pixel-level control. You manually select the object, clone surrounding textures, and blend edges. The downside is brutal: according to research on background removal techniques, manual extractions consume 3–8 minutes per typical image, stretching to 10–20 minutes for complex scenes. For a dealership processing 50 vehicles weekly, this translates to 8–16 hours of skilled labor. You also need trained staff—not every team member can execute clean Photoshop work.
Semi-Automated Tools like Photoshop's Content-Aware Fill bridge the gap. They accelerate the process to 2–4 minutes per image but produce inconsistent results. Blending artifacts, color mismatches, and unnatural fills require manual refinement, negating much of the speed advantage. Consistency suffers when lighting, background complexity, or object size varies—common in dealership lots.
AI-Powered Solutions like Car Photo Booth process removals in seconds while simultaneously replacing backgrounds with professional studio environments. Batch-editing 50 photos takes roughly five minutes with uniform quality across all images. The cost advantage is striking: dealerships typically spend $5–15 per vehicle on background work; AI tools reduce this to under $3 per image while cutting turnaround time dramatically.
| Approach | Time per Image | Cost per Image | Skill Required | Consistency |
|---|---|---|---|---|
| Manual (Photoshop) | 10–15 min | $8–12 | Advanced | Variable |
| Semi-Automated | 2–4 min | $4–8 | Intermediate | Inconsistent |
| AI-Powered | 10–15 sec | $1–3 | None | Excellent |
For high-volume dealership workflows, AI wins decisively. Manual editing remains valuable for one-off luxury vehicles or edge cases requiring artistic judgment, but scaling it across your inventory is economically unsustainable.
Maximizing Results: Pro Tips for Clean, Professional Car Photos
Achieving consistent, studio-quality results across your entire vehicle inventory requires more than just removing unwanted objects from individual photos—it demands a systematic approach to selection, processing, and validation. The difference between dealerships that convert browsers into buyers and those that struggle often lies in their attention to these foundational details.
Select the Right Tool for Your Workflow
Your choice of removal and background replacement solution should match your volume and quality expectations. Manual editing in Photoshop offers maximum control but becomes prohibitively expensive at scale. Semi-automated tools provide speed but often introduce inconsistencies across batches. AI-powered platforms like Car Photo Booth eliminate this trade-off: they process images in seconds while maintaining uniform quality across 50, 500, or 5,000 vehicles. The ability to remove objects from pictures and simultaneously replace backgrounds with professional studio environments in a single operation streamlines your entire workflow.
Batch Process for Consistency and Efficiency
Rather than editing photos one at a time, upload your entire inventory at once. This approach ensures lighting, color grading, and background selection remain consistent across all listings. When you remove objects from picture batches using the same settings, potential buyers see a cohesive visual identity across your dealership's online presence—a subtle but powerful signal of professionalism.
Standardize Lighting and Camera Angles
Before uploading, photograph vehicles under consistent conditions: same time of day, similar weather, and identical camera positioning (front three-quarter view works best for most listings). This reduces the complexity of object removal and background blending, yielding cleaner final results.
A/B Test Background Styles
Run parallel listings with different backgrounds—showroom, white studio, outdoor urban, natural landscape—and track which drives higher inquiry rates. Your data will reveal which aesthetic resonates with your target buyer demographic, allowing you to optimize future uploads accordingly.

Common Questions About Removing Objects from Vehicle Photos
Can AI really remove reflections and shadows without making photos look fake?
Modern AI object removal tools are trained on millions of vehicle images, allowing them to intelligently heal image areas by analyzing surrounding pixels and lighting patterns. Reflections and shadows are among the easiest elements to remove because the algorithm understands how light naturally behaves on metal and glass surfaces. The result looks authentic because the AI reconstructs the surface texture rather than simply blurring or cloning patches.
Will the edited photo look obviously manipulated to potential buyers?
Professional AI solutions maintain the vehicle's natural appearance while removing distractions—the car itself remains untouched and recognizable. Buyers are accustomed to studio-quality automotive photography; they expect clean backgrounds and consistent lighting. When you remove object clutter from lot photos, you're simply matching the standard buyers see across major dealership listings and marketplaces.
What file formats and image sizes does the tool support?
Most modern platforms accept standard formats (JPG, PNG) and automatically optimize exports for web use. High-resolution uploads (4K or better) ensure your final images remain crisp across desktop and mobile devices without quality loss during processing.
How quickly can I process my entire inventory?
Batch processing handles dozens or hundreds of photos simultaneously, with each image typically processed in seconds to minutes depending on complexity. This means a 50-car lot can be transformed in under an hour rather than days of manual editing.
Can I edit multiple photos with consistent settings at once?
Yes. Batch operations preserve consistency across your entire catalog—same background style, lighting tone, and removal intensity applied uniformly. This creates the cohesive visual identity that signals professionalism to shoppers browsing your listings.
Transform Your Car Inventory Photos with Smart Object Removal
Object removal is no longer a luxury feature—it's a competitive necessity for dealerships operating in 2026. When you remove objects from vehicle images, you're eliminating visual distractions that cost you clicks, conversions, and credibility. A cluttered lot photo with poles, signs, or neighboring vehicles signals unprofessionalism; a clean, studio-quality image signals trust and ready-to-buy inventory.
The financial case is straightforward. Traditional studio photography runs $30–50 per vehicle; physical booth setups demand $25,000–60,000 in upfront capital. Batch-processing your lot photos through AI-powered object removal costs as little as $3–5 per image, with results ready in seconds rather than days. That efficiency compounds across your entire inventory. A 50-car lot transformed in under an hour generates consistent, professional listings that drive higher click-through rates and faster sales cycles.
The real advantage lies in consistency. When every vehicle in your catalog shares the same polished aesthetic—same background style, same lighting tone, same removal quality—shoppers perceive your dealership as organized and premium. That visual coherence builds buyer confidence before they step onto your lot.
Ready to see the difference? Car Photo Booth lets you test this approach free—no credit card required, instant results on your first upload. Experience how AI transforms ordinary lot photos into gallery-ready inventory in seconds.