
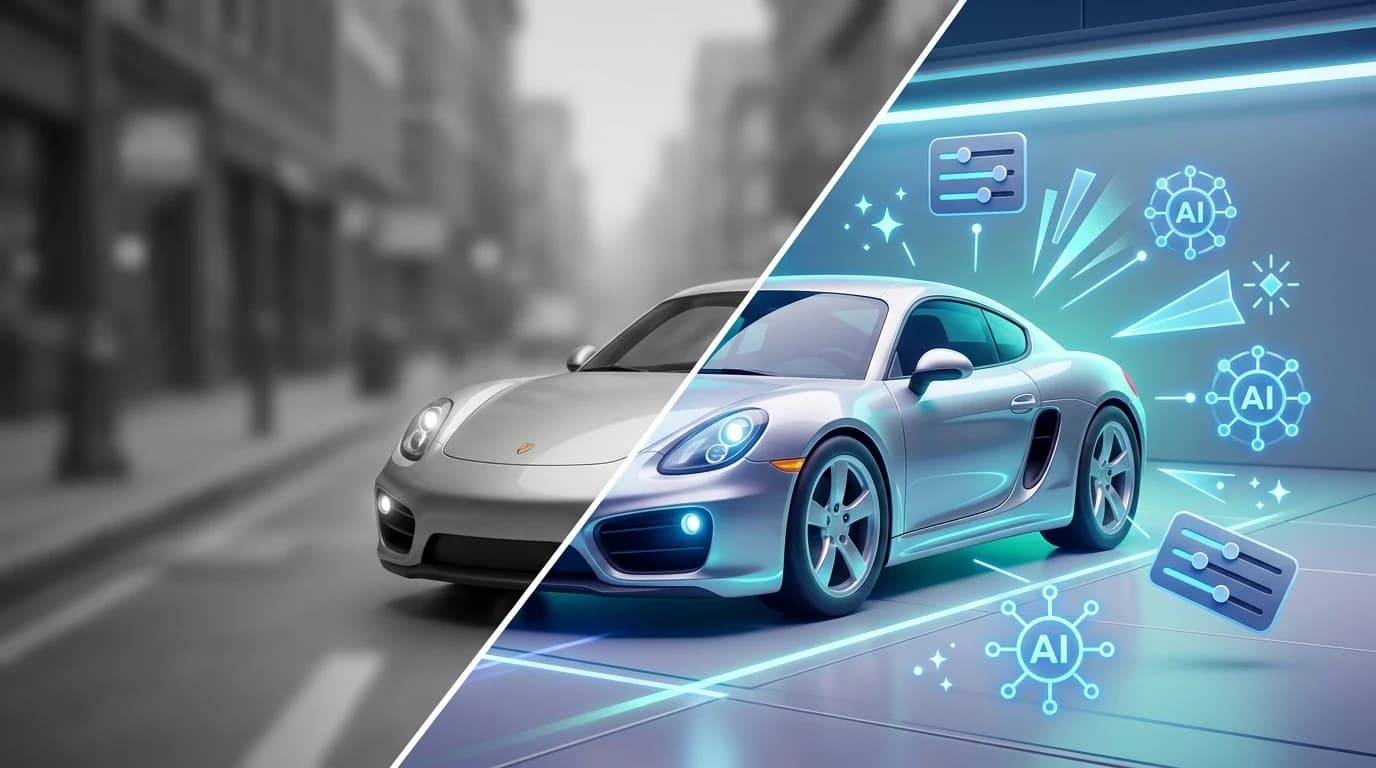
Poor car photos cost dealerships and Turo hosts real money. A blurry listing image, inconsistent lighting, or cluttered background can tank click-through rates and kill a sale before it starts. Whether you're photographing inventory on a busy lot or staging rentals for quick bookings, the reality is stark: buyers make split-second judgments based on what they see online. Professional studio photography runs $30–50 per vehicle and requires scheduling, equipment, and expertise most dealers simply don't have in-house. Meanwhile, lot photos—taken under varying weather, shadows, and distracting backgrounds—create an unprofessional, fragmented catalog that undermines your brand's credibility.
Quick Answer: Modern AI-powered tools can instantly sharpen and enhance car photos by removing backgrounds, applying professional studio settings, and cleaning up image artifacts—transforming blurry or low-quality shots into polished listings in seconds, without expensive equipment or photographers. This article walks you through why photo quality matters, how AI sharpening works mechanically, step-by-step implementation methods, and how to integrate these solutions into your dealership workflow.
The gap between amateur lot photography and studio-quality images used to require thousands in upfront investment. Today, AI tools have closed that gap entirely. When you clean up images with intelligent background removal and professional backdrops, you're not just making photos prettier—you're signaling professionalism, building buyer confidence, and measurably improving conversion rates. This guide will show you exactly how to unblur pictures, refine image quality, and deploy these techniques at scale so every vehicle in your inventory looks like it belongs in a showroom.
Table of Contents
- Understanding Photo Blur: Why Your Car Images Lose Sharpness
- How AI Image Sharpening Works for Automotive Photography
- Step-by-Step Guide: Sharpening Car Photos Using AI Tools
- Prerequisites
- Step 1: Upload Your Car Photo
- Step 2: Select Sharpening and Enhancement Settings
- Step 3: Apply Background Replacement (Optional but Recommended)
- Step 4: Review and Adjust Color Correction
- Step 5: Export at Maximum Resolution
- Pro Tip
- Comparing AI Sharpening to Traditional Methods: Cost, Speed, and Quality
- Practical Tips for Maximizing Photo Quality Before and After AI Enhancement
- Taking Action: Implement AI Photo Sharpening in Your Dealership or Rental Business Today
Understanding Photo Blur: Why Your Car Images Lose Sharpness
Car photos lose sharpness for predictable, mechanical reasons—and understanding them is the first step toward fixing them at scale. Blurriness typically stems from three sources: camera shake during handheld shooting on busy lot days, autofocus hunting when backgrounds compete with the vehicle for attention, and motion blur when vehicles or lighting conditions shift between frames. Poor lighting compounds the problem; dim lots force longer exposure times, which amplify any camera movement. Low-resolution uploads and compression artifacts further degrade clarity, especially when photos are cropped or resized for different listing platforms.
The business impact is immediate and measurable. According to Auto Remarketing research, 95% of car buyers say professional-looking images significantly boost perceived vehicle value, while 87% would click on well-lit, framed photos over blurry ones. Dealerships using high-quality photos sell vehicles 20% faster than those relying on poor-quality shots. When inventory photos lack sharpness and consistency—especially across dozens of vehicles—buyers perceive your dealership as disorganized or unprofessional, damaging trust before they even contact you.
Inconsistent photo quality across your catalog is particularly damaging. A mix of crisp and blurry shots signals that some vehicles received care while others didn't, undermining confidence in your entire inventory. This is where modern solutions like AI upscaling and background enhancement become essential—they standardize quality across your catalog, ensuring every vehicle looks showroom-ready regardless of how it was originally photographed.
How AI Image Sharpening Works for Automotive Photography
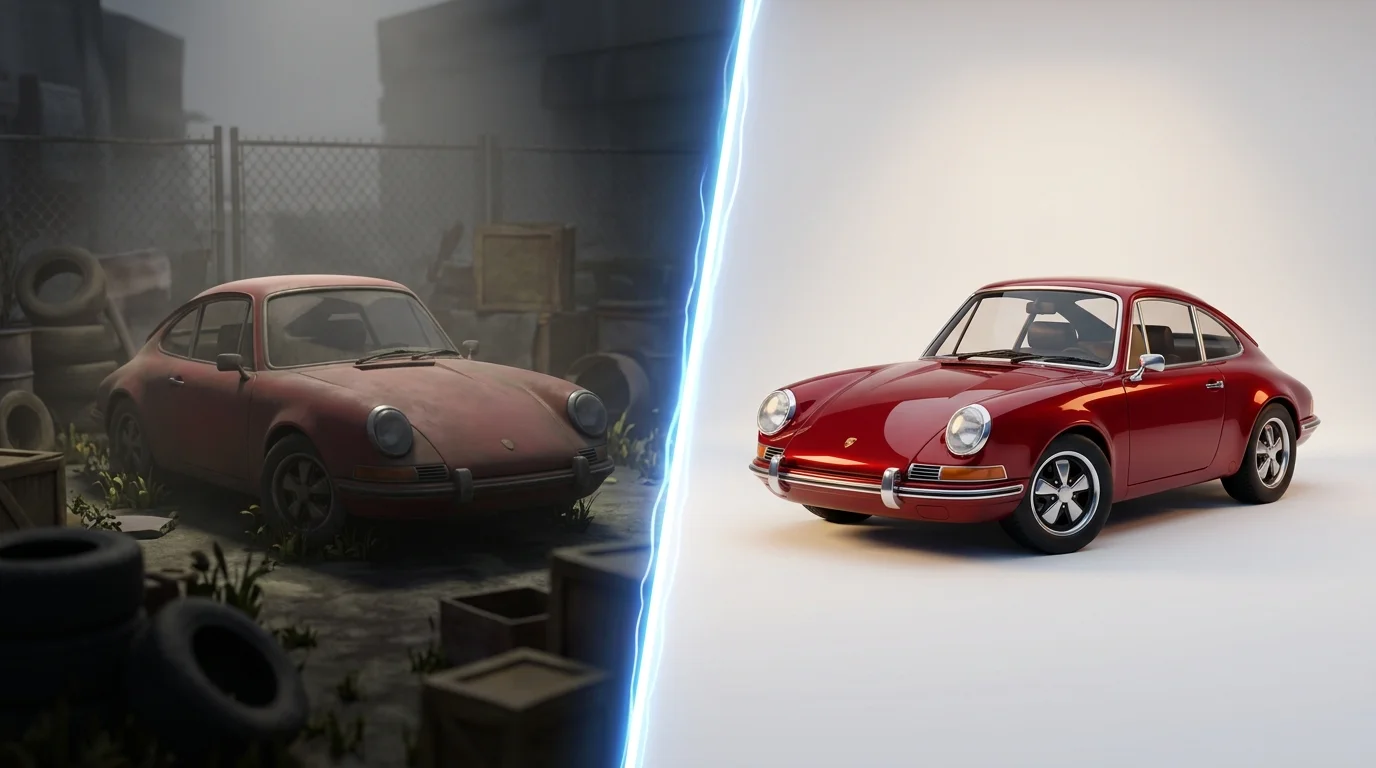
Modern AI image sharpening relies on neural networks trained on millions of image pairs, learning what sharp edges, fine textures, and intricate details should look like to intelligently reconstruct lost information. When you upload a blurry car photo, the algorithm analyzes pixel patterns and predicts what the original sharp version would contain—essentially teaching itself to 'fill in' the detail that camera blur or poor lighting erased. This isn't simple filtering; it's genuine reconstruction powered by deep learning.
The process works in layers. First, the AI identifies what's in the image—the vehicle's body lines, chrome trim, wheel spokes, interior details. Then it applies upscaling, enlarging the photo from its original resolution to 4K or beyond while maintaining sharpness. Neural networks trained on professional automotive imagery understand how light should reflect off paint, how fabric weaves should appear on seats, and how metal should catch highlights. Unlike traditional enlargement tools that simply stretch pixels, modern free AI upscaling and paid professional systems actually improve visual quality by adding intelligent detail.
Background removal and replacement happens simultaneously in most automotive workflows. The AI separates the car from its surroundings—whether that's a cluttered lot, a driveway, or an inconsistent backdrop—then composites it onto a professional studio environment. Color correction follows, neutralizing the yellow cast of lot lighting or the blue tint of overcast skies. The entire transformation takes seconds, not hours of manual editing.
This speed and consistency distinguish AI from traditional retouching. A photographer might spend 20 minutes perfecting one image; an AI system processes dozens per minute with uniform quality, ensuring your entire catalog looks cohesive and professional regardless of original shooting conditions.
Step-by-Step Guide: Sharpening Car Photos Using AI Tools
Prerequisites
Before you begin, ensure you have the following: a digital image of a car (JPEG or PNG format), a stable internet connection, and approximately 2–3 minutes per photo. No special software installation is required—modern AI photo enhancement tools operate entirely in your browser. Basic familiarity with uploading files and downloading results is all you need. Difficulty level is beginner-friendly; the process is intentionally streamlined for dealerships and Turo hosts who process dozens of images daily.
Step 1: Upload Your Car Photo
Navigate to your chosen AI photo enhancement platform and locate the upload button. Click to select your car image from your device. The tool will accept most standard formats—JPEG, PNG, and WebP files typically process within seconds. You'll see a preview of your original image displayed on the screen, often with metadata showing resolution and file size. This preview confirms the system has recognized your photo correctly before processing begins.
Expected result: Your original photo appears in the editor interface, ready for enhancement settings.
Step 2: Select Sharpening and Enhancement Settings
Most AI tools present a dashboard with preset enhancement options. Look for settings labeled "Auto Enhance," "Sharpen," or "Clarity." These presets intelligently analyze your specific image—detecting blur patterns, lighting conditions, and subject matter—then apply targeted corrections. Some platforms allow manual adjustment sliders for fine-tuning sharpness intensity, contrast, and detail recovery. Start with the automatic setting; manual tweaking is rarely necessary for automotive photography.
Expected result: The preview updates in real-time, showing increased edge definition and reduced fuzziness in details like trim, wheels, and paint texture.
Step 3: Apply Background Replacement (Optional but Recommended)
If your original photo has a cluttered lot, driveway, or inconsistent backdrop, apply background removal and replacement simultaneously. Select from professional studio environments—showroom settings, white backdrops, urban scenes, or outdoor landscapes. This step transforms a fuzzy picture shot in poor lighting conditions into a cohesive, studio-quality listing image. The AI automatically masks the vehicle and composites it onto your chosen background, ensuring clean edges and natural lighting integration.
Expected result: Your car appears isolated against a professional, distraction-free backdrop with consistent lighting.
Step 4: Review and Adjust Color Correction
The system typically applies automatic white balance correction, neutralizing yellow lot lighting or blue-tinted overcast skies. Review the color preview and verify that paint color appears accurate and metallic surfaces reflect naturally. Most platforms allow brightness and saturation fine-tuning if the auto-correction overshoots.
Expected result: Colors appear vibrant and true-to-life, matching how the vehicle would appear under professional studio lighting.
Step 5: Export at Maximum Resolution
Select your export settings—choose 4K resolution or the highest available option for maximum detail preservation. This ensures your sharpened image retains clarity across all online platforms, from mobile listings to large desktop displays. Download the processed file; processing typically completes within 10 seconds.
Expected result: A high-resolution, sharpened image downloads to your device, ready for immediate upload to dealership inventory systems or Turo listings.
Pro Tip
Batch processing accelerates workflows for large inventories. Many AI platforms allow uploading 10–50 images simultaneously with identical enhancement settings applied uniformly, ensuring your entire catalog maintains consistent visual quality regardless of original shooting conditions.
Comparing AI Sharpening to Traditional Methods: Cost, Speed, and Quality
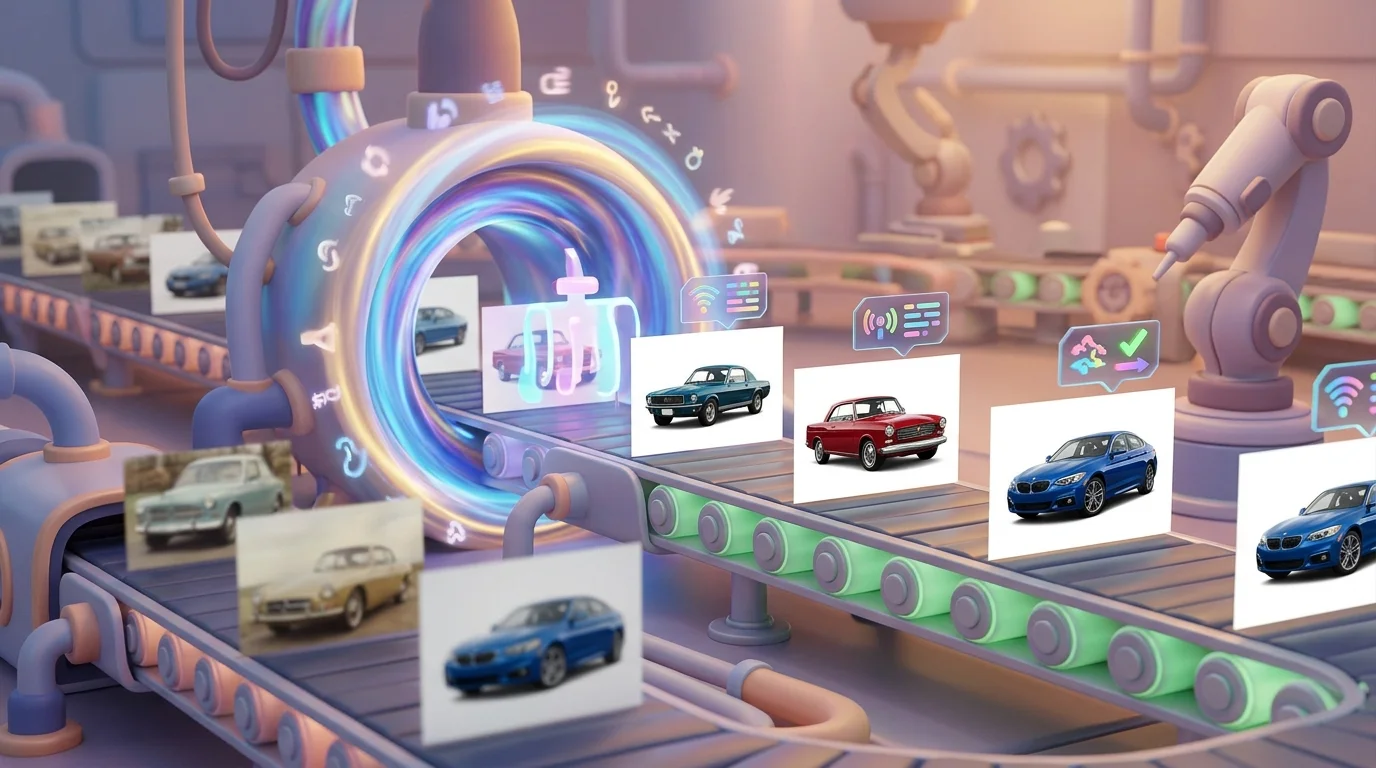
When deciding how to clean up images at scale, dealerships and Turo hosts face a fundamental choice: invest in traditional photography infrastructure, hire professionals, or adopt AI-powered solutions. Each approach carries distinct trade-offs that directly impact your bottom line and operational efficiency.
| Method | Cost Per Image | Time Per Image | Consistency | Quality | Scalability |
|---|---|---|---|---|---|
| Professional Photographer | $200–$300/hr (typically $50–$100+ per car) | 30–60 min | Varies by photographer skill | Excellent | Poor (limited capacity) |
| Physical Photo Booth | $25K–$60K setup + $5–$15/image | 5–10 min | High | Very good | Moderate (location-bound) |
| Manual Photoshop Editing | $20–$40/image (freelancer rates) | 15–30 min | Low (human error) | Good to excellent | Poor (labor-intensive) |
| AI Sharpening Tools | $3–$7/image | 10 seconds | Very high | Professional studio-grade | Excellent (unlimited) |
The financial advantage of AI is striking. According to research on automotive photography pricing, AI-powered car photography tools can reduce costs by 75% compared to traditional methods. A dealership processing 100 vehicles monthly spends $5,000–$10,000 with traditional photographers but only $300–$700 with AI solutions.
Speed matters equally. While professional shoots demand scheduling, travel time, and post-processing delays spanning days or weeks, AI processes entire batches in minutes. This acceleration translates directly to faster inventory turnover—critical for competitive online listings.
Consistency is where AI excels most. Human photographers and editors introduce subjective variations; one car may appear oversaturated while another looks flat. AI applies identical enhancement logic across your entire catalog, ensuring every vehicle presents with uniform professional polish regardless of original shooting conditions.
For dealerships managing large inventories, the scalability difference is decisive. Physical booths and freelance editors hit capacity walls quickly. AI systems handle 50, 500, or 5,000 images with identical speed and quality, making them the only practical solution for enterprise-level operations.
Practical Tips for Maximizing Photo Quality Before and After AI Enhancement
AI sharpening tools deliver exceptional results, but input quality directly determines output quality. The principle is straightforward: better source material yields better AI enhancement. Before uploading to any platform, optimize your shooting technique to give the algorithm the strongest foundation possible.
Pre-Shoot Preparation
Lighting is non-negotiable. Shoot during golden hour—early morning or late afternoon—when natural light flatters vehicle contours and minimizes harsh shadows. Overcast days work equally well, providing diffused, even illumination across the entire car body. Avoid midday sun, which creates blown highlights and deep shadows that no AI tool can fully recover. Position the vehicle perpendicular to the light source rather than backlit, ensuring the paint, chrome, and details receive direct, even exposure.
Clean the vehicle thoroughly before shooting. Dust, water spots, and dirt reduce apparent sharpness even before AI processing begins. Use consistent framing across your inventory—photograph each car from the same angles (three-quarter front, driver side profile, rear three-quarter) to establish visual uniformity. This consistency helps AI apply enhancement logic predictably across your catalog.
Post-Enhancement Verification
After AI processing, review outputs critically. Verify that edge detection appears natural—AI sometimes over-sharpens, creating halos around trim or wheels. Compare multiple background options if your tool offers them; A/B testing different studio backdrops against real-world settings reveals which resonates with your target buyers. According to research from Pixelz, 67% of consumers consider image quality very important in purchasing decisions, making post-processing validation essential.
Maintain a style guide documenting your chosen backgrounds, lighting preferences, and angle standards. This ensures consistency across your entire inventory, reinforcing professional presentation. When you process batches through AI tools, apply identical settings to maintain visual cohesion—buyers notice when one vehicle appears oversaturated or differently lit than another.
Taking Action: Implement AI Photo Sharpening in Your Dealership or Rental Business Today
The economics are clear: professional automotive photography costs $30–50 per vehicle through traditional studios, while AI-powered sharpening delivers studio-quality results for a fraction of that investment. When you process your entire inventory through intelligent image enhancement, you're not just improving aesthetics—you're accelerating buyer engagement and closing cycles faster. Sharp, professionally presented photos convert at measurably higher rates than their blurry counterparts, directly impacting your bottom line.
The path forward requires minimal friction. Start with a free trial—no credit card, no commitment. Upload a sample of your current lot photos and observe how AI background removal combined with sharpening transforms ordinary shots into showroom-quality listings in seconds. This hands-on validation removes the guesswork; you'll see immediately whether the technology aligns with your operational workflow and visual standards.
As automotive retail continues its digital acceleration, AI photo enhancement has shifted from competitive advantage to operational necessity. The dealerships and rental platforms investing in these tools today are setting the visual standard their competitors will chase tomorrow. The question is no longer whether to adopt intelligent image processing, but how quickly you can scale it across your catalog.