
Blurry car photos cost dealerships real money. When a potential buyer scrolls through listings and encounters a soft, pixelated image—even if the vehicle is pristine—they move on. Studies consistently show that high-resolution, sharp automotive photography directly correlates with faster sales cycles and higher conversion rates. A crisp, professional image communicates care, legitimacy, and value in ways that fuzzy photos cannot.
Quick Answer: Photo sharpening is the process of enhancing image clarity and detail through AI-powered algorithms or editing techniques that improve edge definition and overall resolution. For automotive sales, sharpening transforms lot photos into the polished, studio-quality images that buyers expect to see online. In this guide, you'll learn practical methods to sharpen car photos, understand when AI solutions outperform traditional editing, and discover how to maintain consistency across your entire inventory without expensive studio setups.
The challenge dealers face isn't just about taking sharper photos—it's about doing so at scale and without prohibitive costs. Professional automotive photographers charge $30–50 per vehicle, and physical photo booths demand $25,000+ in upfront investment. Yet inconsistent, low-resolution images from lot photography or smartphone captures remain the norm. This section walks you through why sharpening matters, what solutions exist, and how to choose the right approach for your business model, whether you're managing a multi-location dealership, running a Turo fleet, or building an inventory for rapid online sales.
Table of Contents
- Understanding Photo Sharpness: Resolution, Clarity, and Image Quality
- Step-by-Step Guide: How to Sharpen Your Car Photos Effectively
- Prerequisites
- Step 1: Assess the Source Image
- Step 2: Clean Up the Background (If Applicable)
- Step 3: Apply Unsharp Mask or Smart Sharpen
- Step 4: Reduce Noise (If Present)
- Step 5: Export at High Resolution
- Step 6: Batch Process Multiple Photos (Optional)
- Common Mistakes to Avoid
- When Manual Sharpening Isn't Enough
- AI Sharpening vs. Traditional Methods: Which Approach Wins for Dealerships
- Best Practices for Sharpening Car Photos Without Overdoing It
- Implementing Photo Sharpening Into Your Dealership Workflow
- Sharper Photos, Faster Sales: Your Path to Professional Vehicle Listings
Understanding Photo Sharpness: Resolution, Clarity, and Image Quality
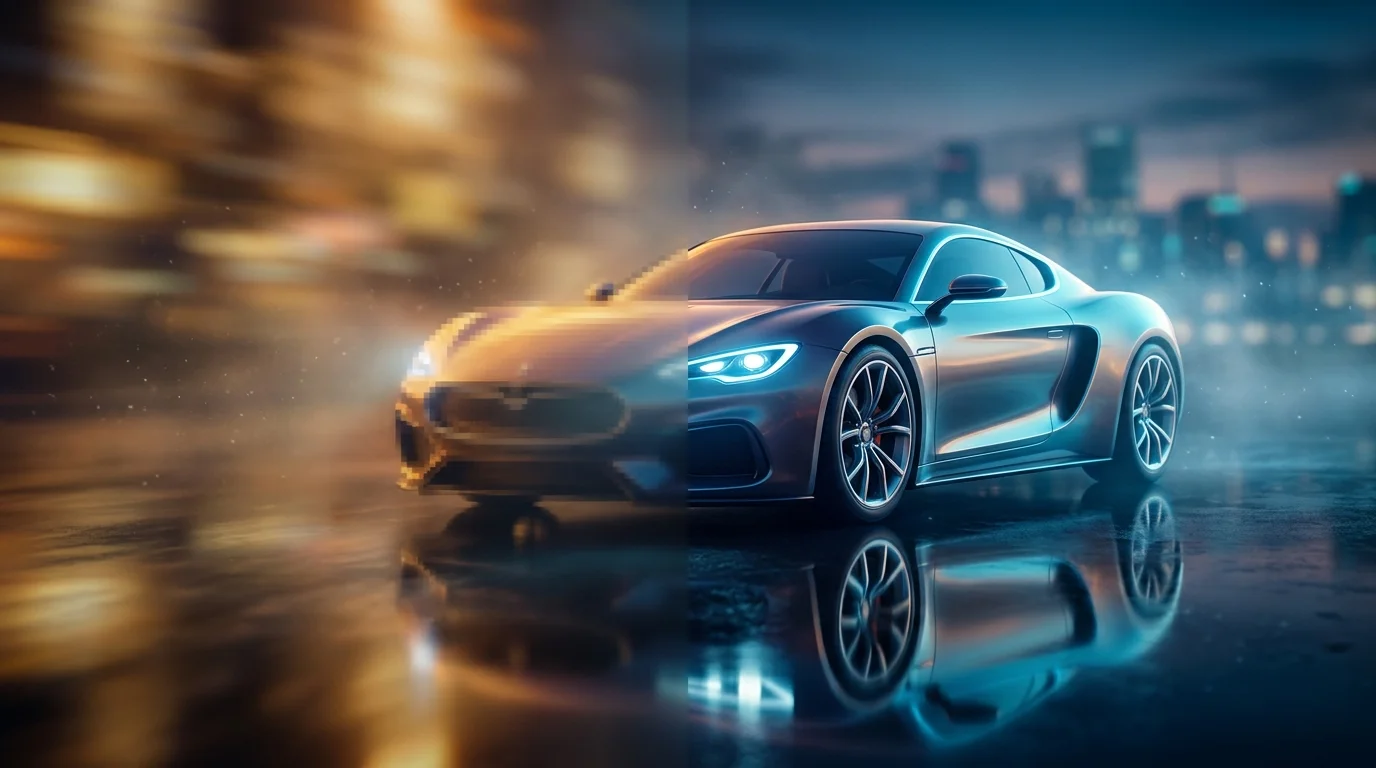
Photo sharpness and resolution are often confused, yet they describe distinct qualities that determine whether a car photo attracts buyers or gets scrolled past. Resolution refers to pixel dimensions—a 4K image contains more pixels than a 1080p image, providing greater detail when enlarged. Sharpness, by contrast, is about edge definition: how crisply the car's lines, chrome trim, and body contours stand out against the background. A high-resolution photo can still appear soft or blurry if focus is missed or if compression degrades edge clarity. Overall image quality combines both, along with lighting, color accuracy, and contrast.
When car photos appear fuzzy, the culprit usually traces to one of several technical failures. Camera autofocus may lock onto the wrong plane—the background instead of the vehicle's grille. Motion blur occurs when shutter speed is too slow for handheld shooting, or when the subject moves during capture. Smartphone cameras, common in lot photography, struggle in low light and default to slow shutter speeds that introduce blur. Aggressive JPEG compression, used to reduce file sizes for rapid online uploads, destroys fine edge details that make cars look premium. Poor lighting creates contrast issues that make details harder to distinguish, compounding the sharpness problem.
The business impact is measurable. According to research from 360Booth and Cars.com, 75% of car buyers say high-quality photos are the most important factor when researching vehicles online. Soft, unclear images signal poor inventory management and lower perceived vehicle value—buyers assume a blurry photo hides defects. Conversely, crisp, well-composed images with high resolution command attention and justify higher asking prices.
For dealerships and Turo hosts, the challenge isn't perfecting camera technique on every lot shoot—it's achieving consistent sharpness across hundreds of photos with varying lighting and equipment. This is where modern solutions diverge from traditional editing workflows, a distinction explored in the sections ahead.
Step-by-Step Guide: How to Sharpen Your Car Photos Effectively
Sharpening a picture of a vehicle requires understanding both the technical mechanics and the practical constraints of dealership workflows. The goal isn't perfection—it's consistency and speed. Below is a structured approach that works whether you're using traditional photo editing software or modern AI-powered solutions.
Prerequisites
Before starting, confirm you have: a photo editor (Photoshop, Lightroom, or free alternatives like GIMP), or access to an AI image sharpening platform. Estimate 5–10 minutes per photo using manual methods, or seconds using batch AI processing. Basic familiarity with your chosen tool is helpful but not required.
Step 1: Assess the Source Image
Open your car photo and examine it critically. Zoom to 100% and look for blur patterns: is the entire image soft, or only specific areas like wheels or trim? Is the blur from motion (slow shutter), focus error, or compression artifacts? Understanding the root cause determines your sharpening approach. A motion-blurred photo cannot be recovered; compression blur and soft focus can be improved. This diagnostic step takes 30 seconds and prevents wasted effort on unfixable images.
Step 2: Clean Up the Background (If Applicable)
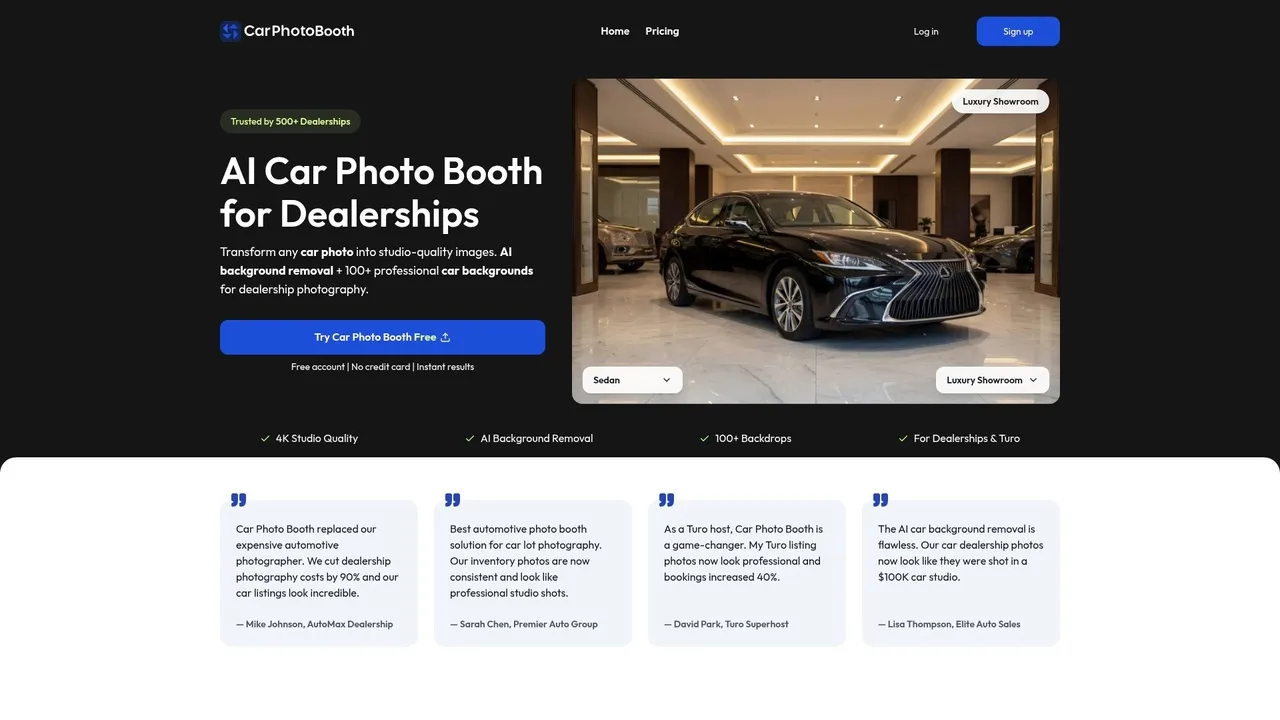
If your photo has a distracting or inconsistent background—a crowded lot, uneven lighting, or parked cars—remove it first. Manual masking in Photoshop is time-intensive; AI background removal tools like Car Photo Booth handle this in seconds, replacing the background with a professional studio setting. A clean, neutral background makes sharpening more effective because the viewer's eye focuses on the vehicle itself, not competing details.
Step 3: Apply Unsharp Mask or Smart Sharpen
In Lightroom, navigate to the Detail panel and increase the Clarity slider moderately (10–20 points). In Photoshop, use Filter > Sharpen > Unsharp Mask. Set Amount to 100–150%, Radius to 1–2 pixels, and Threshold to 2–5 levels. These conservative settings enhance edges without introducing halos or noise. Preview the result at 100% zoom. Sharpening is cumulative—it's easier to add more than to undo over-sharpening.
Step 4: Reduce Noise (If Present)
High ISO or low-light photos introduce grain. Use Lightroom's Luminance slider (Detail panel) or Photoshop's Reduce Noise filter. Noise reduction softens the image slightly, so apply it before sharpening, then re-sharpen to compensate. This two-step process preserves detail while eliminating distracting grain.
Step 5: Export at High Resolution
Save your sharpened image at 4K resolution (3840×2160 pixels) or at least 2K (2560×1440 pixels) for online listings. JPEG compression should be set to 85–90% quality to preserve sharpness without excessive file size. Lower quality settings destroy the edge detail you just enhanced.
Step 6: Batch Process Multiple Photos (Optional)
For dealership teams processing 50+ vehicles weekly, manual sharpening per image is unsustainable. AI batch processing completes entire vehicle sets in seconds, applying consistent sharpening, background replacement, and 4K export automatically. This approach reduces per-image costs from $5–$30 (professional editing services) to pennies, while maintaining studio-quality results across your entire inventory.
Common Mistakes to Avoid
Over-sharpening creates halos around edges and makes images look artificial. If your car photo looks harsh or unnatural, reduce the Amount slider by 20–30%. Ignoring compression undermines all sharpening work—always export at 85%+ quality. Sharpening blurry originals wastes time; if the source image is motion-blurred, no filter recovers lost detail. Accept the loss and retake the photo with faster shutter speed.
When Manual Sharpening Isn't Enough
If your dealership processes hundreds of photos monthly, traditional editing becomes a bottleneck. AI-powered solutions handle sharpening, background replacement, and quality standardization in one workflow, freeing your team to focus on sales rather than post-production.
AI Sharpening vs. Traditional Methods: Which Approach Wins for Dealerships
The choice between AI-powered sharpening and manual Photoshop editing hinges on one fundamental question: how many photos does your dealership process monthly? For a single vehicle, manual editing offers precision and control. For 50 new inventory photos arriving weekly, it becomes a resource drain that pulls your team away from sales.
Manual sharpening in Photoshop demands 5–10 minutes per medium-complexity image, with complex shots requiring 30–60 minutes each. A dealership with 50 new vehicles needs 4–50 hours of skilled labor weekly—assuming no mistakes requiring rework. At $25–50 per hour for trained editors, that's $100–2,500 weekly in labor costs alone. Beyond cost, consistency suffers. Different editors apply sharpening differently, creating visual inconsistency across your online catalog that confuses buyers.
AI sharpening eliminates these bottlenecks. Algorithms process entire batches in seconds, applying uniform sharpening, super resolution enhancement, and image upscaling automatically. According to CarCutter's analysis, AI photography solutions help dealerships increase speed to market by up to 82% compared to traditional methods. The per-image cost drops from $5–$30 to pennies, while consistency improves dramatically.
| Factor | Manual Photoshop | AI Sharpening |
|---|---|---|
| Time per image | 5–60 minutes | 10 seconds |
| Cost per image | $5–$30 | $0.03–$0.10 |
| Learning curve | Steep (weeks) | None (upload & process) |
| Batch processing | Impractical | Native capability |
| Consistency | Variable | Perfect |
| Flexibility | High | Moderate |
The trade-off is real: AI lacks the pixel-level control a master retoucher commands. But for dealerships managing hundreds of photos, that flexibility matters far less than speed, cost, and uniformity. AI doesn't just sharpen—it repairs blurry images through upscaling, removes backgrounds, and applies professional backdrops in one workflow. Manual editing handles one task at a time, forcing sequential processing that multiplies labor hours.
Choose manual editing if you're processing fewer than 5 vehicles monthly and demand bespoke creative control. Choose AI if you're scaling inventory photography and need studio-quality results without studio costs.
Best Practices for Sharpening Car Photos Without Overdoing It
Over-sharpening is the silent killer of automotive photography. When you push sharpening too far, you create harsh halos around edges, amplify sensor noise into visible grain, and produce an artificial, plasticky appearance that screams "edited"—exactly the opposite of what buyers want to see. The goal isn't to make a photo look processed; it's to make a fuzzy photo clear while preserving the vehicle's authentic appearance.
Start conservatively. Most sharpening tools offer an intensity slider; begin at 30–50% of the maximum value, then preview the result at 100% zoom on your monitor. This is non-negotiable. At smaller zoom levels, over-sharpening hides itself until the image appears in a customer's browser at full resolution. Examine the edges of the car's body lines, the grille, and the wheels—these areas show sharpening artifacts first. If you see glowing halos or grainy texture where there was none, dial it back.
Avoid sharpening damaged or heavily used vehicles. A scratched bumper or worn paint already tells a story; aggressive sharpening can make minor imperfections look worse and raises ethical concerns about misrepresenting condition. Transparency builds trust with buyers far more than a pixel-perfect image of a flawed vehicle.
AI-powered solutions like Car Photo Booth sidestep this problem entirely. These systems are trained on thousands of professional automotive images and apply calibrated sharpening as part of their upscaling process—enough to make fuzzy images clear, never enough to create artifacts. When you process a batch of 50 vehicles, consistency matters more than pixel-level tweaking. Every image receives the same measured treatment, eliminating the risk of one photo looking over-processed while another looks soft.
The rule is simple: if you're questioning whether it's too sharp, it probably is. Subtle enhancement always wins in automotive sales.
Implementing Photo Sharpening Into Your Dealership Workflow
Sharpening doesn't exist in isolation—it's one piece of a larger photo enhancement pipeline that dealerships must orchestrate daily. The challenge isn't knowing how to sharpen; it's knowing when, where, and how consistently to apply it across dozens or hundreds of vehicles without creating bottlenecks or quality variance.
Start by mapping your current workflow. Most dealerships capture photos on the lot, transfer them to a computer, then manually edit before uploading to inventory systems. Sharpening typically happens here—but without a standardized process, one team member might over-sharpen while another leaves images soft. According to research from CarCutter, 67% of consumers consider image quality to be "very important" in their purchasing decisions for vehicle listings, which means inconsistency directly impacts conversion rates.
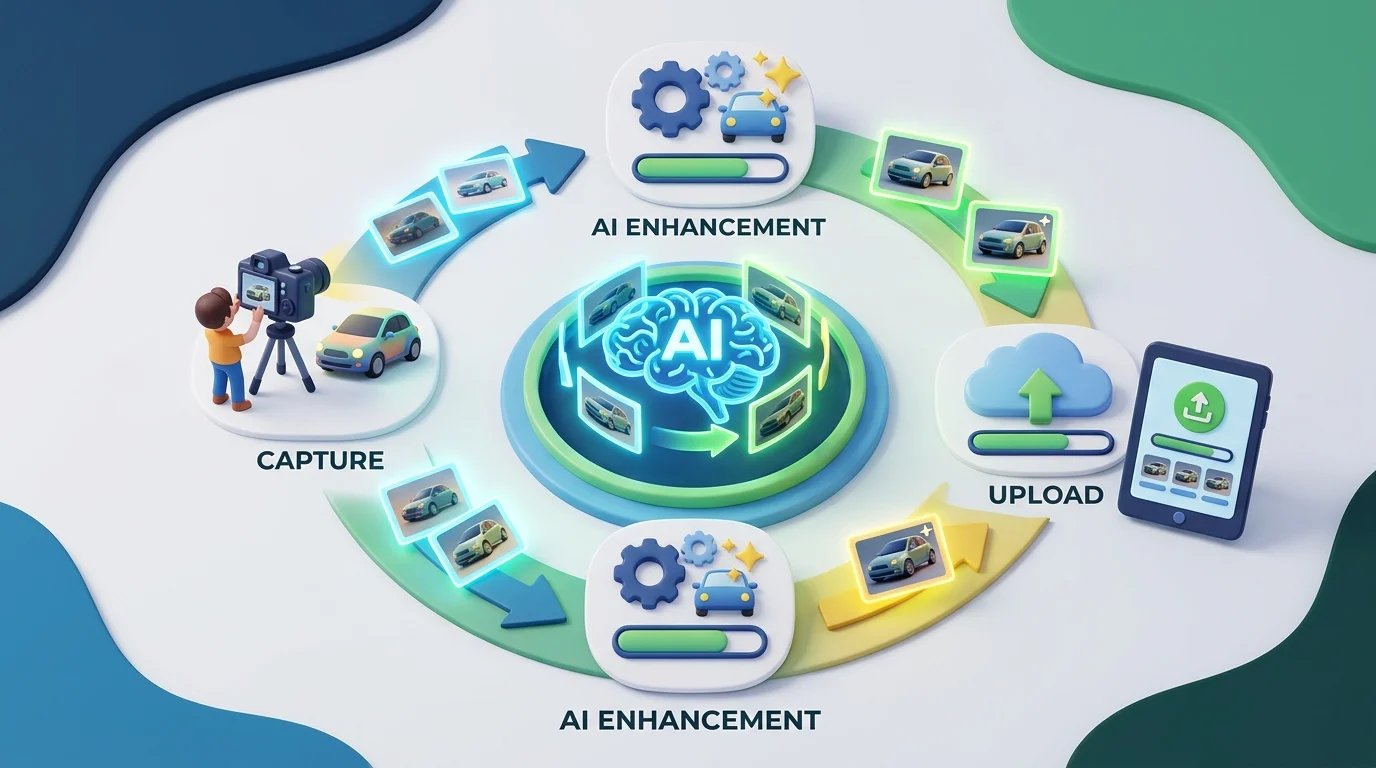
The most effective dealerships establish a single, repeatable sequence: capture → import → enhance (background removal, lighting, sharpening) → export → upload. This eliminates decision fatigue and ensures every vehicle receives identical treatment. When you're processing a batch of 50 cars, consistency matters far more than pixel-level perfection on any single image.
For team training, focus on the why before the how. Show your photographers and editors what over-sharpened artifacts look like, then demonstrate the subtle difference between "clear" and "processed." A 15-minute training session prevents weeks of rework. Quality control should involve spot-checking 10% of finished images weekly—look at edges, grille detail, and wheel definition to catch drift early.
AI-enhanced image processing tools like Car Photo Booth eliminate much of this complexity. These systems handle sharpening as part of their upscaling pipeline, applying calibrated enhancement alongside background removal and 4K export. You upload a batch, the AI processes all images with consistent parameters, and you download studio-quality results in minutes. No manual sharpening decisions. No training curve. No variance between operators. For dealerships processing 20+ vehicles daily, this integration saves hours while guaranteeing uniform quality across your entire inventory.
Sharper Photos, Faster Sales: Your Path to Professional Vehicle Listings
Sharpness is not a luxury in automotive sales—it's a competitive necessity. A high-resolution picture with crisp detail commands attention, builds buyer confidence, and converts browsers into serious inquiries. Blurry grilles, soft wheel definition, and hazy paint finishes signal neglect, whether or not that's the reality. Dealerships that invest in sharp, professional imagery consistently outperform those relying on lot snapshots.
The modern standard is no longer manual Photoshop refinement or expensive studio sessions. AI image sharpening has fundamentally changed the economics of automotive photography. Tools now automatically enhance clarity, remove distracting backgrounds, and deliver 4K-quality exports in seconds—at a fraction of traditional costs. For dealerships processing dozens of vehicles weekly, this shift from hours of editing to minutes of automated processing translates directly to margin improvement and faster inventory turnover.
The path forward is clear: adopt a system that sharpens consistently, scales effortlessly, and integrates seamlessly into your workflow. Test a solution with real inventory—most platforms, including Car Photo Booth, offer free trials requiring no credit card. Process a batch of 10–15 vehicles, measure the difference in listing engagement, and let the results guide your decision. The dealerships seeing the highest conversion rates today are those who stopped treating photo quality as an afterthought and made it a system.