
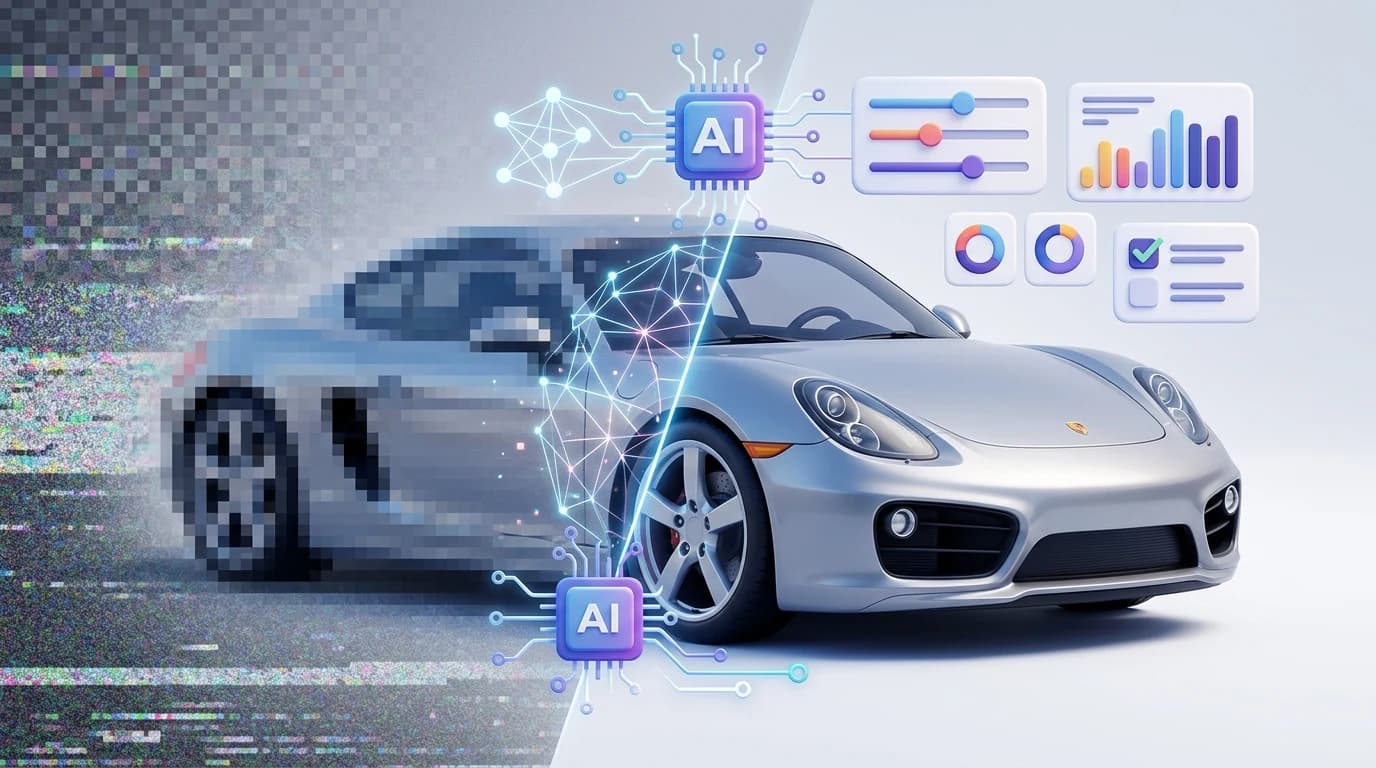
Low-quality car photos are costing dealerships and auto sellers real money. When a potential buyer scrolls through listings and encounters blurry, poorly lit, or pixelated images, they click away—often before even reading the vehicle details. The problem compounds across inventory: one fuzzy photo damages credibility; dozens of them signal unprofessionalism. For dealerships managing hundreds of listings, Turo hosts rotating inventory, and photographers juggling multiple clients, the traditional solution—hiring studio photographers or investing in expensive equipment—simply doesn't scale.
Quick Answer: AI image upscaling uses neural networks to intelligently enlarge and clarify car photos, recovering detail and sharpness from low-resolution originals. Modern tools can transform blurry lot shots into crisp, studio-quality images in seconds, eliminating the need for costly reshoot and dramatically improving online listing performance.
This guide covers everything you need to know about upscaling car photos with AI: why it works, which tools deliver results, how to prepare your images for the best output, and how to integrate upscaling into your workflow. Whether you're fixing slightly soft photos or making a photo clearer from smartphone captures, you'll learn the mechanics behind the technology and practical steps to implement it across your dealership or rental business.
Table of Contents
- Understanding AI Image Upscaling and Super-Resolution Technology
- Step-by-Step Guide to Upscaling Your Car Photos
- Beyond Upscaling: Combining Upscaling with Background Replacement for Studio-Quality Results
- Real Results: How Dealerships Save Time and Money with AI Photo Enhancement
- Common Mistakes to Avoid When Upscaling Car Photos
- Getting Started with AI Upscaling: Your Next Step to Professional Car Photography
Understanding AI Image Upscaling and Super-Resolution Technology
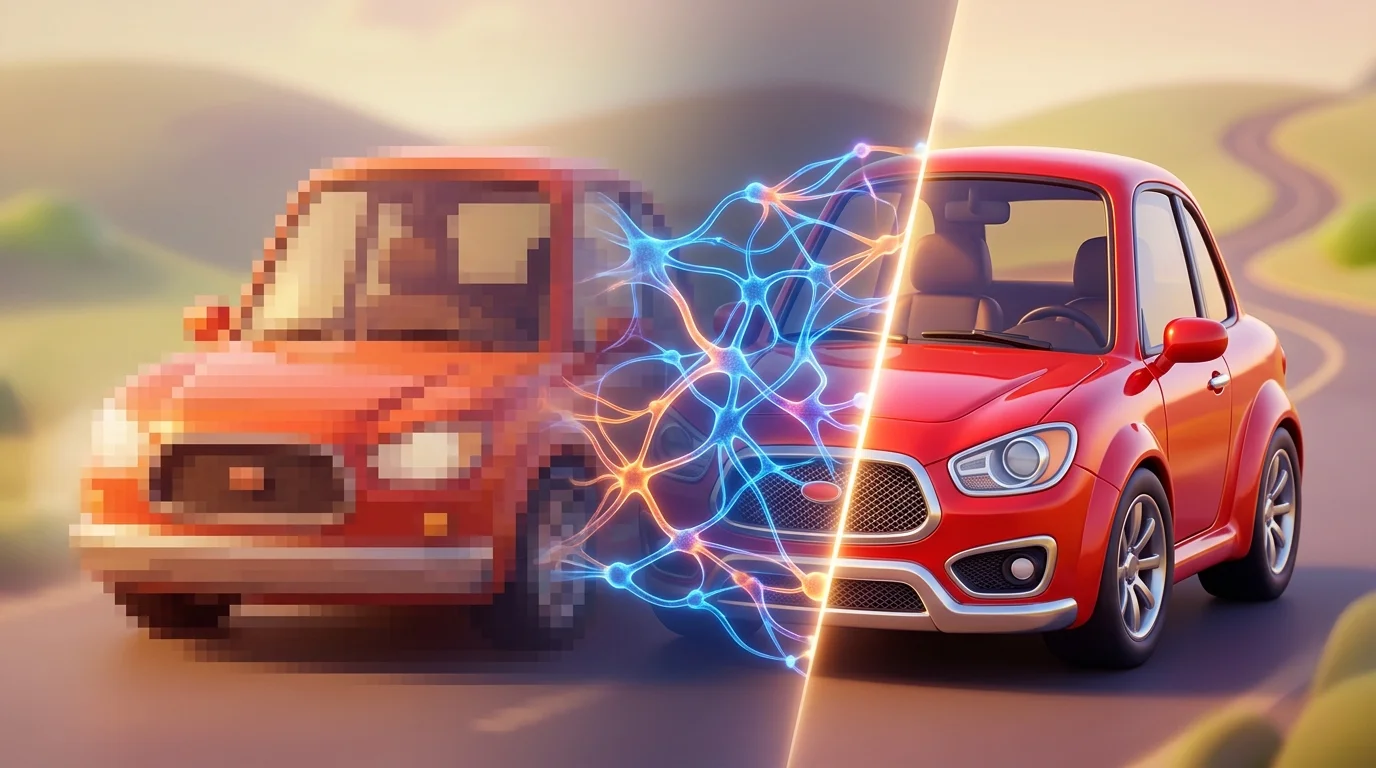
AI image upscaling is fundamentally about intelligent pixel reconstruction. When you take a low-resolution car photo—whether it's a blurry smartphone capture from the lot or a compressed digital file—the AI analyzes existing patterns, textures, and edges to predict what missing detail should fill the gaps. Rather than simply enlarging pixels (which creates a blocky, washed-out result), modern systems use deep neural networks to correlate low-resolution data with high-resolution patterns learned from thousands of reference images, essentially "hallucinating" realistic detail that was lost or never captured.
Super-resolution technology works by examining local neighborhoods of pixels and understanding spatial relationships. The AI identifies edges, surfaces, chrome reflections, and paint texture—critical details in automotive photography—then reconstructs them at higher resolution with genuine sharpness rather than artificial smoothing. For a dealership listing photo taken under poor lighting or a Turo host's quick smartphone shot, this means transforming a soft, unconvincing image into one that conveys quality and professionalism within seconds.
The practical benefit is immediate: a slightly blurry photo of a sedan's profile becomes crisp enough to showcase paint finish and body lines; a compressed thumbnail expands into detail-rich imagery suitable for print catalogs. You recover visual information that was technically present but degraded, without expensive reshoot or studio time. This approach works across all vehicle types and lighting conditions, making it invaluable for dealerships managing mixed-quality inventory or photographers who need to salvage marginal shots. The technology doesn't replace good photography—it amplifies what you already have, filling the gap between acceptable and exceptional.
Step-by-Step Guide to Upscaling Your Car Photos
Upscaling your car photos doesn't require technical expertise or expensive software. Modern AI-powered tools have simplified the process into a straightforward workflow that takes minutes from start to finish. Whether you're working with a single vehicle or managing inventory across dozens of listings, the fundamental steps remain consistent—and the results speak for themselves.
Step 1: Choose Your Upscaling Tool
Start by selecting a platform that fits your workflow and budget. AI upscaling tools range from free options like Upscayl to subscription services starting at $29–$39 per month for platforms like SellerPic and Magnific AI, with professional-grade options available at comparable pricing. For dealerships and Turo hosts, cloud-based solutions offer the fastest turnaround since they handle processing on remote servers rather than consuming your computer's resources. Some platforms, like Car Photo Booth, combine upscaling with background removal and professional backdrop libraries—solving multiple photo challenges in one tool rather than juggling separate applications.
Step 2: Upload Your Car Photo
Log into your chosen platform and locate the upload button. Select the car photo you want to enhance—whether it's a lot shot, smartphone image, or compressed thumbnail. Most cloud-based tools accept JPG, PNG, and WebP formats. Drag-and-drop interfaces make this frictionless; some platforms also accept batch uploads, allowing you to queue multiple photos at once.
Step 3: Select Your Upscaling Settings
Configure the enhancement level. Most tools offer preset options: 2x, 4x, or 8x upscaling. For dealership listings and Turo photos, 2x to 4x typically delivers the best balance—sharpening details without introducing artificial artifacts. If your tool includes additional options like sharpening intensity or noise reduction, enable them to make a photo clearer and more polished.
Step 4: Process and Download
Click process. Cloud-based AI upscaling tools can deliver results in seconds to minutes, with batch processing allowing dealerships to enhance hundreds of photos in hours instead of days. Once complete, download your upscaled image in high resolution—typically 4K quality—ready for immediate use in listings, catalogs, or print materials.
Beyond Upscaling: Combining Upscaling with Background Replacement for Studio-Quality Results
Upscaling alone sharpens details and increases resolution, but it doesn't solve the core problem dealerships face: cluttered lot shots, inconsistent lighting, and distracting backgrounds that undermine credibility. The real transformation happens when you layer upscaling with professional background removal and replacement—a workflow that mimics studio photography without the $25,000–$60,000 booth investment or $30–$50 per-vehicle photographer costs.
Here's why this combination works. Upscaling reconstructs pixel data to reveal fine details: the texture of leather seats, chrome trim, paint clarity. But those details mean nothing if the background is a messy dealership lot, parked cars, or blown-out sky. By removing the background first and replacing it with a professional studio environment—showroom, white infinity, urban street, or nature setting—you create psychological consistency. The vehicle becomes the undisputed focal point, framed by intentional, branded context.
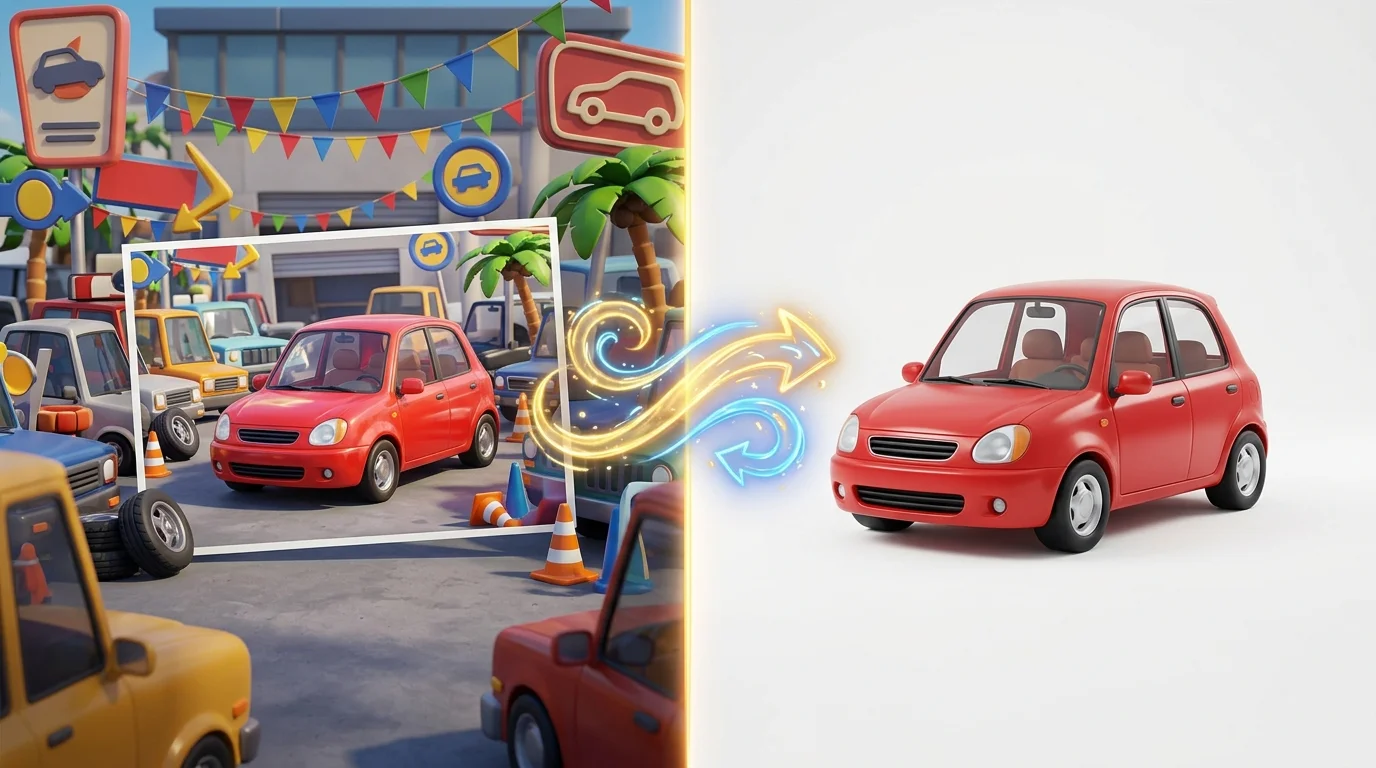
The workflow matters. Upscale first to maximize detail fidelity, then remove the background. This sequence ensures the AI has maximum information to work with during upscaling before background separation algorithms take over. When you remove objects or distracting elements from car photos, the cleaned background removal becomes cleaner and more precise.
Dealerships spend an additional $5–$15 per vehicle on background removal and editing through offshore teams or AI-based tools, yet results remain inconsistent. A combined upscaling-plus-background-replacement approach consolidates both steps into one integrated process. In Car Photo Booth, this means uploading a smartphone lot shot, selecting 4x upscaling and a professional backdrop, and receiving a studio-quality 4K image in seconds—eliminating weeks of back-and-forth with editors and the quality variance that plagues batch editing.
Real Results: How Dealerships Save Time and Money with AI Photo Enhancement
The economics of car photography are shifting. Traditional studio photography costs dealerships $30–$50 per vehicle, with top-tier professionals charging even more. Processing times stretch across hours or days—a single car might require a photographer's visit, editing sessions, and quality control reviews. Meanwhile, according to CDK Global research, it costs dealers as much as $50 for every day a vehicle isn't properly merchandised with quality photos. The math becomes brutal at scale: a 50-car lot photographed traditionally costs $1,500–$2,500 just for the shoot, before editing.
AI upscaling and background replacement compress this workflow dramatically. A dealership using Car Photo Booth processes the same 50-car lot for roughly $150–$300 total—a 90% cost reduction—with results delivered in minutes, not days. Turo hosts and independent sellers see even sharper ROI: instead of hiring a photographer for a single vehicle listing, they upload a smartphone photo and receive a 4K studio-quality image in seconds.
| Metric | Traditional Photography | AI Photo Enhancement |
|---|---|---|
| Cost per vehicle | $30–$50 | ~$3 |
| Processing time | 4–8 hours | 10–30 seconds |
| Setup/equipment | $25K–$60K booth | Cloud-based, no hardware |
| Consistency across batch | Variable | Uniform |
| Scalability | Limited by photographer availability | Unlimited |
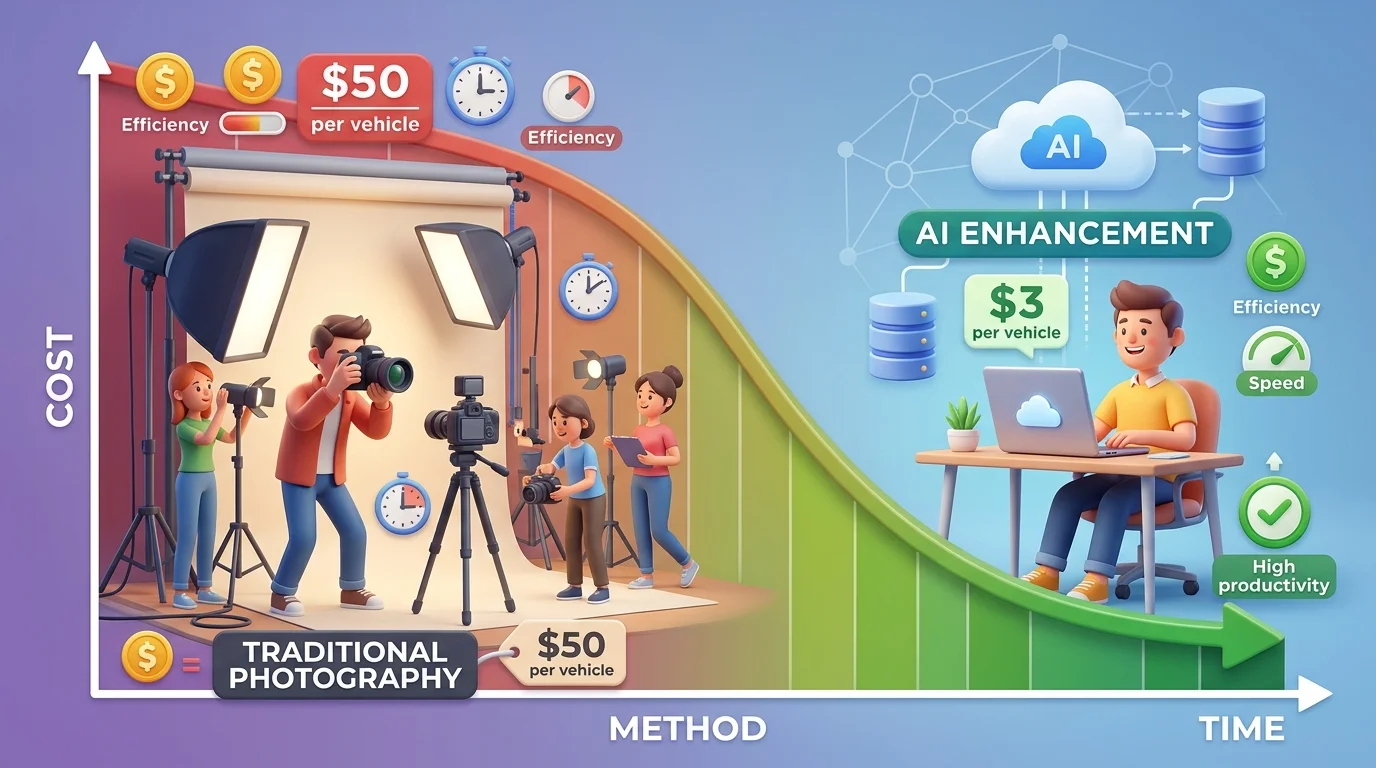
Quality consistency matters more than raw cost. A photographer's lighting, angle, and editing style shift subtly between vehicles, creating visual discord across a dealership's inventory. AI upscaling standardizes this—every car receives identical enhancement logic, identical background treatment, identical color grading. Listings with professional-grade images receive up to 50% more clicks than average alternatives, and vehicles with multiple custom photos sell 20% more often. The enhanced photos aren't replacing good original photography; they're amplifying its impact, turning decent lot shots into showroom-ready assets that command buyer attention.
Common Mistakes to Avoid When Upscaling Car Photos
The most damaging error dealerships make is over-processing—pushing upscaling algorithms too aggressively, which creates artificial, plasticky results that repel buyers rather than attract them. When you amplify an image beyond its natural limits, you introduce artifacts: halos around edges, unnatural color shifts, and a "digital" appearance that screams low-quality. The fix is restraint. Start with moderate upscaling settings, preview the output at actual listing size, and stop when the image looks sharp without appearing manipulated.
A second critical mistake is starting with source material that's simply too degraded to salvage. Upscaling works best on images with adequate initial resolution and lighting. A blurry, underexposed photo from a cloudy lot won't transform into a showroom asset, no matter how powerful the AI. Before upscaling, assess whether the original image has salvageable detail. If it's severely compromised, reshoot rather than waste processing time.
Ignoring lighting problems is equally costly. Upscaling sharpens what exists—it cannot fix poor lighting, harsh shadows, or blown-out highlights. If your source photo has uneven illumination or unflattering angles, address those issues first through retouching or, when possible, re-photography.
Finally, test your upscaling workflow across different vehicle types, colors, and lighting conditions before scaling to your entire inventory. A setting that works beautifully on a white sedan may oversharpen a dark SUV or introduce color banding on metallic finishes. Batch-testing prevents costly mistakes across hundreds of listings and ensures consistency that buyers expect from professional dealership presentations.
Getting Started with AI Upscaling: Your Next Step to Professional Car Photography
The foundation for professional car photography no longer requires a six-figure studio investment or hiring expensive photographers for every vehicle rotation. AI upscaling transforms ordinary lot photos into polished digital assets in seconds—a shift that levels the playing field between independent sellers and dealerships with substantial production budgets.
The real power emerges when upscaling becomes part of a complete workflow. Sharpening resolution alone improves detail, but pairing it with background removal and professional backdrop replacement creates the studio-quality presentation buyers expect. This combination—upscaling the vehicle itself while replacing distracting lot backgrounds—turns casual snapshots into inventory that converts.
Start by testing your current photos with a free tool to see measurable results firsthand. Car Photo Booth offers instant processing without credit card requirements, letting you evaluate how AI enhancement transforms your specific inventory before committing resources. Process a few vehicles across different colors, lighting conditions, and angles to understand what works best for your catalog.
The next step is establishing a repeatable workflow: capture source images with adequate lighting and resolution, upscale for clarity and detail, then apply background replacement for consistency. This systematic approach scales efficiently across hundreds of listings while maintaining the professional uniformity that builds buyer confidence.
Your competitive advantage isn't just sharper images—it's faster, more affordable production that matches showroom standards. Begin exploring how AI-enhanced automotive photography fits your business today.