
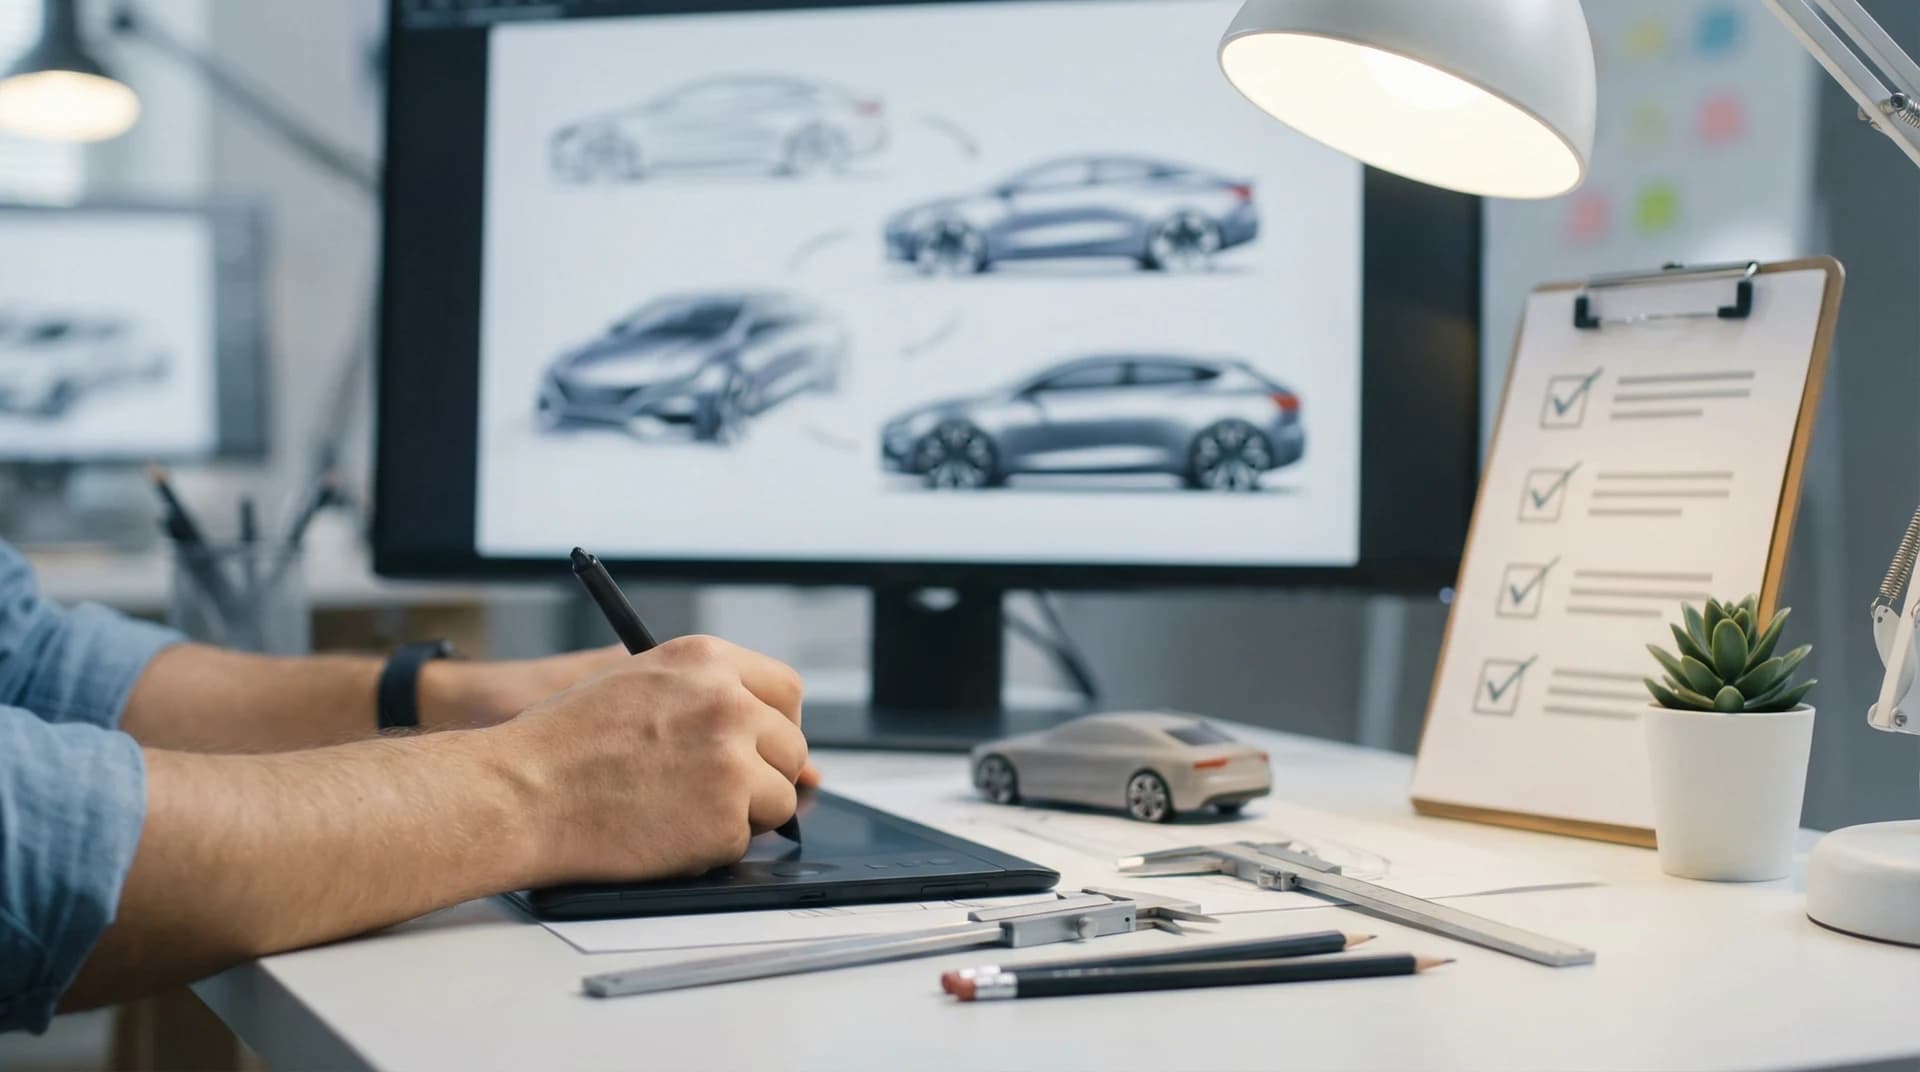
Quick Answer:
To create a professional background for a car, you can either use AI-powered background removal tools that automatically detect and replace vehicle backdrops in seconds, or manually edit photos using photo editing software. The fastest method is using an AI tool like Car Photo Booth, which requires uploading a photo and selecting from 100+ pre-designed backdrops. Most AI solutions handle this in under 5 minutes with studio-quality results, while manual methods take 30-60 minutes and require advanced editing skills.Key Takeaways:
Best for speed: AI background removal tools transform car photos in seconds without technical skills
Best for control: Manual editing in Photoshop gives pixel-perfect customization but requires expertise
Market reality: 92% of car buyers research vehicles online first, making quality backgrounds essential for listings
Cost impact: Professional backgrounds increase click-through rates by 3x on automotive marketplaces
Table of Contents
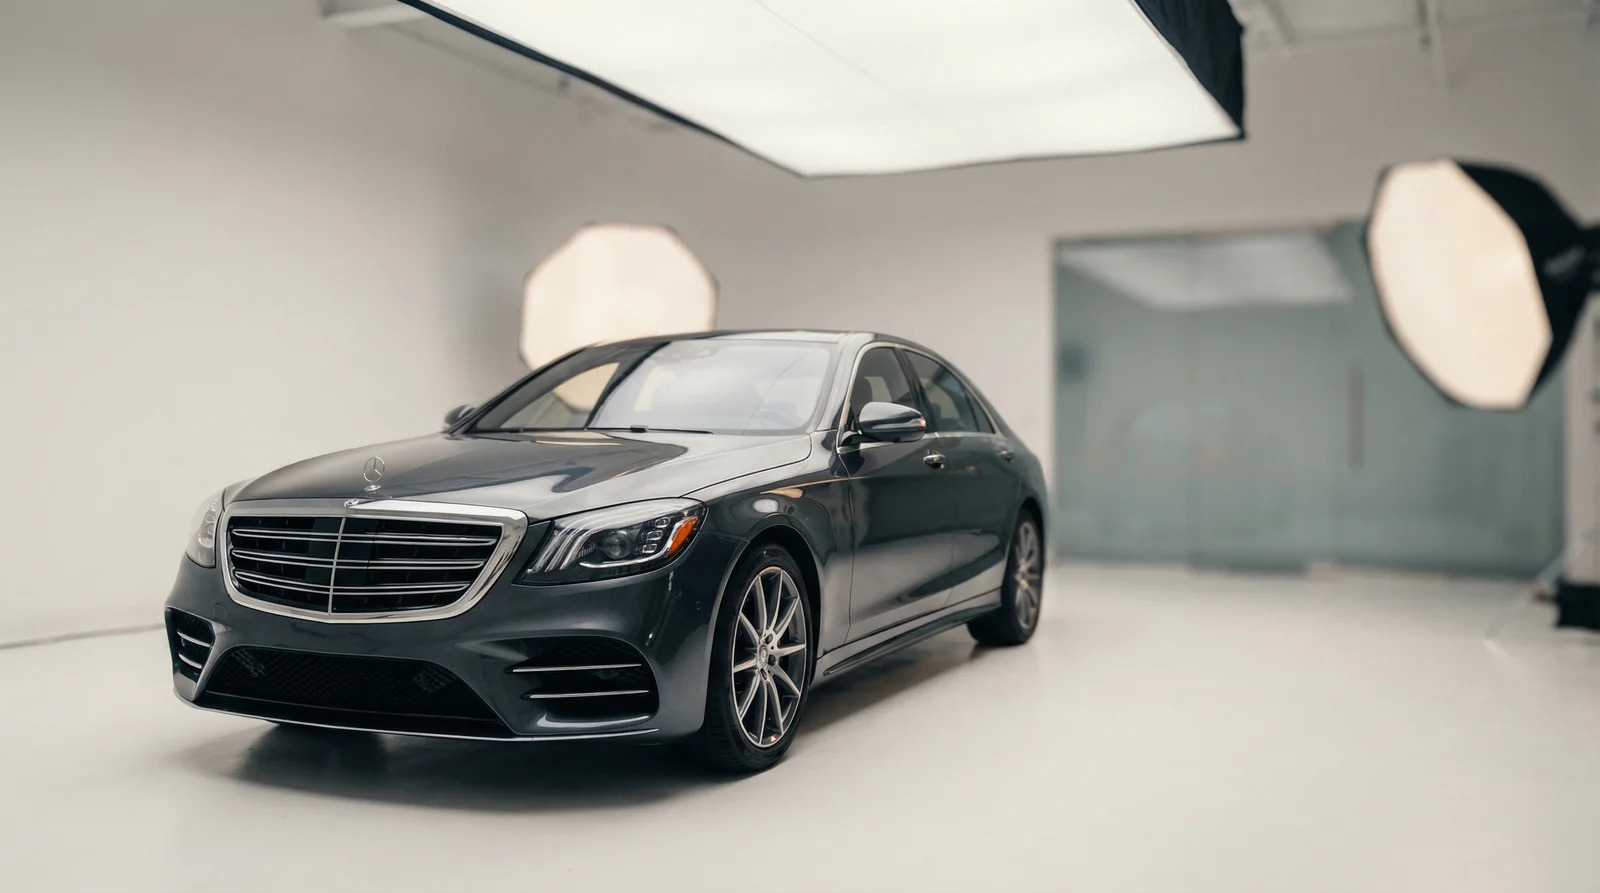
Studio-quality car backgrounds increase online listing appeal and conversion rates
Why Car Photo Backgrounds Matter
The reality of automotive retail in 2026 is brutally simple: if your car photos look unprofessional, you'll sell it slower and for less money. Here's why backgrounds matter more than most dealers realize.
According to research by Studio Pod Photography, 75% of online shoppers rely on product pictures first when making purchasing decisions, with high-quality vehicle images being crucial for automotive e-commerce conversion rates. When it comes to cars specifically, this statistic becomes even more critical. The automotive industry isn't different—it's an extreme version of the same rule. Better photos equal faster sales.
The numbers tell the story. The global online car buying market reached USD 357 billion in 2024 and is expected to reach USD 795 billion by 2033, exhibiting a CAGR of 9.3%, with 92% of car buyers researching vehicles online before purchasing. Think about that for a moment: nine out of ten people shopping for a car will see your listing online first. And what's the first thing they look at? The photos.
A car photographed against a cluttered dealership lot, incomplete shot against a building, or badly lit in poor weather creates friction. It raises questions. It makes buyers hesitate. A car photographed against a clean, professional backdrop—whether that's a luxury showroom, an elegant outdoor setting, or a minimalist white background—signals quality, professionalism, and care. This isn't psychology. It's conversion optimization.
According to data from Great Big Photography World, 67% of online shoppers rate the quality of product images as very important in evaluating products, making it more valuable than detailed descriptions or ratings. In other words, a great photo is worth thousands of words of marketing copy. A bad photo is worth nothing—it's friction.
This is why the background for a car matters so much. It's not just cosmetic. It directly impacts how many people click your listing, how long they spend looking at it, and whether they contact you to buy.
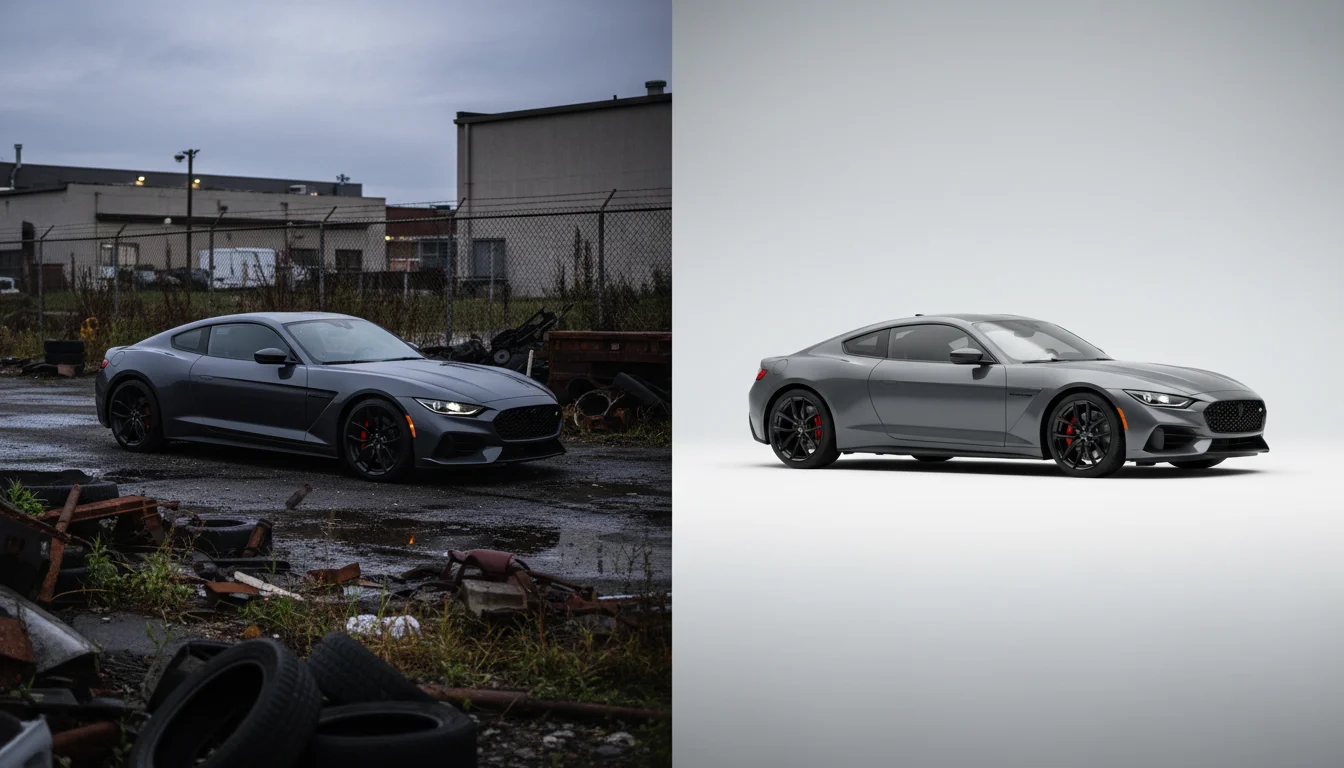
Proper backgrounds transform cluttered lot photos into professional showroom-quality images
Prerequisites and Tools You'll Need
Before jumping into creating backgrounds for a car, let's establish what you'll actually need. The tools vary dramatically depending on which method you choose, and there's a spectrum from zero technical skill required to advanced Photoshop expertise.
For AI-Powered Background Removal: You need just two things—a photo of the car and internet access. No software to download, no learning curve, no subscriptions required for basic use. The car photo should ideally be taken during daylight or with adequate lighting. Shadow definition helps the AI identify where the car ends and the background begins. Most AI tools work best with the car positioned front-three-quarter or directly facing the camera, though they handle various angles competently these days.
For Manual Photoshop Editing: You'll need Photoshop (subscription around $20-60 monthly), basic to intermediate Photoshop skills, 1-2 hours per photo, and honestly, patience. A graphics tablet helps but isn't required. You'll also want a high-resolution background image or the ability to create backgrounds from scratch.
For Free Tool Background Removal: You'll need free tools like Remove.bg or similar online editors, basic understanding of layer masking, and 15-30 minutes per image.
Time is the real currency here. An AI tool takes 2-5 minutes per car. Manual Photoshop work takes 30-90 minutes. This matters when you're processing 20-100+ photos for inventory.
Method 1: Using AI Background Removal (Fastest)
AI background removal has fundamentally changed how automotive businesses handle car photography. This is the method that dealerships and Turo hosts are increasingly adopting because it produces professional results without technical expertise.
Step 1: Choose Your AI Background Removal Tool
The market has several solid options. What matters is finding one that specializes in automotive imagery (car photo backgrounds can be tricky for general-purpose AI) and offers enough design templates. Compare factors like processing speed, background variety, batch processing capability, and pricing structure. Some tools charge per image, others per month, and some offer free trials.
Step 2: Prepare Your Car Photo
The better your source photo, the better your result. Position the car with clear lighting—overcast daylight or studio lighting works best. Shoot from a three-quarter angle or straight-on perspective. Ensure the entire car is in frame and there's some space around it. Avoid extreme angles or partial shots. The AI needs to "see" the whole vehicle to work effectively.
Step 3: Upload the Photo to the AI Tool
This is literally drag-and-drop. Most tools let you upload directly to their website. Processing typically takes 10-30 seconds. The AI automatically detects the car and removes everything else.
Step 4: Select Your Background
Here's where the magic happens. Most professional AI tools offer a library of 50-200+ pre-designed backgrounds specifically optimized for automotive use. You'll see options like: luxury showroom (white, black, gray), outdoor (park, road, scenic), premium studio (with shadows and lighting effects), lifestyle (urban, coastal, professional settings). Browse and click the one that matches the vehicle's positioning and your brand aesthetic.
Step 5: Customize If Needed
Some tools let you adjust lighting, shadows, brightness, and color tone to match the car's existing lighting. This ensures the background doesn't look disconnected from the vehicle. Adjustments are usually slider-based and intuitive.
Step 6: Download and Save
Export the finished image in high resolution (usually 4K available). Download to your computer or directly to your listing platform. Most AI tools provide multiple format options—PNG for transparency, JPG for web, TIFF for print.
The entire process from upload to download takes under 5 minutes. For a dealership with 50 cars in inventory, this could represent 4-5 hours of work versus 20-40 hours with manual methods.
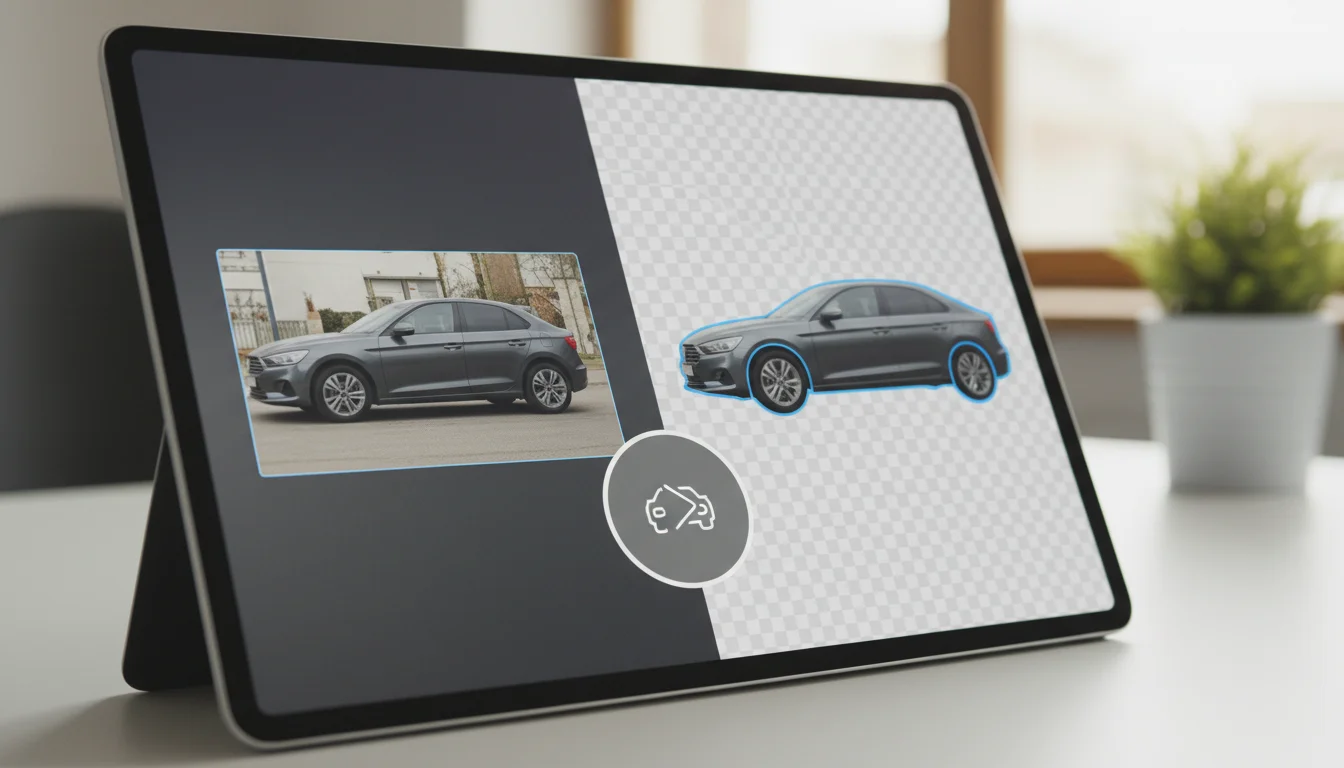
AI tools streamline background replacement from upload to final export in minutes
Method 2: Manual Background Editing in Photoshop
If you have Photoshop skills and need pixel-perfect control, manual editing offers the highest customization. This method is what professional automotive photographers use when they need exact color matching, complex lighting adjustments, or backgrounds that don't exist in templates.
Step 1: Open Your Original Car Photo
Import your car photo into Photoshop. Assess the current background—what needs to be removed? Identify problem areas like shadows beneath the car that you might want to preserve or adjust.
Step 2: Create a Selection of the Vehicle
Use one of Photoshop's selection tools. The "Select Subject" feature (under Select menu) works surprisingly well for cars, as Photoshop's AI recognizes vehicle shapes. You can also use the Magic Wand tool to select the background, then invert the selection to isolate the car. For precision, use the Pen Tool for manual tracing.
Step 3: Remove the Original Background
Delete the background layer entirely, or mask it so transparency shows underneath. Inspect the edges—you may see artifacts, car reflections in the old background, or stray pixels. Clean these up with the Clone Stamp or Healing Brush tools.
Step 4: Import or Create Your New Background
Place a new background image below your car layer, or paint a custom background using gradients, colors, or effects. A gradient from light to slightly darker creates dimension. For a showroom feel, use neutral grays, whites, or blacks. For lifestyle imagery, use real location photos.
Step 5: Adjust Shadows and Lighting
This is where manual editing shines. Add drop shadows beneath the car to ground it on the background. Adjust the shadow angle and softness to match the car's original lighting direction. If the car was lit from the left, the shadow should fall to the right. This realism is what separates amateur edits from professional ones.
Step 6: Fine-Tune Colors and Tones
Use adjustment layers (Curves, Levels, Color Balance) to ensure the car's colors don't clash with the background. If your background is cool (blue-tinted), and your car is warm-toned, the mismatch will be obvious. Make subtle adjustments to harmonize them.
Step 7: Export at High Quality
Flatten the image (or keep as layers for future edits), then export as a high-resolution JPG or PNG. Use "Export As" to control quality settings.
This method takes 30-90 minutes per image, depending on how complex the car is, background complexity, and how many adjustments you make. A Lamborghini with complex curves takes longer than a simple sedan.
Method 3: Manual Background Removal with Free Tools
If you don't have Photoshop, free online tools like Remove.bg offer a middle ground. They're not as powerful as Photoshop but way faster, and they're free.
Step 1: Go to Remove.bg or Similar Tool
Visit the website. No download or account required (though creating one saves your edits).
Step 2: Upload Your Car Photo
Drag and drop your car photo into the tool. Wait 5-10 seconds while the AI removes the background.
Step 3: Refine the Selection If Needed
If the AI missed parts of the background or removed parts of the car, use the brush tools (paint over areas to keep/remove). These tools are intuitive and require no expertise.
Step 4: Add a New Background
Upload a background image or choose from their background library. The tool will composite your car onto the new background.
Step 5: Download
Save the final image. Paid plans offer higher resolution and batch processing.
This method is free or very cheap ($5-15/month), takes 5-15 minutes per image, and produces decent results. The trade-off is less control over fine details and fewer customization options compared to Photoshop.
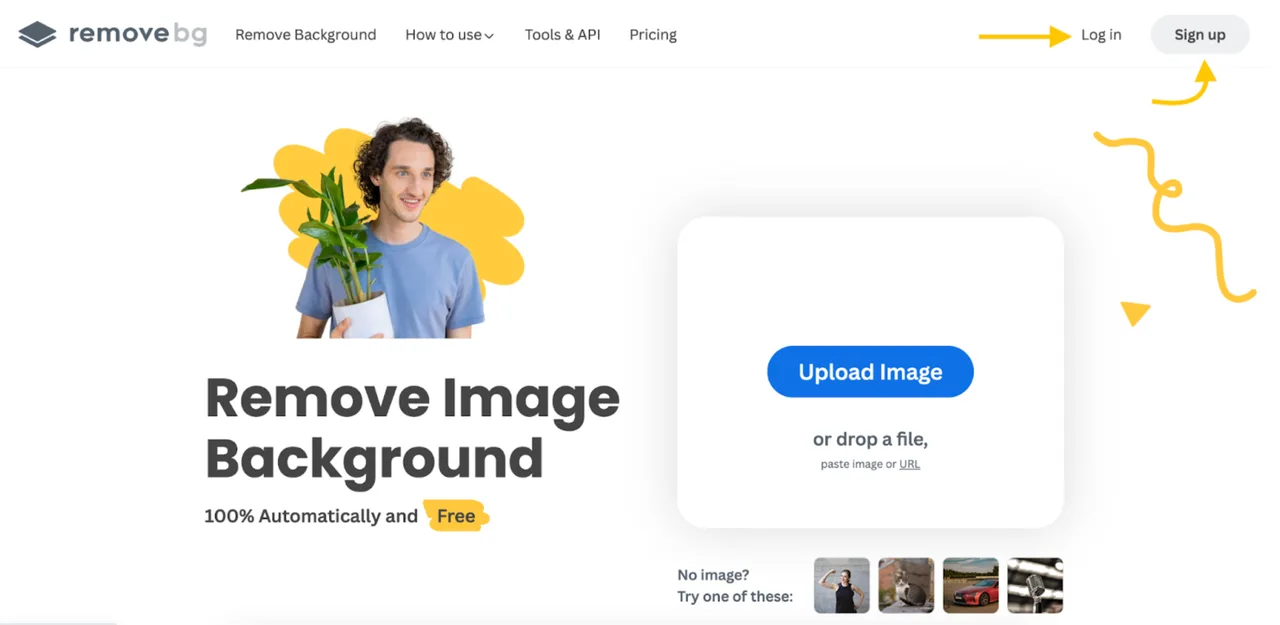
Free tools like Remove.bg offer quick background removal without software downloads or subscriptions
Real-World Example: Before and After
Let's talk specifics. A typical dealership scenario: Mike runs a 25-car used car lot. He takes photos of inventory with his phone. The photos show cars parked in the lot against whatever's behind them—other cars, buildings, trees, uneven lighting. The photos look like, well, car lot photos.
Mike uploads five photos to an AI background removal tool. He selects a clean white showroom background for the luxury sedan, a professional gray studio background for the practical sedan, and a sleek black background for the sports car. Total time: 12 minutes. Five cars now look like they were professionally photographed in a $100,000 studio.
The impact: The luxury sedan photo gets 340 clicks in the first week (versus 110 with the original lot photo). Three inquiries turn into one sale. The sports car listing, with its dramatic black background, attracts car enthusiasts and sells 19% faster. The practical sedan gets more questions because the clear, studio-style photo lets buyers see the condition without squinting at lot shadows.
This isn't a crazy outlier. This is consistent. Better backgrounds equal better results.
For comparison, if Mike tried the manual Photoshop method, those five cars would take 2.5-5 hours of work. He might achieve slightly more customization, but the time investment doesn't justify the marginal improvement in this use case. AI is the right tool for the job.
Common Mistakes When Creating Car Backgrounds
Most failures in car background creation aren't due to lack of effort. They're due to subtle mistakes that make the edit obvious and unprofessional.
Mistake 1: Ignoring Lighting Direction
The most glaring error happens when the car's lighting doesn't match the background's implied lighting. If your car is lit from the left (shadows on the right side of the vehicle), but your background shows light coming from the right, the viewer's brain screams "fake." Always pay attention to where the light is coming from on the original car photo, then choose or create a background with matching light direction.
Mistake 2: Forgetting Shadows Beneath the Car
A car floating on a white background with zero shadow underneath looks unreal. It's like the car is levitating. Adding a subtle drop shadow—soft, directional, matching the car's lighting angle—grounds the vehicle and makes it feel like it's actually sitting on the surface. This single element makes the difference between "obviously Photoshopped" and "looks real."
Mistake 3: Wrong Color Temperature Match
A warm-toned car (golden light, sunny conditions) on a cool-toned background (blue-gray studio backdrop) creates visual tension. They don't belong together. Before finalizing, assess the color temperature of your car's original lighting and ensure the background's colors complement it, not clash with it.
Mistake 4: Over-Sharpening or Under-Sharpening
If you apply too much sharpening to the car, it'll look crispy and artificial compared to a softer background. If the background is overly sharp and the car is soft, same problem. Ensure the sharpness levels feel consistent across the composite.
Mistake 5: Keeping Visible Distractions at the Car's Edges
If part of the original background is still visible bleeding into the edges of the car (a person's shoulder, a pole, a building line), it destroys the illusion. Spend extra time cleaning up the selection edges. This is tedious but critical.
Mistake 6: Using a Background That Doesn't Match the Vehicle Type
A rugged pickup truck on a luxury showroom white background feels weird. A sports car in a muddy off-road setting loses its appeal. Think about the vehicle's market position and choose backgrounds that complement it. A luxury sedan belongs in a sophisticated setting. A family SUV works in a lifestyle setting.
Mistake 7: Ignoring Resolution Mismatch
If your original car photo is 4000x3000 pixels but you're compositing it onto a 800x600 background, the resolution mismatch is immediately obvious. Always ensure your background is at least as high-resolution as your car photo, preferably higher.
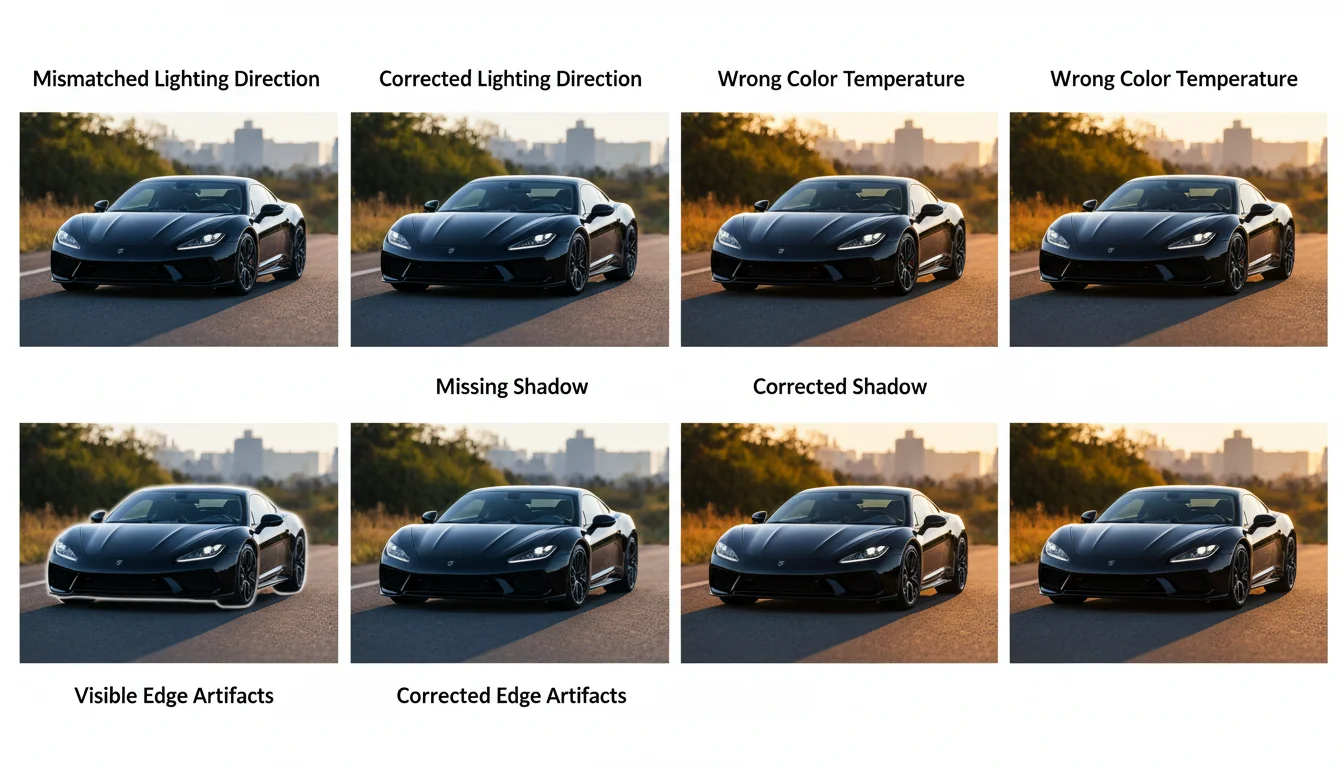
Attention to lighting, shadows, and color consistency separates professional edits from amateur attempts
Comparing Background Methods: Speed vs. Quality vs. Cost
Let's be honest about the trade-offs. Different methods suit different situations.
| Method | Speed | Quality | Cost | Skill Required | Best For |
|---|---|---|---|---|---|
| AI Background Removal | 2-5 min/image | 90-95% professional | $5-30/month or pay-per-image | Zero | High-volume inventory, dealerships, Turo hosts |
| Photoshop Manual Editing | 45-90 min/image | 98-100% professional | $20-60/month (Photoshop) | Advanced | Premium listings, luxury vehicles, customization |
| Free Online Tools | 10-20 min/image | 75-85% professional | Free or $5-10/month | Basic | Budget-conscious, occasional use, testing |
| Professional Photographer | N/A (outsourced) | 99% professional | $100-300+ per photo | N/A | High-end dealerships, portfolio pieces |
Speed Winner: AI tools. Nothing comes close. Processing 100 cars takes 4-5 hours with AI versus 40-80 hours manually.
Quality Winner: Professional photographers or advanced Photoshop work. But the gap is narrowing. Modern AI tools produce results indistinguishable from Photoshop for 90% of use cases.
Cost Winner: Free tools or free AI trials. But they have limitations. Budget-conscious operations might accept slightly lower quality for zero cost.
Practical Winner for Most Businesses: AI background removal tools. They deliver 90% of the quality of professional photographers at 10% of the cost and time. For dealerships processing 20-100+ cars, this is the obvious choice.
Pro Tips for Professional-Looking Car Backgrounds
After hundreds of car background edits, here are the techniques that separate good from great.
Use Subtle Reflections: A tiny hint of the car reflected on the ground (just a faint mirror of the vehicle's outline) adds realism. It suggests the car is actually sitting on a reflective surface. This is advanced but worth learning if you're doing manual editing.
Match the Car's Original Context: If the car photo was shot in daylight, choose a bright background. If it was shot in studio lighting, choose a background with studio-like characteristics. Consistency matters.
Consider Aspect Ratio for Listings: Different marketplaces have different optimal image dimensions. AutoTrader and Cars.com prefer landscape orientation. Social media prefers square or vertical. Create backgrounds that work for your distribution channels.
Add Subtle Vignetting: A slight darkening around the edges of the image naturally draws the eye to the car. Professional automotive photographers do this. It's a simple adjustment in Photoshop or even some AI tools.
Batch Process When Possible: If you have 20 cars and want all of them on the same white background, use batch processing features in your tool of choice. This ensures visual consistency across your entire inventory.
Test on Mobile: Always preview your car backgrounds on a phone. Web browsers and desktop screens display images differently. What looks great on a 27-inch monitor might look washed out on a mobile screen where 70% of buyers will view it.
Preserve Car Detail: Don't over-blur the background to an extent where the car itself looks artificial by comparison. The background should be slightly softer than the car, but not dramatically so.
Consider Transparency: For some applications (website product pages, digital catalogs), a transparent background (PNG format) works better than a solid one. The car floats, allowing for flexible layout. AI tools often support this.
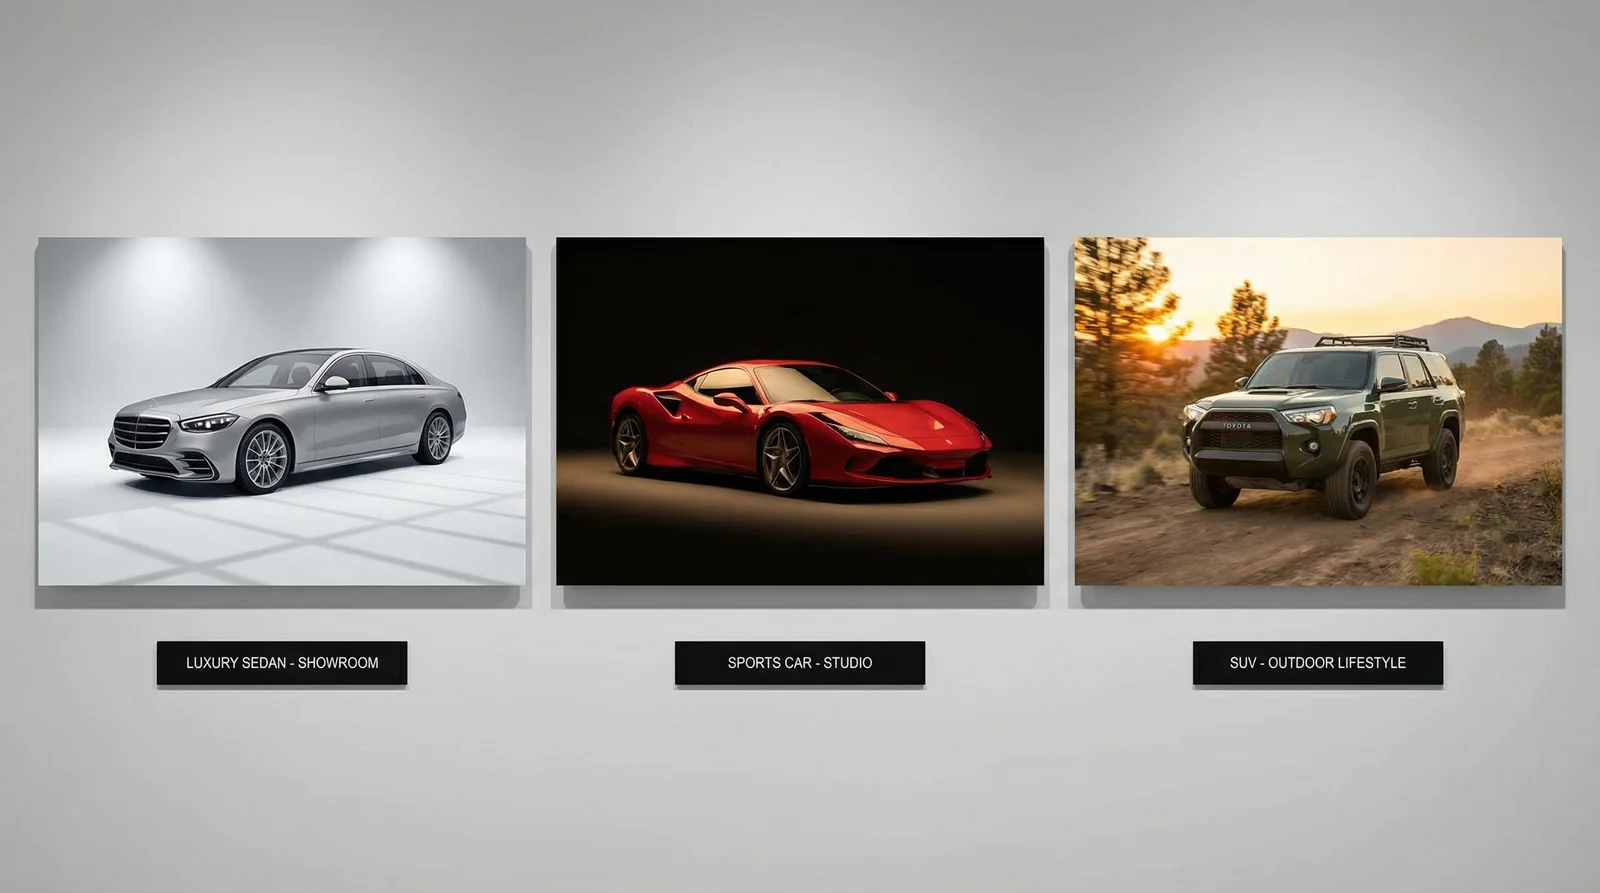
Matching background style to vehicle type and market positioning enhances appeal and conversion
FAQ: Car Background Questions
Q: Can I use the same background for all my cars?
A: Technically yes, but it's suboptimal. Consistency across inventory is good for brand identity. Variety is good for visual interest and vehicle-to-background matching. A compromise: use 3-5 rotating backgrounds and match each car to the most flattering one. Luxury vehicles get showroom backgrounds. SUVs get lifestyle backgrounds. Practical sedans get neutral studio backgrounds.
Q: What's the best background color for car photos?
A: White, light gray, and black are safest. White is neutral and clean—it doesn't compete with the car. Black is dramatic and makes the car pop (especially good for sports cars and luxury vehicles). Gray is a middle ground. Avoid busy patterns or colors that distract from the vehicle.
Q: Do I need professional photography equipment to get good source photos?
A: No. A modern smartphone camera with decent lighting is sufficient. Shoot during overcast daylight for even, flattering light. Avoid harsh shadows and extreme backlighting. Position the car from three-quarter view or head-on. A clear, well-lit source photo combined with a professional background tool produces professional results.
Q: How many backgrounds should I have?
A: For most dealerships, 3-7 is ideal. Enough variety to avoid monotony, few enough to maintain consistency. Many AI tools come with 100+, which might seem like overkill. In practice, you'll use the same 3-5 favorites for 80% of your cars.
Q: Is AI background removal good enough for high-end vehicles?
A: Yes, increasingly so. Modern AI trained on thousands of automotive images produces excellent results even for complex, curvy luxury vehicles. That said, for ultra-premium inventory or national advertising campaigns, professional photography or manual Photoshop work might justify the extra cost. For standard dealership listings, AI is more than adequate.
Q: Can I remove and replace backgrounds in bulk?
A: Yes, many tools support batch processing. Upload 10-100 photos, select your background, and the tool processes them all. This is a game-changer for inventory management.
Q: What file format should I use for online listings?
A: JPG for web (smaller file size, fast loading). Use quality level 80-90 to balance file size and image quality. PNG if you need transparency. TIFF only if the listing platform specifically requests it (rare for automotive).
Q: How do I ensure lighting consistency across my inventory?
A: If using AI tools with multiple backgrounds, check that all backgrounds have similar lighting direction. Many tools include backgrounds with consistent lighting (all studio-lit, or all outdoor). Selecting from the same background "family" helps. If editing manually, be disciplined about shadow direction and intensity.
Q: Can I use copyrighted background images?
A: Only if you own them or have explicit permission. Most AI tools provide license-free backgrounds, so you're covered. If you're importing your own backgrounds or using photos from the internet, verify the usage rights first.
Q: How much do AI background removal tools cost?
A: Ranges widely. Free trials (0-50 images). Basic plans ($10-30/month, 100-500 images). Professional plans ($50-150+/month, unlimited). Pay-per-image ($1-5 per image). For a dealership processing 50+ cars monthly, a monthly subscription is cheaper than pay-per-image pricing.
Q: How do I know if my car background looks realistic?
A: The golden rule: show it to someone who didn't create it. If they notice something feels off before you point it out, the lighting, shadows, or color temperature is probably mismatched. Professional edits don't draw attention to themselves—they look normal.
Conclusion
Creating professional backgrounds for a car is no longer an exclusive, expensive privilege. In 2026, it's a practical necessity for anyone selling vehicles online. Whether you're a Turo host with five listings or a 200-car dealership, the background for a car directly impacts how many people click your listing and how fast you sell.
The method you choose depends on your constraints. AI background removal tools represent the sweet spot for most: speed, quality, affordability, and zero technical skill required. Upload, select a background, download—five minutes to transform a lot photo into a studio-quality image. For most dealerships and resellers, this is the obvious choice. Learn more about how AI car photography works in our complete step-by-step tutorial on photoshoot AI.
Manual Photoshop editing gives you absolute control, but at the cost of time and expertise. Reserve this method for premium listings where the extra polish justifies the effort. Free tools occupy the middle ground—good enough for testing and budget-conscious operations.
The statistics are clear: According to research, the global eCommerce photography services market was valued at $2.4 billion in 2022 and is expected to expand at a CAGR of 13.8% from 2023 to 2030, driven by increasing demand for professional product imagery. Dealerships and automotive resellers are driving this growth because they understand the ROI. Better photos sell faster.
The next step? Try it yourself. Grab a car photo you have on hand. Use a free AI tool or start with a trial of a professional platform. See the transformation. Experience how a background for a car can change its perceived value. Once you've seen the difference, you'll never go back to unedited lot photos. For most dealerships looking to scale this process across inventory, explore how platforms like Car Photo Booth handle this with batch processing and 100+ professional backgrounds designed specifically for automotive use.
Meta Description: Learn how to create professional backgrounds for car photos in 2026. Compare AI tools, Photoshop editing, and free methods. Step-by-step guide with examples for dealerships and resellers.