
Knowing how to make images less blurry is essential for dealerships and auto sellers who rely on high-quality visuals to drive sales. Blurry car photos are costing your dealership real money—every single day. According to CDK Global data, nearly 90% of car shoppers decide whether to engage with your listing based on photo quality alone. When those images lack sharpness and clarity, you're not just losing visual appeal; you're losing sales velocity. Research shows that dealerships with high-quality images receive 30% more customer inquiries, while listings with crisp, professional photos generate 48% more clicks than those with blurry or low-resolution alternatives.
Understanding Types of Blur in Automotive Photography
Car photos fail for different reasons, and diagnosing the exact type of blur is essential before attempting a fix. Not all blur is created equal—some can be corrected with AI or manual editing, while others are permanently lost. Understanding what caused the blur in the first place helps you choose the right solution and set realistic expectations for your inventory.
Motion Blur vs. Focus Blur in Car Photography
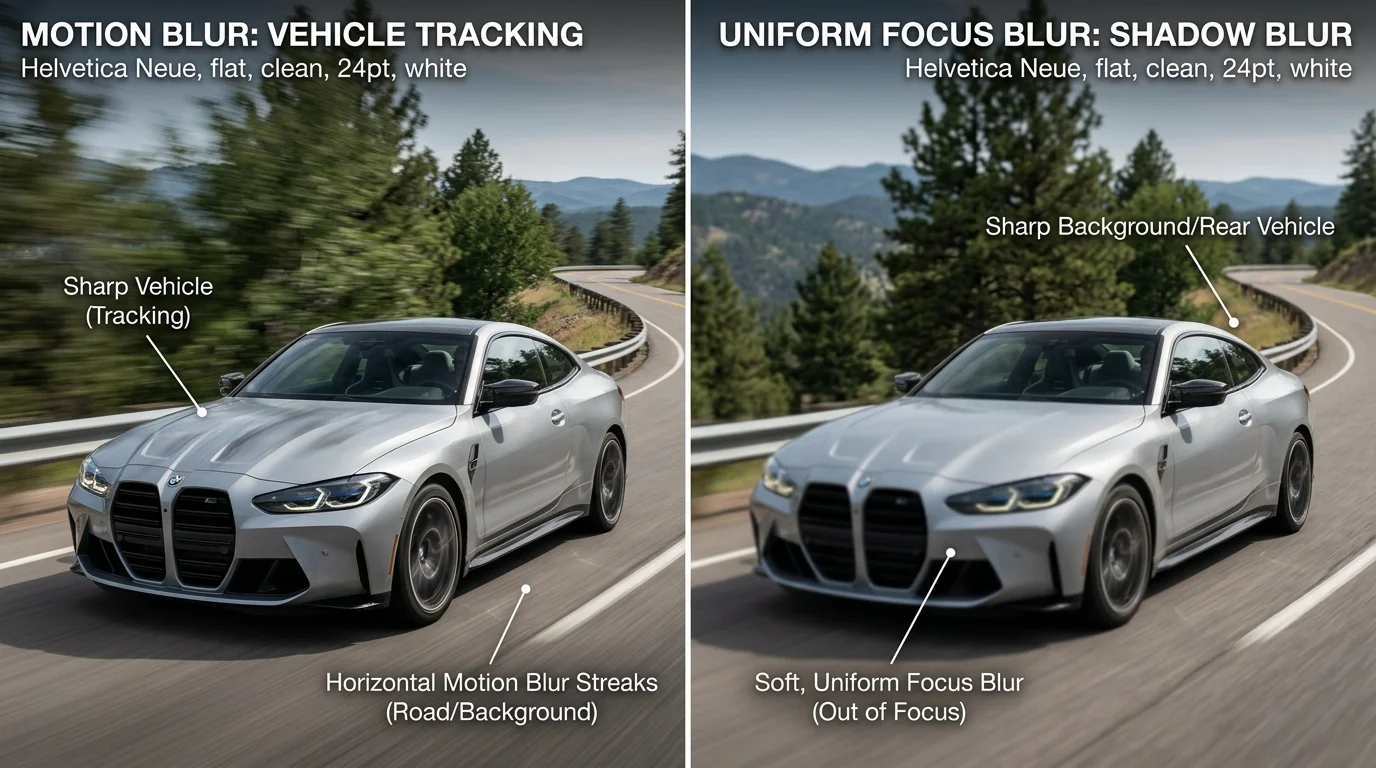
Motion blur and focus blur are fundamentally different problems that require different approaches. Motion blur occurs when either the camera or the vehicle moves during the exposure, creating directional streaks or smearing across the image. This typically happens when shooting handheld without stabilization, photographing a moving vehicle, or using a slow shutter speed in low light. You'll recognize motion blur by its characteristic streaks—horizontal lines across the hood, blurred wheels, or soft edges that follow the direction of movement.
Focus blur, by contrast, is smooth and evenly distributed without any directional streaks. It occurs when the camera's autofocus locks onto the wrong part of the vehicle—perhaps the background instead of the grille, or the side mirror instead of the headlights. The result is a soft, out-of-focus appearance that affects specific areas while other parts remain sharp. According to research on focus and motion blur differences, motion blur creates directional streaks while focus blur is smooth and uniform without motion patterns. In a dealership setting, you might capture a sedan where the wheels are razor-sharp but the hood is soft, or a luxury car where the background showroom is crisp while the vehicle itself is slightly out of focus.
Which Blur Types Can Actually Be Fixed
Slight focus blur and minor motion blur respond well to AI enhancement and Photoshop sharpening filters. If only a portion of your car photo is soft—say, the grille is blurry while the headlights are sharp—selective sharpening or AI upscaling can often restore acceptable clarity. AI tools designed for automotive photography can analyze the image and intelligently enhance edges without creating artifacts.
Severe motion blur from fast camera movement or a moving vehicle, however, is largely unrecoverable. Once detail information is lost to motion streaks, no filter can reconstruct what was never captured. Similarly, extreme out-of-focus blur where the entire vehicle is soft cannot be reliably fixed. The practical rule: if you can still distinguish the vehicle's details and features, blur correction tools will help. If the image is so soft that you cannot identify the make or model, you'll need to retake the photo. This is why understanding the problem before investing time in fixes saves dealerships money and keeps your workflow efficient.
Using AI Tools to Repair Blurry Photos Instantly
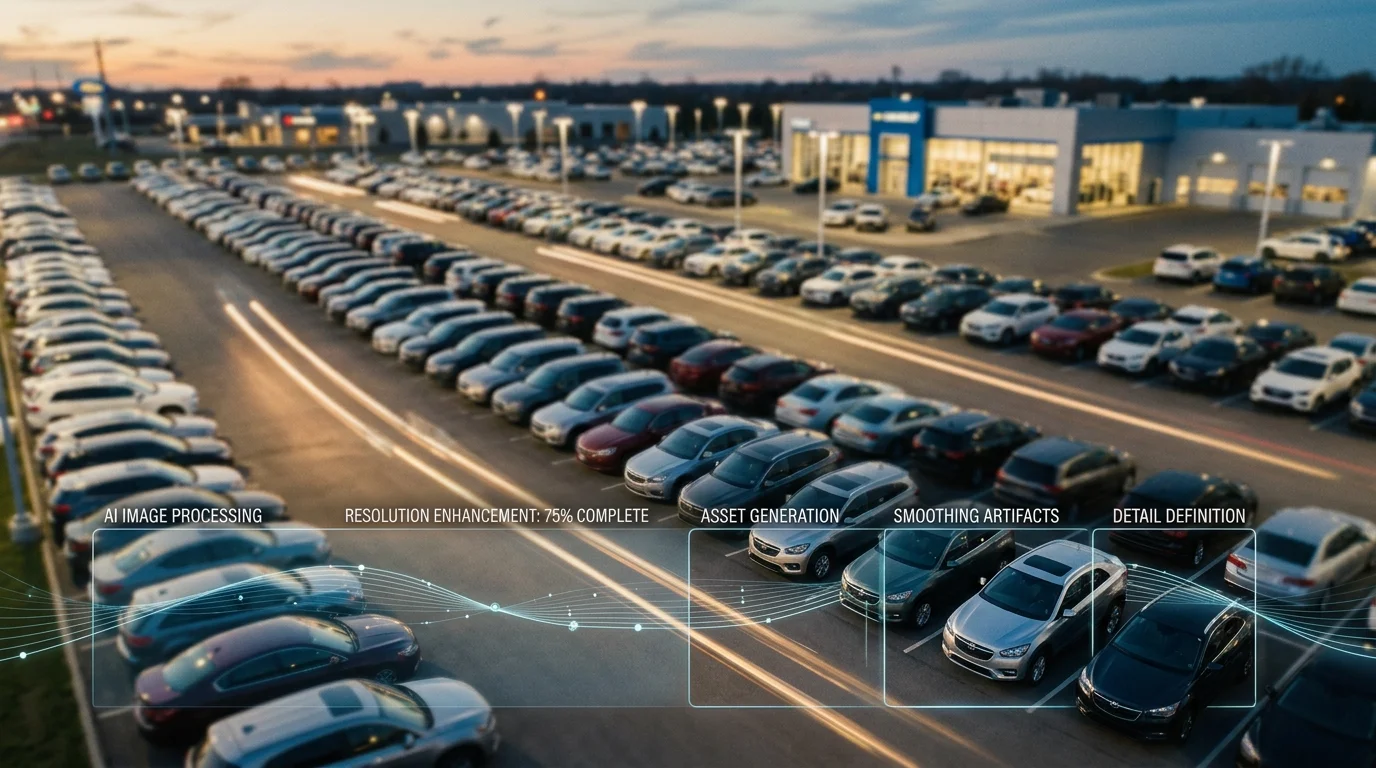
AI-powered image enhancement has fundamentally changed how dealerships and auto sellers handle soft or out-of-focus vehicle photos. Rather than discarding a shot or paying a photographer to reshoot, modern AI tools analyze the image in real time, detect blur patterns, and apply intelligent sharpening that restores clarity without creating the artificial, over-processed look that traditional filters produce. For dealerships managing hundreds of listings, this workflow eliminates hours of manual editing and keeps your photo pipeline moving at dealership speed.
The process is deliberately simple: upload, configure settings, process, and download. No Photoshop expertise required. No subscription to Adobe Creative Cloud. Most tools process images in seconds to minutes, and batch processing options let you enhance 50 or 100 car photos in a single operation—a massive time saver when you're refreshing inventory or preparing seasonal promotions.
Step 1: Upload Your Blurry Car Photo
Start by selecting the blurry image from your lot or archive. Most AI enhancement tools accept JPG and PNG formats, with file size limits typically ranging from 5 MB to 50 MB depending on the platform. If you're working with multiple vehicles, look for batch upload functionality—this allows you to select 10, 20, or even 50 images at once and process them sequentially without manual intervention between each photo.
When uploading, confirm that the image quality is sufficient for the tool to work with. A photo that is slightly soft or has minor motion blur will respond well to enhancement. The tool's preview will often show you a before-and-after thumbnail so you can assess whether the blur is recoverable before committing processing time. For dealerships, batch processing transforms what would be a tedious afternoon of individual edits into a single upload session.
Step 2: Select Your Enhancement Settings
Once uploaded, you'll encounter preset options or manual adjustment sliders. Common presets include "Sharpen," "Enhance Clarity," "Denoise," or "Auto Enhance." For automotive photography specifically, "Sharpen" targets edge definition—critical for showing the vehicle's grille, headlights, body lines, and trim details. "Denoise" reduces grain and sensor noise, which is especially useful if the original photo was taken in low light or with a high ISO setting.
Manual sliders give you granular control. Intensity or strength sliders let you dial in how aggressively the tool sharpens; starting at 50–70% intensity prevents over-sharpening artifacts. Some tools offer separate controls for edge enhancement and texture preservation, allowing you to sharpen the car's contours while keeping the paint finish natural. Experiment with preview mode before finalizing—most platforms show a real-time before-and-after so you can confirm the result matches your quality standard.
Step 3: Process and Download Your Result
Hit "Process" or "Enhance" and wait. Depending on image resolution and tool complexity, processing typically takes 10 seconds to 3 minutes. Cloud-based tools are faster; desktop applications like Topaz Photo AI offer more control but require local processing power. Once complete, preview the enhanced image at full resolution. If the result meets your standard, download the file—usually available in 2K, 4K, or original resolution.
For high-volume dealership operations, API integration or batch export options streamline the workflow further. Some platforms allow you to export enhanced photos directly to your inventory management system or cloud storage, eliminating manual file handling. This is where the real efficiency gain emerges: instead of processing one car at a time, you upload 50 vehicles Friday afternoon and download polished inventory Monday morning, ready for your website or Turo listings.
The cost-effectiveness is substantial. AI enhancement tools range from free tiers to paid plans typically costing $8 to $13 per month, with professional desktop options like Topaz Photo AI at $199 one-time purchase. Compare this to hiring a photographer at $30–$50 per vehicle or maintaining a physical photo booth at $25,000–$60,000 in setup costs, and the ROI becomes obvious—especially when you're processing dozens of images weekly.
Traditional Photoshop Methods for Sharpening Car Photos
Photoshop remains a powerful option for photographers and dealership teams who already own the software and need precise control over sharpening results. Unlike automated AI tools, Photoshop lets you target specific blur types and adjust intensity at a granular level—valuable when you're working with complex edits or have time to invest in individual images. However, the trade-off is clear: manual sharpening demands skill, patience, and hours of labor that scale poorly when you're processing dozens of vehicles weekly.
Smart Sharpen Filter for Automotive Detail
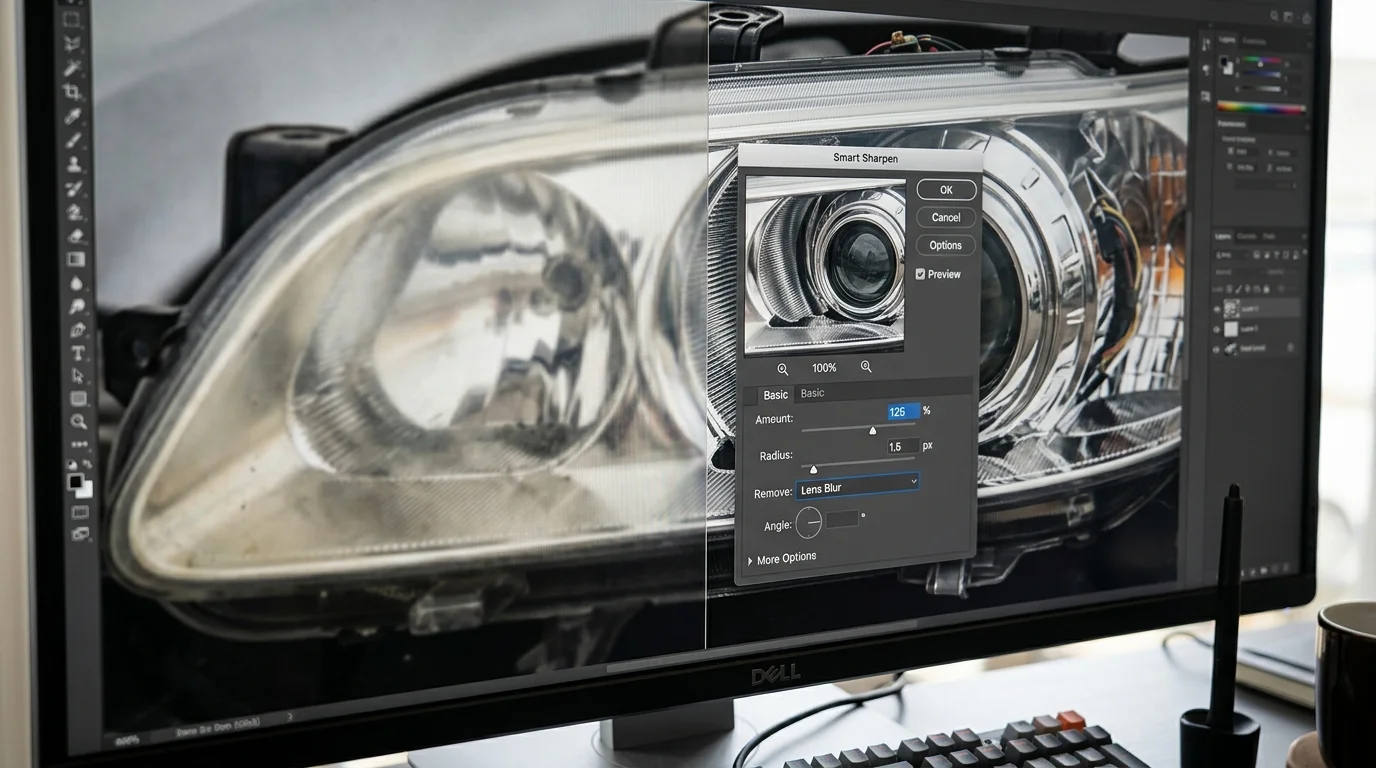
The Smart Sharpen filter is your best starting point for car photography. Navigate to Filter > Sharpen > Smart Sharpen and you'll find three critical controls. The Amount slider controls sharpening intensity—start at 80–120% for automotive work, where you need visible edge definition on paint, chrome, and headlights without introducing artifacts. The Radius parameter determines how many pixels the filter affects; for car photos, keep this between 0.5 and 1.5 pixels to preserve fine details like reflections and trim without creating halos around edges.
The Remove dropdown is where automotive-specific sharpening happens. Select Lens Blur if your image suffers from soft focus caused by aperture or focus issues—common in dealership lot photography. Choose Gaussian Blur for general softness, or Motion Blur if the vehicle or camera moved during capture. Each option applies different algorithms, so test all three on a test layer to see which produces the cleanest result. For most car photos, Lens Blur delivers the most natural enhancement. Always work on a duplicate layer, apply the filter, and compare the before/after at 100% zoom to catch over-sharpening, which introduces noise and looks unprofessional.
When Photoshop Sharpening Falls Short
Photoshop cannot recover detail that doesn't exist. If your image is severely blurred—motion blur from a moving vehicle, extreme focus miss, or heavy atmospheric haze—no amount of sharpening will restore lost information. The filter can only enhance existing edges; it cannot invent detail. Additionally, manual sharpening requires technical skill to avoid common mistakes: over-sharpening that creates visible halos, noise amplification in shadow areas, or uneven results across the image.
For dealerships managing 50+ vehicles weekly, the time investment becomes prohibitive. A single car might take 15–30 minutes to sharpen properly in Photoshop, including layer setup, filter testing, and quality checks. AI-powered solutions like Car Photo Booth process the same image in seconds, applying intelligent sharpening alongside background replacement—delivering studio-quality results without the learning curve or labor cost. When you're balancing speed, consistency, and cost, AI automation typically outperforms manual Photoshop workflows for high-volume inventory.
Mobile Apps for Quick Car Photo Fixes On-Site
For Turo hosts, independent photographers, and small dealers shooting on location, mobile apps offer genuine convenience—you can fix blurry pictures instantly without returning to the studio or office. Apps like Snapseed (free on iOS and Android), Remini, Adobe Lightroom Mobile, and Pixlr all include sharpening and blur-reduction features, with most offering free tiers and premium versions ranging from $5–13 per month.
The trade-off is real, however. Mobile apps excel at quick touch-ups and minor clarity improvements, but they struggle with severe blur or complex automotive details. A motion-blurred shot or extreme focus miss will still look soft after mobile processing—the algorithms simply lack the computational power of desktop solutions. Additionally, smartphone screens make it difficult to judge final quality accurately; what looks sharp on a 5-inch display often appears mediocre when viewed on a desktop or listing site.
For dealerships managing 50+ vehicles weekly, mobile apps become a bottleneck. Processing each car individually, even at 2–3 minutes per image, consumes hours that could be spent on sales or inventory management. Desktop AI tools like Car Photo Booth handle bulk processing far more efficiently—uploading 20 photos and processing them simultaneously in 4K quality beats the phone-by-phone workflow every time.
Best use case for mobile apps: Quick field fixes for Turo hosts or photographers who need presentable images within hours of a shoot. Best use case for desktop AI: High-volume dealership workflows where consistency, speed, and professional output matter most.
| Factor | Mobile Apps | Desktop AI Tools |
|---|---|---|
| Speed per image | 2–5 minutes | 10–30 seconds |
| Bulk processing | Poor | Excellent |
| Output quality | Good for minor blur | Studio-quality (4K) |
| Learning curve | Low | Minimal |
| Cost per car | $5–13/month (subscription) | $3–7 per car |
Why Prevention Beats Repair: Taking Sharp Car Photos from the Start
The most effective solution to blurry car photos isn't always fixing them after the fact—it's preventing blur from happening in the first place. While AI tools and post-processing techniques can rescue problematic images, sharp original photography eliminates the need for repair altogether and delivers superior results that no filter can fully replicate. Understanding the camera settings and techniques that prevent blur ensures your inventory photos are crisp, professional, and ready to convert buyers immediately.
Camera Settings to Eliminate Motion Blur
Your camera's shutter speed is the primary weapon against motion blur. According to B&C Camera's automotive photography guide, use a shutter speed of at least 1/500th of a second to completely freeze a vehicle in motion. For stationary cars on your lot, 1/250th of a second provides adequate protection against minor camera shake. Slower speeds—anything below 1/125th—risk introducing motion blur even when the vehicle isn't moving, especially if you're hand-holding the camera.
Aperture and ISO work together to support fast shutter speeds. Set your aperture to f/8 or higher to maintain sharp focus across the entire vehicle, from the front bumper to the rear quarter panel. This depth of field ensures that every detail remains crisp and in focus. Keep ISO as low as possible—ideally 100 or 200—to minimize digital noise while maintaining clean, sharp images. Higher ISO values introduce grain that degrades image quality and makes blur more visible.
Lighting and Focus Techniques for Automotive Photography
Proper lighting eliminates the need to compensate with slower shutter speeds or higher ISO values. Shoot during golden hour (early morning or late afternoon) when natural light is soft and directional, or position your vehicle to take advantage of diffused sunlight. Harsh midday sun creates unflattering shadows and forces you to adjust settings in ways that compromise sharpness.
Focus technique separates professional results from mediocre ones. Use single-point autofocus and lock focus directly on a distinctive car detail—the headlight, grille, or door handle—rather than relying on automatic multi-point focusing, which can hunt for the wrong element. If your camera supports it, enable back-button focus to separate focusing from shutter release, giving you precise control. For stationary vehicles, consider manual focus once you've confirmed sharpness through your viewfinder or live view screen.
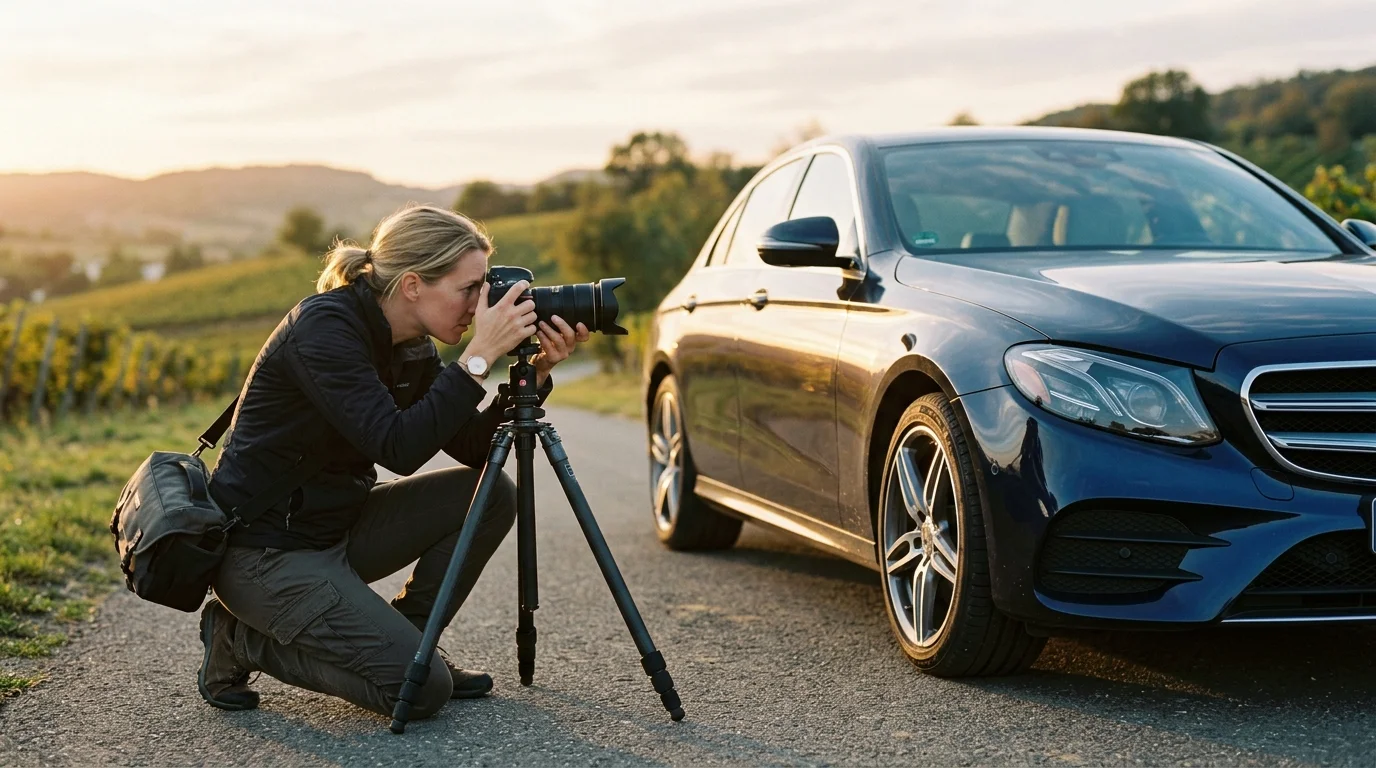
A tripod stabilizes your camera completely, allowing you to use slower shutter speeds without introducing camera shake. Even a modest tripod eliminates the variable of hand-holding and ensures consistent framing across multiple shots. When sharp originals matter, the tripod investment pays dividends—you'll spend less time correcting images later and more time capturing inventory that sells.
Choosing the Right Solution for Your Car Photo Workflow
For fixing blurry car photos, you essentially have three working paths. AI services deliver maximum speed and scale: upload a batch of shots, and within seconds you get sharp, publication-ready images. This is optimal for dealers, auto fleets, and Turo hosts with high volume—especially if you simultaneously need to change backgrounds and align visual style. In Car Photo Booth, we combine intelligent blur removal with automatic background removal and replacement across more than 100 professional scenes, so every listing looks like studio photography rather than a service lot snapshot. If you need to deeply refine a single specific frame—for example, a cover image for an advertising campaign—Photoshop makes more sense: you get more manual control, but it takes more time. Mobile apps rescue you "in the field" when you need to quickly polish one or two shots right on location, though they fall short of desktop and AI solutions in quality and consistency. In the long term, the key strategy is not endlessly fixing defects, but shooting so there's no blur in the first place: reliable equipment, correct settings, thoughtful lighting. To choose a specific AI tool, you can rely on our breakdown of best AI solutions for automotive photography. Try a free account in Car Photo Booth or contact us if you manage a dealer network and want to build a unified, predictable photo workflow.