
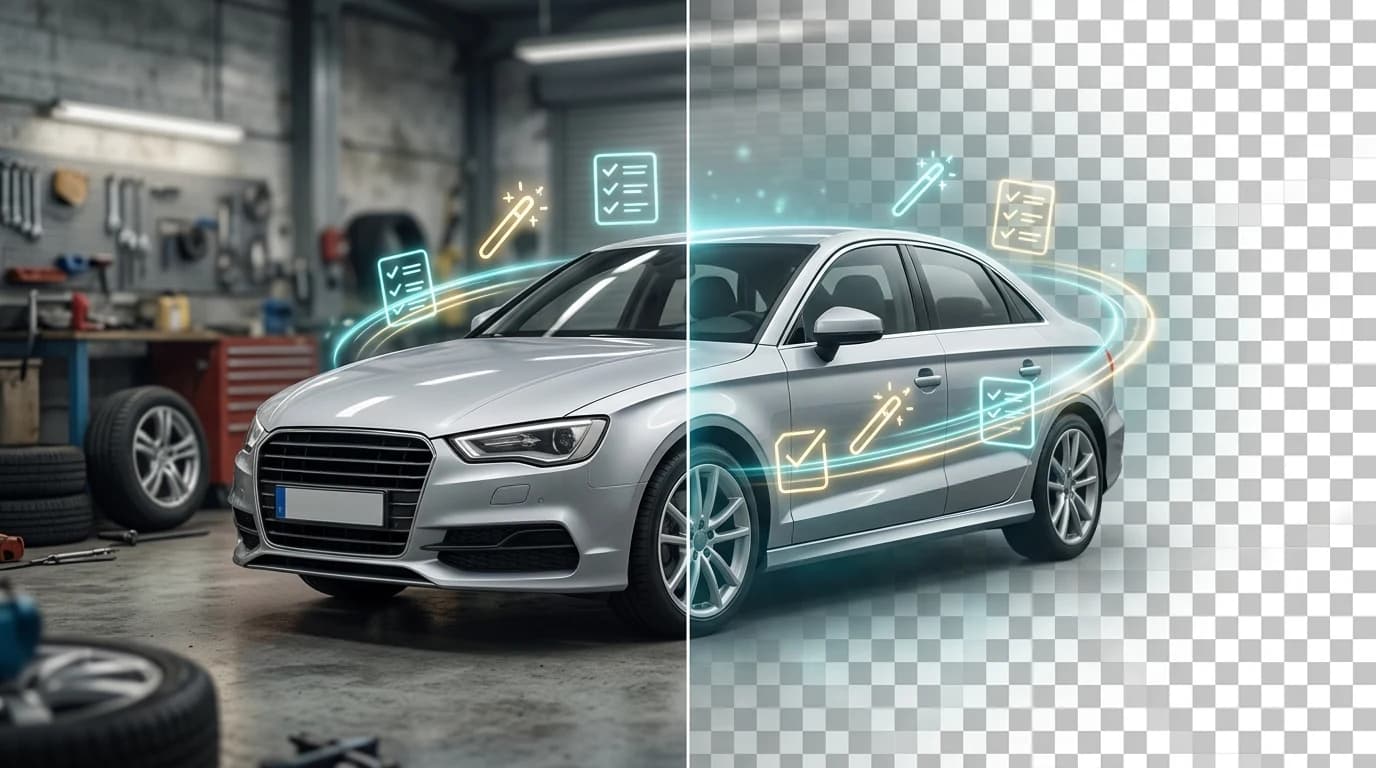
In the competitive automotive market, first impressions happen in milliseconds—and they happen online. When a car dealer, Turo host, or photographer uploads inventory photos to listing platforms, the background often competes for attention with the vehicle itself. A cluttered lot, harsh shadows, or mismatched lighting can undermine even a beautiful car. Making images with transparent backgrounds solves this problem elegantly: it isolates the vehicle as the star, removes distractions, and opens the door to flexible, professional presentation across any platform or marketing channel.
Transparent backgrounds aren't just aesthetic—they're practical. They allow you to drop the same car image onto different backdrops for A/B testing, adapt photos for various campaigns without reshooting, and maintain visual consistency across your catalog. For dealers managing hundreds of SKUs and Turo hosts competing for bookings, this flexibility translates directly to faster content creation and better conversion rates.
Quick Answer: To make a picture transparent, use AI background removal tools that automatically detect and delete the background in seconds, leaving only the vehicle on a transparent layer. You can then export the image as PNG (which preserves transparency) or place it on any new background. Tools like Car Photo Booth handle this instantly for automotive photos, eliminating the need for manual editing or expensive studio shoots.
This guide walks you through the most efficient methods for creating transparent images, from AI-powered automation to manual techniques, with practical steps tailored to dealership workflows. You'll also discover how to leverage transparent backgrounds for maximum marketing impact—whether you're building a polished online catalog or testing different showroom aesthetics.
Table of Contents
- Three Core Methods to Create Transparent Backgrounds for Car Photos
- AI Background Removal: The Fastest Solution
- Manual Editing with Photoshop or GIMP
- Professional Studio Photography with Controlled Backgrounds
- Step-by-Step: Using AI Tools to Make a Photo Transparent in Minutes
- Uploading Your Car Photo
- Customizing the Transparent Background
- Downloading and Using Your Transparent Image
- Manual Background Removal: Photoshop and GIMP Techniques for Precise Control
- Selecting the Car Using Advanced Tools
- Creating and Refining the Layer Mask
- Exporting as PNG to Preserve Transparency
- Cost and Time Comparison: Which Method Saves Money for Car Dealers
- Why AI Background Removal Dominates for High-Volume Dealers
- Best Practices for Using Transparent Car Images Across Marketing Channels
- Optimizing Transparent Images for E-Commerce Listings
- Maintaining Brand Consistency Across Channels
- Choosing the Right Transparent Background Solution for Your Automotive Business
Three Core Methods to Create Transparent Backgrounds for Car Photos
Creating a transparent background for car photos involves three fundamentally different approaches, each with distinct tradeoffs in speed, cost, and technical complexity. Understanding when to use each method is critical for dealerships and Turo hosts managing inventory at scale.
AI Background Removal: The Fastest Solution
Artificial intelligence has fundamentally changed how quickly you can make an image transparent. AI-powered tools detect the vehicle's edges automatically and remove the background in seconds, leaving a clean transparent layer ready for export as PNG. No manual selection, no learning curve—you upload a photo, the algorithm processes it, and you download a transparent image.
The speed advantage is dramatic. Where manual editing takes 5–15 minutes per image, AI processes dozens per minute. For dealerships managing 50–500 vehicle SKUs, this translates to hours saved daily. The consistency is equally important: AI applies the same detection logic to every image, eliminating the variation that occurs when different people edit photos manually. According to research on background removal APIs, AI tools typically cost between $0.02 and $0.15 per image, making them dramatically cheaper than hiring photographers.
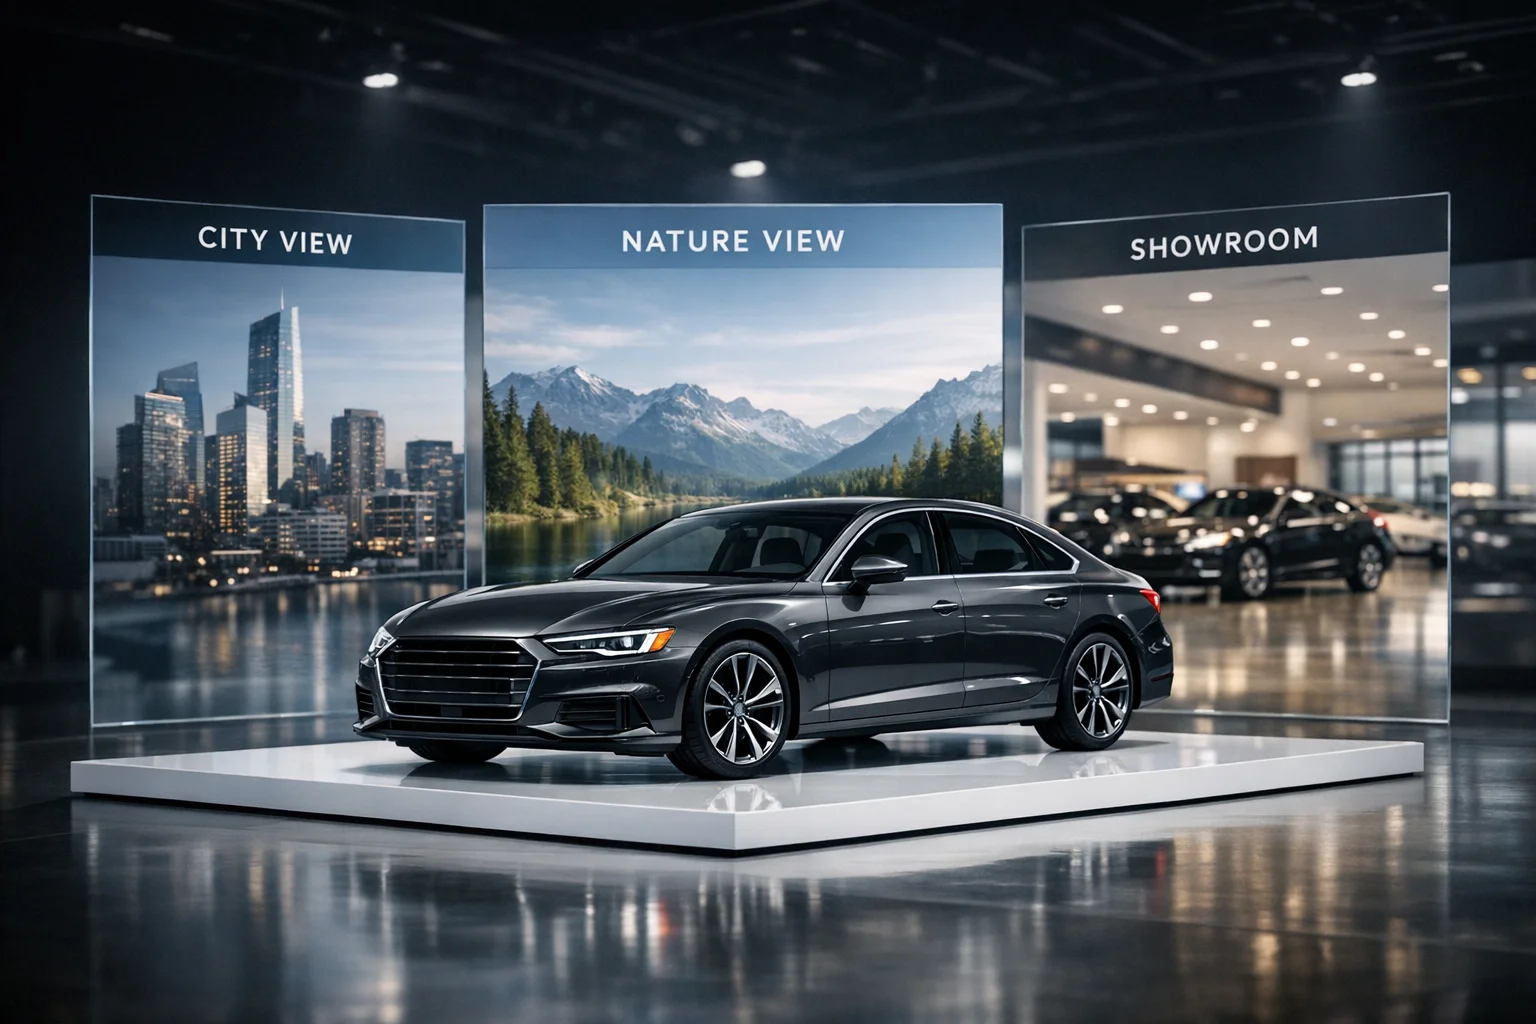
Accuracy for automotive images is exceptionally high because cars have clear, defined edges—wheels, doors, and body lines are easy for algorithms to detect. Edge cases do occur with reflective surfaces or complex lighting, but these are rare. The real limitation is integration: you need to batch-process images, upload them to a platform, and download results. For high-volume dealers, this workflow is seamless; for occasional users, the setup overhead may feel cumbersome.
Car Photo Booth handles this in a single step: upload a lot photo, select a professional backdrop from 100+ options, and export in 4K quality. The transparent background is generated automatically, so you can layer the vehicle onto any showroom, urban, or natural setting without reshooting.
Manual Editing with Photoshop or GIMP
Manual background removal gives you pixel-perfect control but demands technical skill and significant time investment. The process involves selecting the vehicle using tools like the Magic Wand, Lasso, or Pen tool, creating a layer mask, and erasing or isolating the background. For complex edges—side mirrors, antennas, wheels against textured pavement—manual selection often produces cleaner results than AI alone.
The learning curve is steep. Photoshop's selection tools require practice to master; GIMP (free alternative) has a steeper interface but identical functionality. A skilled editor can complete a car photo in 10–15 minutes, but a beginner may spend 45 minutes struggling with edge refinement. This method makes sense only if you have in-house design staff or are willing to invest weeks in training.
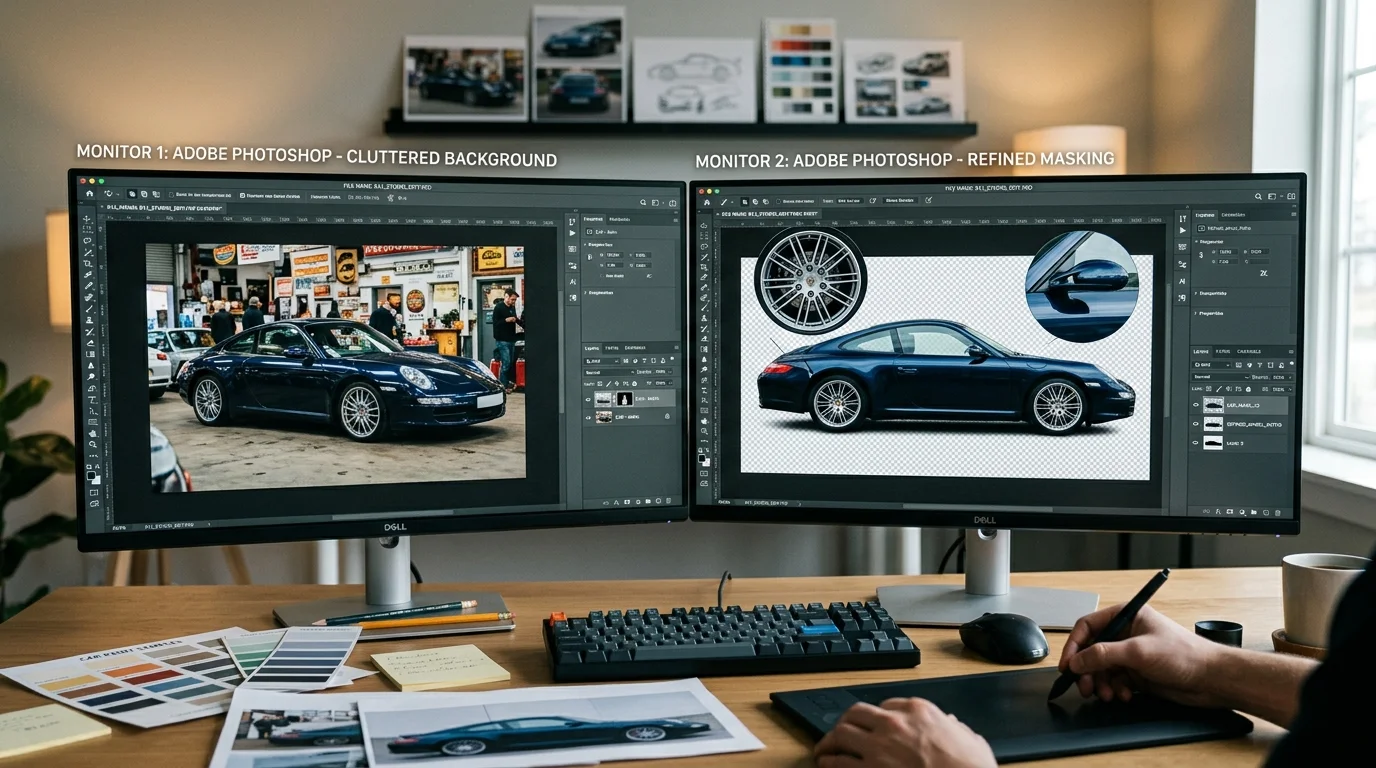
Cost-wise, manual editing shifts the burden from per-image fees to labor. If you employ a full-time photo editor at $35,000 annually, each image costs roughly $17–20 in labor (assuming 1,500–2,000 edited photos per year). For small dealerships with 10–20 new vehicles monthly, hiring an editor is economically irrational. For large operations, it can be justified—but only if quality demands exceed what AI delivers.
The real advantage emerges when backgrounds are extremely complex: reflections in windows, shadows cast across the vehicle, or intricate trim details. Manual editing lets you preserve fine details that AI might blur or incorrectly isolate.
Professional Studio Photography with Controlled Backgrounds
Traditional studio setups eliminate background problems entirely by controlling the environment. A white or green screen backdrop, professional lighting, and a trained photographer produce studio-quality images where the background is already clean and uniform. No post-processing needed.
The cost structure is fundamentally different. Equipment investment ranges from $25,000 to $75,000 for a complete studio setup (cameras, lenses, lighting rigs, computers). Ongoing photographer fees run $30–50 per car, or $10–30 per vehicle for high-volume contracts. For a dealership processing 100 vehicles monthly, studio photography costs $1,000–5,000 monthly plus significant upfront capital.
The consistency advantage is real: every car is photographed under identical lighting and backdrop conditions, creating a polished, uniform catalog. This premium positioning appeals to luxury dealerships where brand image justifies the expense. However, studio photography requires vehicles to be physically transported to the location, adding logistics complexity and time.
For most dealers, especially those with geographically dispersed inventory or rapid turnover, studio photography is economically impractical. The speed of AI-powered transparent background generation—combined with the flexibility to apply different professional backdrops—delivers comparable visual results at a fraction of the cost.
Step-by-Step: Using AI Tools to Make a Photo Transparent in Minutes
The process of creating a picture with a transparent background has shifted dramatically with AI-powered tools. What once required hours of manual masking in Photoshop now takes seconds. The workflow is straightforward: upload your car photo, let the AI identify and remove the background, then download a clean PNG file ready for any use. Here's exactly how to execute this process efficiently.
Uploading Your Car Photo
Start by preparing your image file. Most AI background removal platforms accept JPG and PNG formats, with JPG being the most common choice for car dealership photos. Your image should be at least 800×600 pixels in resolution—higher resolution (1920×1080 or above) produces sharper results, especially when you need to enlarge the final image for catalog use.
Open your chosen AI tool and locate the upload button. You can typically drag and drop your photo directly, or click to browse your computer. If you're processing multiple vehicles, many platforms support batch uploads, allowing you to queue 10, 50, or even 100+ images at once. This is particularly valuable for dealerships managing large inventories. The system will process each image sequentially, saving significant time compared to editing one photo at a time.
Customizing the Transparent Background
Once the AI processes your image—which typically takes 1.2 to 1.5 seconds per image on average—you'll see a preview with the original background removed. At this point, you have flexibility in how you proceed.
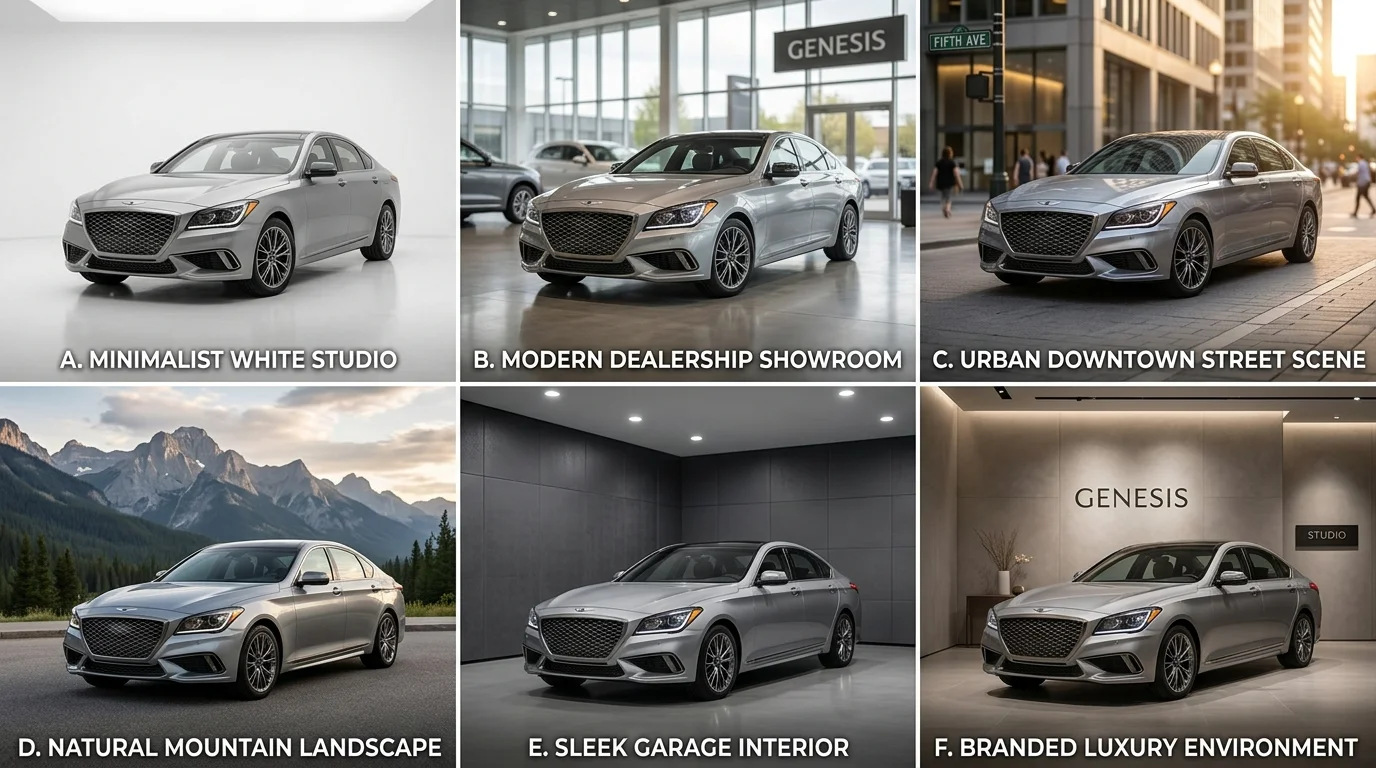
You can keep the background fully transparent, which gives you maximum flexibility for future designs. This transparent PNG can be placed over any background later—white, colored, photographic, or custom. Alternatively, apply one of the professional backdrops available in the platform. For car dealerships, options typically include luxury showroom settings, clean white studios, urban environments, and natural outdoor scenes. Select the backdrop that matches your brand positioning and the vehicle's market segment. Some tools also allow you to adjust transparency levels or fine-tune the edge quality if the AI detection wasn't perfect on the first pass.
Downloading and Using Your Transparent Image
Once you're satisfied with the result, download your file as a PNG. This format preserves the alpha channel—the transparency data—ensuring your background remains transparent when you use the image elsewhere. The file size is typically small (500KB–2MB), making it easy to upload to e-commerce platforms, inventory management systems, and marketing materials.
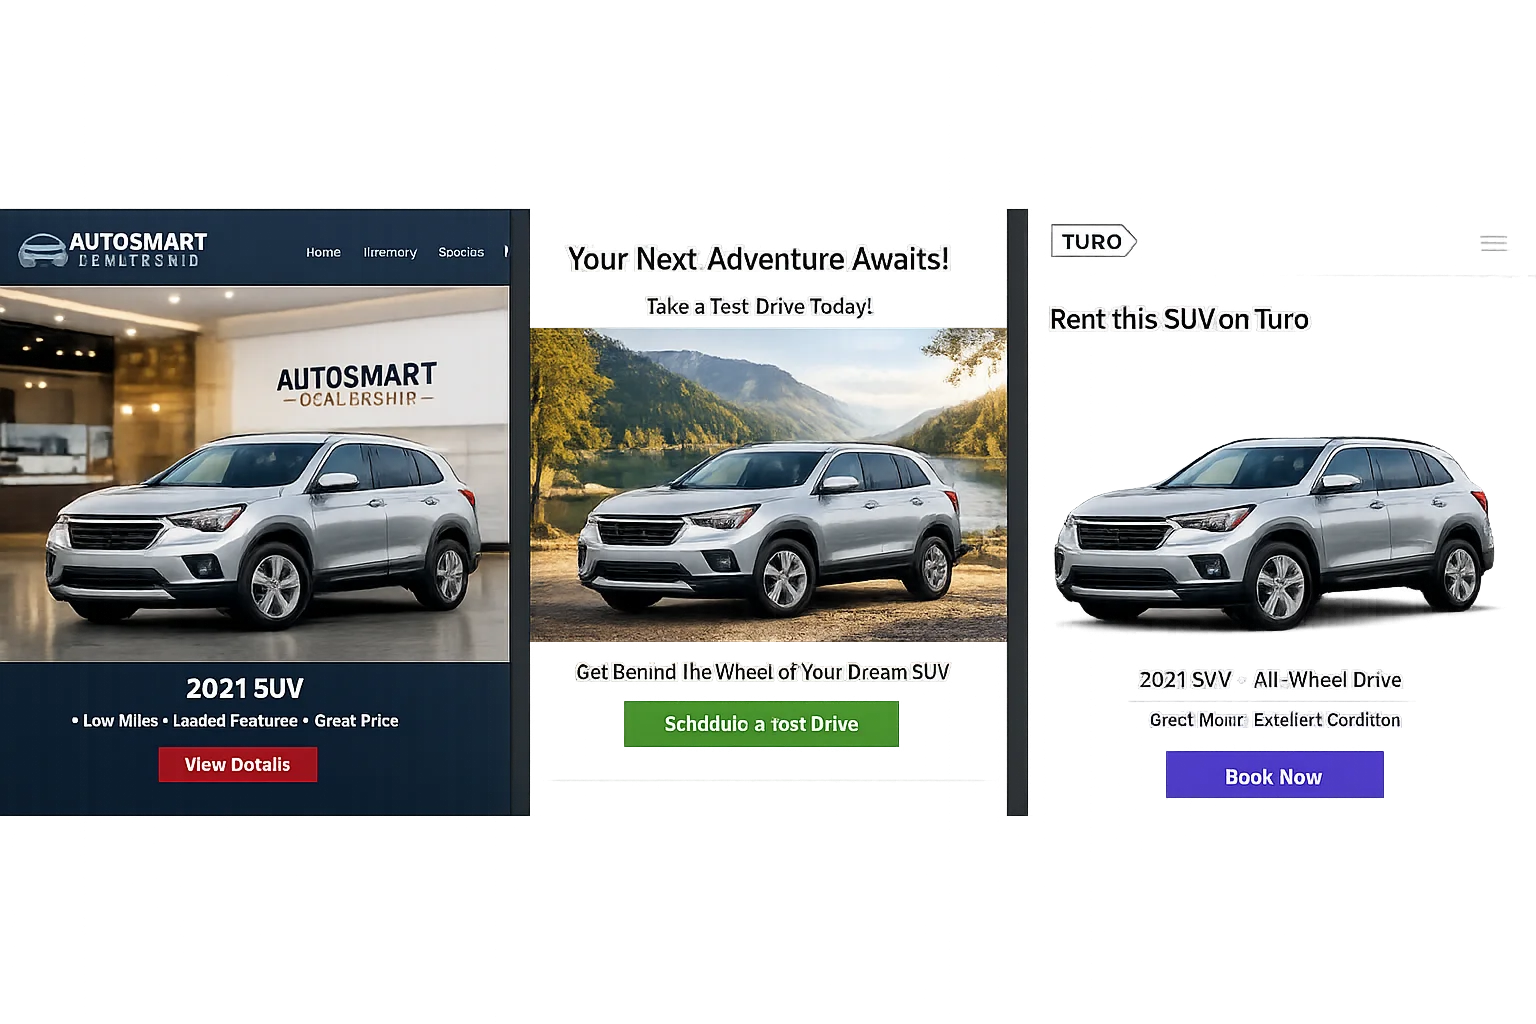
A transparent car image integrates seamlessly into dealership listings on Autotrader, Cars.com, or your own website. It also works perfectly for Turo host profiles, where a clean, professional vehicle image against any background significantly improves click-through rates. You can layer the transparent PNG over branded backgrounds in design software, or use it as-is for maximum versatility. For print catalogs or email campaigns, the transparency allows designers to place your vehicle over custom layouts without awkward white halos or mismatched backgrounds.
Manual Background Removal: Photoshop and GIMP Techniques for Precise Control
Manual background removal gives you pixel-perfect control over transparency, essential when dealing with complex car angles, reflective surfaces, or intricate details like mirrors and wheels. This method demands patience—expect to spend 15–30 minutes per image—but the results justify the investment for high-value inventory or challenging shots. Both Photoshop and GIMP (free) offer powerful selection and masking tools; the workflow is nearly identical, though Photoshop's "Select Subject" feature uses AI to accelerate the process.
Selecting the Car Using Advanced Tools
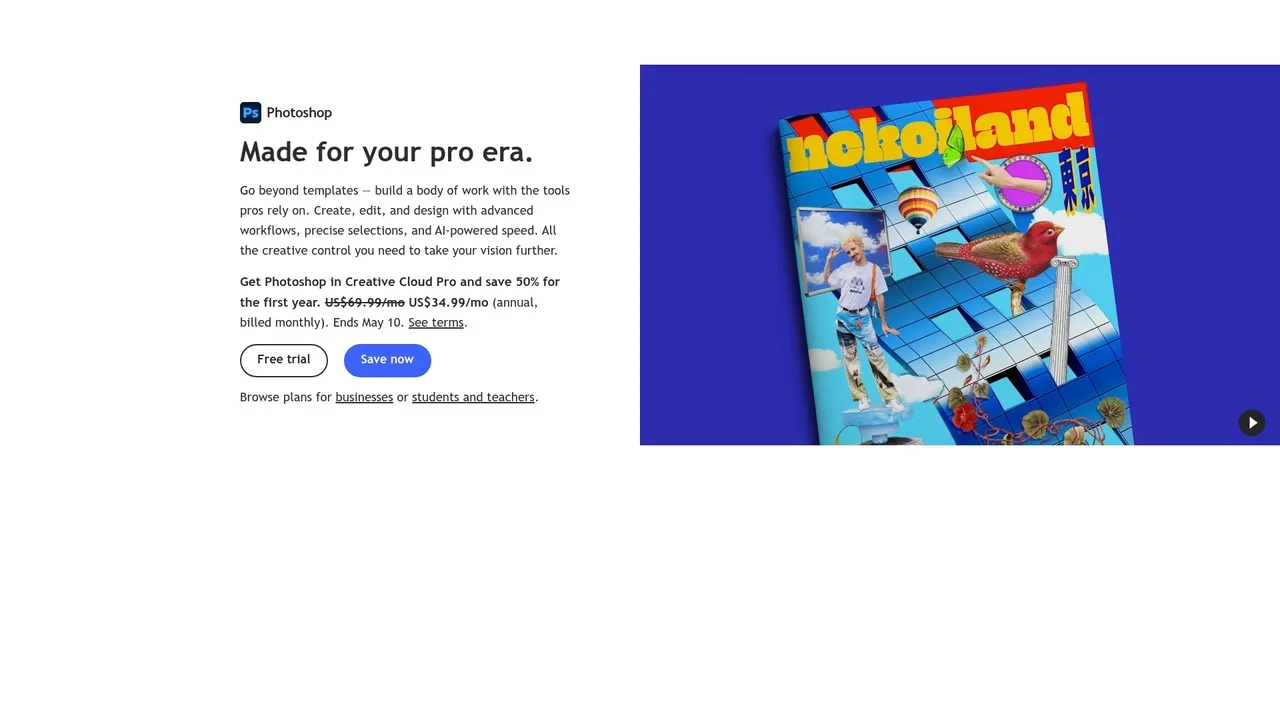
Start by opening your car photo in Photoshop or GIMP. In Photoshop, navigate to Select > Subject to let the AI automatically detect your vehicle's edges. This saves significant time compared to manual lasso work, though you'll still need refinement. The tool excels at identifying the car's body but often misses fine details like side mirrors or wheel spokes.
In GIMP, use the Fuzzy Select Tool (magic wand) or Select by Color to begin isolating the vehicle. Click on the background, then hold Shift and click additional background areas to add to your selection. For trickier edges—chrome trim, glass reflections, thin antenna—switch to the Free Select Tool (lasso) and manually trace around problem zones. Zoom in to 200–300% magnification to catch these details. Use Select > Grow to expand your selection by 2–3 pixels, ensuring you capture fine edge pixels that define the car's silhouette.
Creating and Refining the Layer Mask
Once your selection is solid, convert it into a layer mask for non-destructive editing. In Photoshop, right-click the layer and choose Add Layer Mask > Selection. In GIMP, go to Layer > Mask > Add Layer Mask, then select "Selection." This creates an editable transparency layer without permanently deleting pixels.
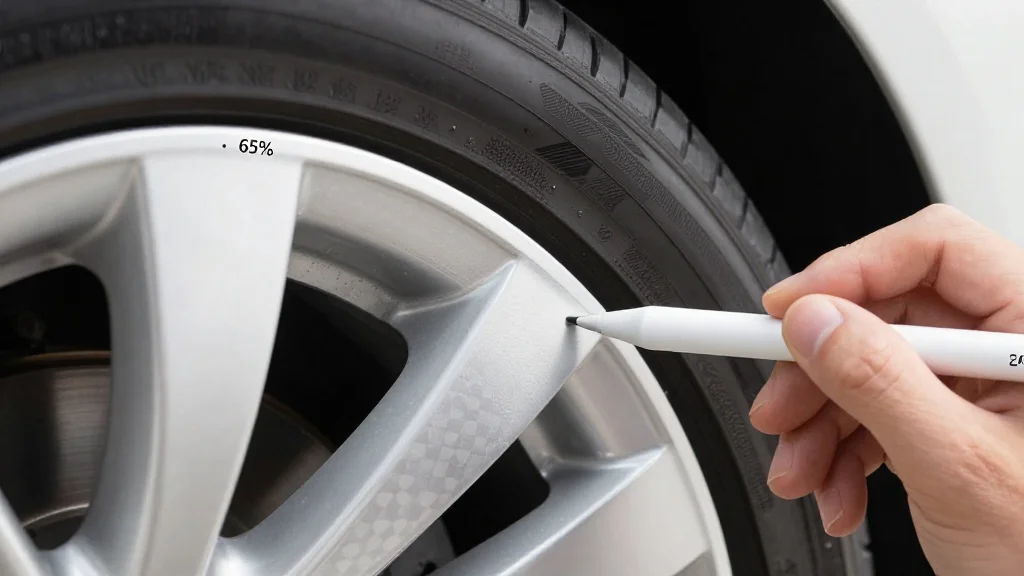
Now refine the mask using the brush tool. Set your foreground color to black (hides areas) or white (reveals areas). Paint along edges where the background still bleeds through—particularly around wheels, mirrors, and antenna. Lower your brush opacity to 50–70% for gradual, natural-looking feathering. Enable Feather Edges (Select > Modify > Feather, 1–2 pixels) before masking to soften harsh transitions. Preview your work against a checkerboard background (Layer > Transparency > Show Alpha Channel in GIMP) to spot remaining halos or gaps.
Exporting as PNG to Preserve Transparency
When satisfied, export your file as PNG to preserve the alpha channel. In Photoshop, go to File > Export As, select PNG format, and confirm that transparency is enabled. In GIMP, use File > Export As, choose PNG, and click Export—transparency is automatic. JPG format will flatten transparency to white, destroying your work, so always use PNG for transparent car images.
The resulting file (typically 500KB–2MB) integrates seamlessly into dealership listings on Autotrader or Cars.com, and works perfectly for Turo profiles where clean vehicle imagery drives click-through rates. For comparison, AI-powered tools like Car Photo Booth accomplish the same result in 10 seconds rather than 20 minutes, making them ideal for high-volume dealers processing dozens of vehicles weekly.
Cost and Time Comparison: Which Method Saves Money for Car Dealers
The economics of creating images with transparent backgrounds shift dramatically depending on scale. A small independent dealer processing 10–20 vehicles monthly faces different cost pressures than a regional chain managing 500+ cars annually. Understanding the true cost per image—including software, labor, and opportunity cost—reveals why AI-powered solutions have become the default for high-volume operations.
| Method | Cost Per Image | Time Per Image | Learning Curve | Best For |
|---|---|---|---|---|
| AI Background Removal | $3–5 | 10–30 seconds | None (instant) | High-volume dealers, Turo hosts, rapid catalog updates |
| Manual Editing (Photoshop/GIMP) | $15–25* | 15–25 minutes | 40–60 hours | Detail-oriented photographers, edge-case vehicles |
| Professional Photography | $30–50 | 1–3 days (scheduling) | N/A | Luxury inventory, flagship showroom imagery |
*Includes software subscription amortized per image; assumes $20/month subscription across 50 images.
Why AI Background Removal Dominates for High-Volume Dealers
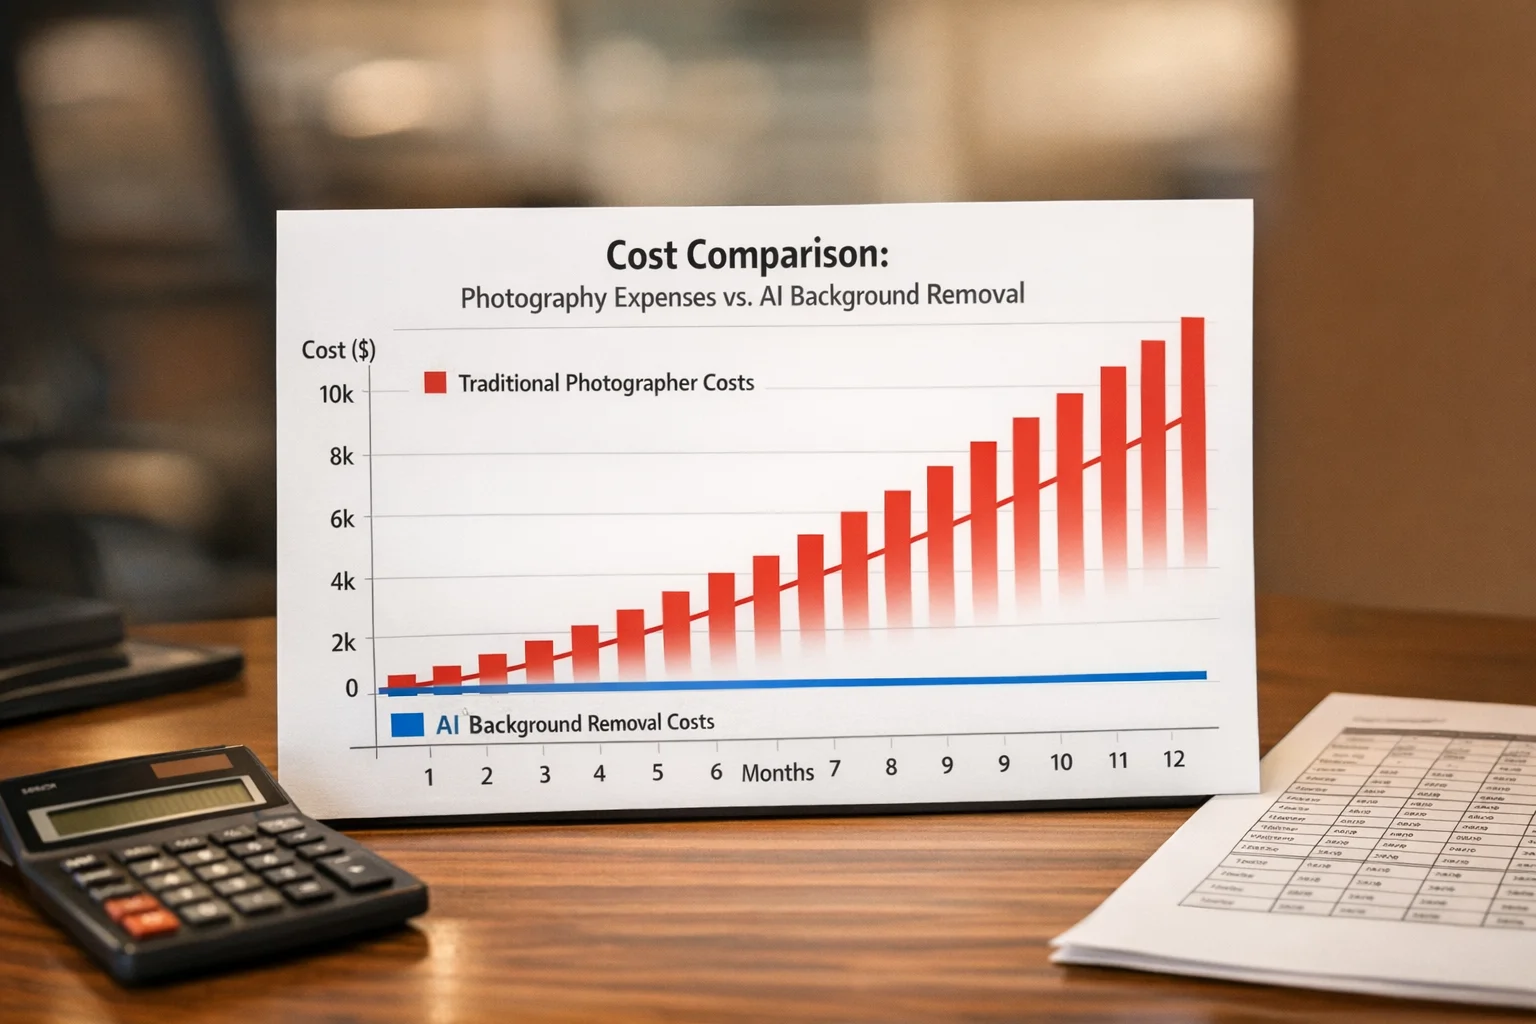
The financial case for AI is compelling at scale. According to dealer forums, dealerships processing 500+ cars annually save $12,000 to $22,500 by switching from traditional photographer costs of $30–50 per vehicle to AI solutions at $3–5 per image. A dealer managing 100 vehicles monthly spends roughly $300–500 on AI processing versus $3,000–5,000 for photographers—a 90% reduction in monthly photography costs.
Beyond raw price, AI eliminates scheduling friction. Professional photographers require 1–3 days turnaround per batch; AI delivers results in 10 seconds. This speed advantage compounds when dealers need to refresh inventory weekly, respond to market changes, or support Turo hosts managing dozens of listings simultaneously. Consistency matters equally: AI applies identical lighting and composition rules across every vehicle, eliminating the visual fragmentation that plagues dealership sites where photos vary wildly in tone, shadow, and background.
Manual editing in Photoshop or GIMP falls between these extremes. While software costs only $20–55 monthly, the 15–25 minute per-image processing time creates hidden labor expenses. A dealer investing 10 hours weekly in manual background removal is effectively paying $150–250 in labor (at $15–25/hour) plus software, making the true cost-per-image $20–30—competitive with photographers but without the consistency or speed advantages of AI. This method only makes financial sense for dealers with fewer than 30 vehicles monthly or those requiring pixel-perfect detail on luxury inventory where AI occasionally struggles with complex reflections or chrome trim.
Professional photography remains the premium choice for flagship showroom displays and luxury vehicle marketing, where studio lighting and composition justify the $30–50 per-image investment. However, for bulk lot photography, online catalog updates, and Turo profile images, AI-powered tools like Car Photo Booth have fundamentally shifted the ROI calculation in favor of automation.
Best Practices for Using Transparent Car Images Across Marketing Channels
Once you've created a picture with a transparent background, the real work begins—deploying it strategically across the fragmented landscape of automotive sales channels. Transparent PNGs aren't one-size-fits-all assets. Their value multiplies when layered thoughtfully over branded backgrounds, sized correctly for mobile viewing, and organized systematically for rapid catalog updates. The difference between a dealer who treats transparent car images as interchangeable commodities and one who leverages them strategically often translates directly to click-through rates and conversion velocity.
Optimizing Transparent Images for E-Commerce Listings
Each automotive marketplace enforces its own technical specifications and aesthetic preferences. Dealer.com, AutoTrader, and Facebook Marketplace have different compression algorithms, aspect ratio expectations, and background treatment standards. AutoTrader, for instance, performs best with images on neutral white or light gray backgrounds—pure white can cause edge detection issues with certain vehicle colors, while dark backgrounds reduce perceived quality in thumbnail previews. Conversely, dealership websites benefit from branded backgrounds that reinforce visual identity: a luxury showroom setting for premium inventory, a clean dealership floor for volume stock, or lifestyle environments for trucks and SUVs.
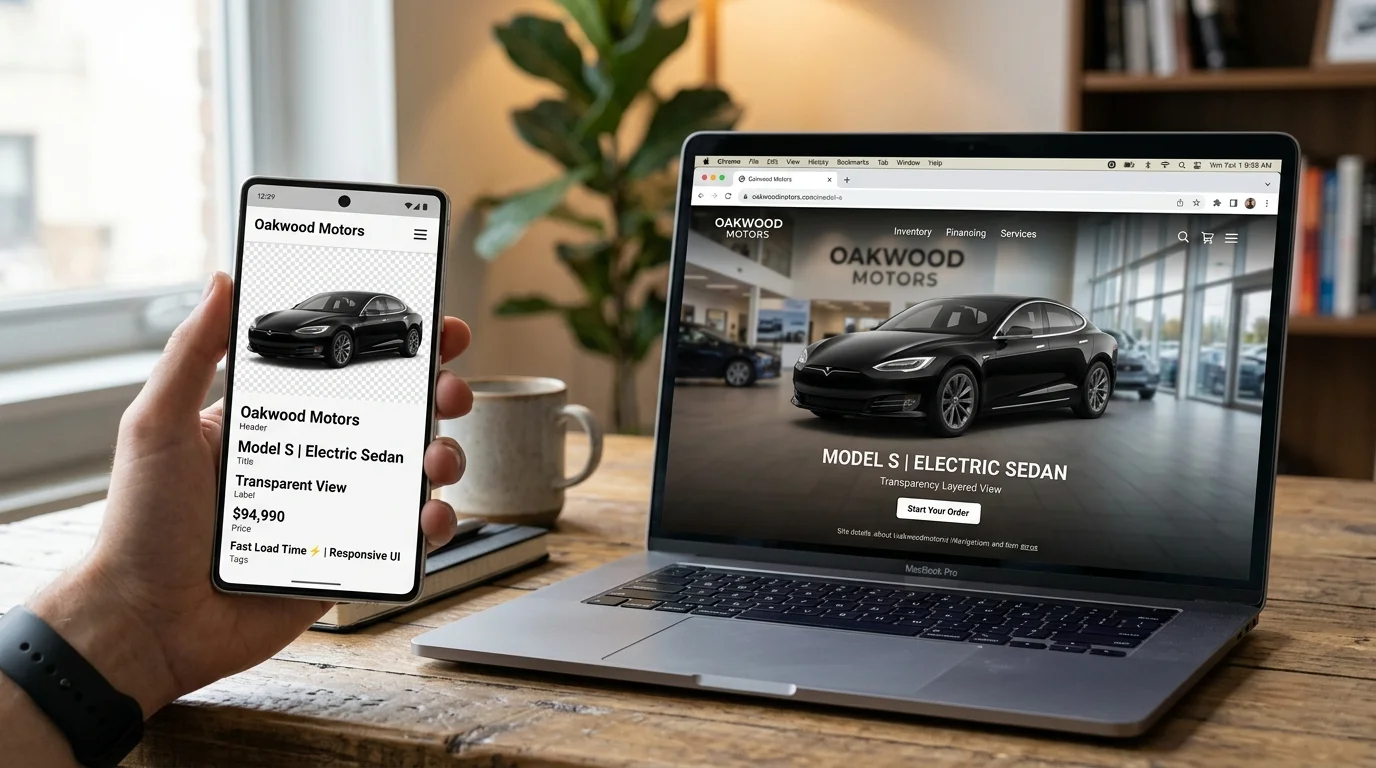
Mobile optimization is non-negotiable. A transparent car image optimized for desktop (1200×800px) will appear pixelated or poorly cropped on smartphone screens where 70% of automotive shoppers begin their search. Resize your transparent PNG to 1000×667px for mobile-first platforms, then upscale to 1500×1000px for desktop galleries. This prevents double-processing and ensures consistent quality across devices. File size matters equally—a 2MB PNG will slow page load times and trigger lazy-loading delays that cost you impressions. Compress to 300–500KB without visible quality loss using tools that preserve transparency (PNG-8 with alpha channel, not JPEG conversion).
Maintaining Brand Consistency Across Channels
Consistency compounds over time. When a dealer's Turo profile, Facebook shop, and dealership website all feature vehicles against the same professional backgrounds with matching color grading, customer perception of legitimacy and inventory quality increases measurably. Create a branded background template library: establish 3–5 core backgrounds (white for classifieds, branded showroom, outdoor lifestyle, urban, and nature) and apply them uniformly across all inventory. This isn't about limiting creativity—it's about reducing cognitive load for shoppers who see your inventory across multiple touchpoints.
Watermarking transparent images requires care. A semi-transparent dealership logo placed consistently in the lower right corner reinforces brand ownership without obscuring vehicle details. Avoid centered watermarks or those that cover wheels, grilles, or side profiles—these actively harm conversion. For Turo hosts, subtle watermarking (20–30% opacity) signals professionalism without appearing defensive.
File naming and bulk organization prevent chaos at scale. Use systematic naming: [Brand]_[Model]_[Year]_[Angle]_[BG].png (e.g., Toyota_Camry_2022_3Q_Showroom.png). Store transparent originals in a master folder, then create subfolders by background type. This 10-minute organizational investment saves hours when you need to regenerate 50 images with updated branding or swap backgrounds across your entire online catalog. Batch processing tools like ImageMagick or Photoshop's Action panel can then apply consistent sizing, compression, and watermarking to hundreds of images simultaneously.
The strategic advantage lies in treating transparent car images not as finished assets, but as modular components. Layer them over different backgrounds for different contexts—the same vehicle becomes a showroom centerpiece on your website, a lifestyle hero shot on Instagram, and a clean catalog entry on AutoTrader. This flexibility, combined with systematic organization, transforms what could be a time-consuming inventory management burden into a scalable, repeatable process that compounds your marketing ROI over months of consistent application.
Choosing the Right Transparent Background Solution for Your Automotive Business
The decision between AI tools, manual editing, and professional photography isn't about finding the single "best" method—it's about matching your workflow to your business reality. Each approach solves a different problem, and your choice determines not just image quality, but your operational efficiency and bottom line.
Speed and scale demand AI. If you're managing 50+ vehicles monthly or running a Turo operation with rotating inventory, AI background removal is the only realistic path. Processing time drops from hours to minutes, and you can regenerate entire catalogs when rebranding without hiring a photographer. The cost-per-image becomes negligible at volume, and consistency across hundreds of listings becomes automatic rather than dependent on a single editor's skill level.
Precision and control require manual work. When you have a small, high-value inventory—luxury vehicles, specialty cars, or showpieces—Photoshop or GIMP techniques let you preserve reflections, chrome details, and subtle lighting that define premium positioning. This approach works when you have 5-15 cars to photograph and the time to invest in pixel-perfect results.
Premium positioning justifies professional photography. For flagship dealerships or luxury brands where studio-quality imagery is part of your brand promise, hiring a professional photographer remains unmatched. The investment pays dividends in brand perception, but only if your entire online presence matches that standard.
In practice, most dealerships blend these approaches: AI tools for rapid volume processing, manual refinement for hero shots, and professional sessions for seasonal campaigns. Learn how to remove background from car photos to understand which method fits your inventory size and marketing goals. The competitive advantage goes to businesses that treat transparent backgrounds as a modular asset system rather than a one-off production task.
Ready to test the efficiency gain? Try Car Photo Booth free—no credit card required—and process your first vehicle in under two minutes.