
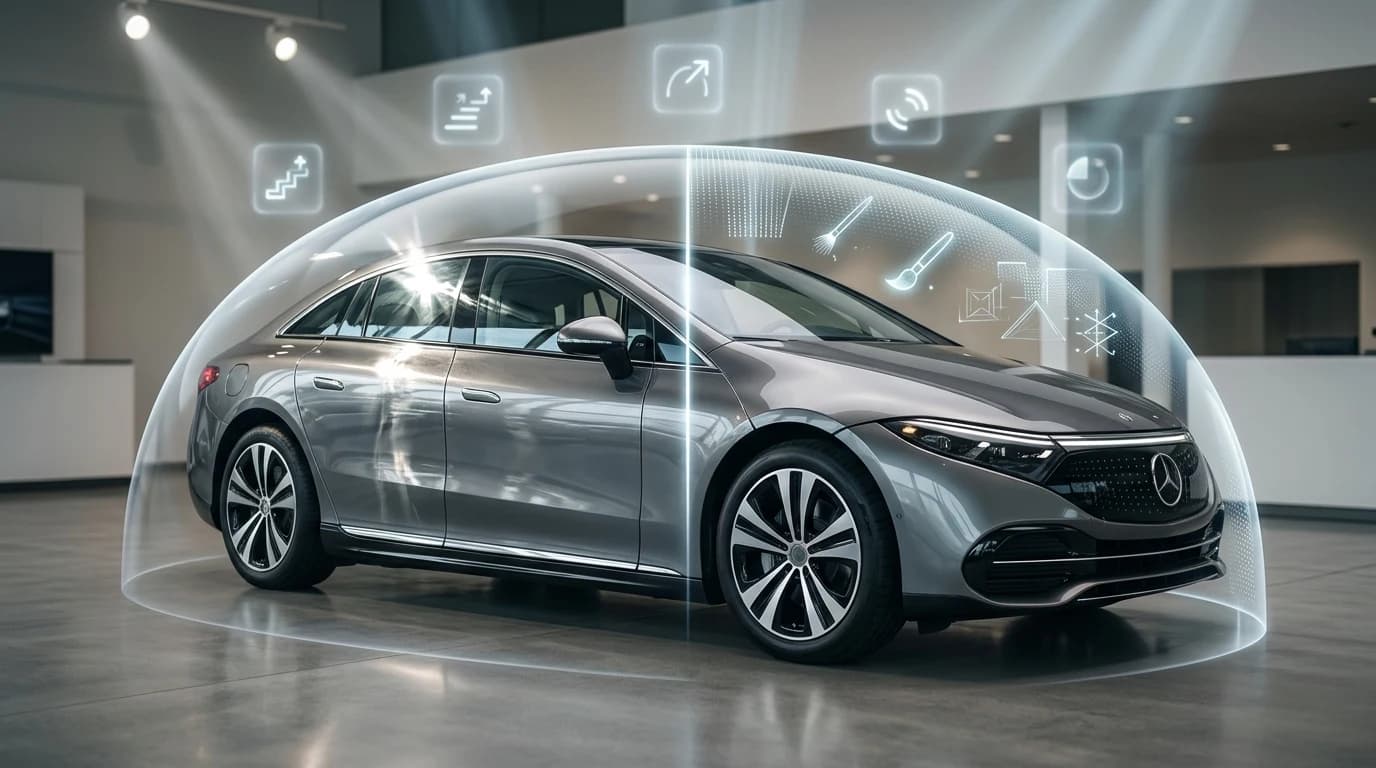
Removing glare from photos means eliminating unwanted reflections and bright spots caused by light bouncing off shiny surfaces like glass, paint, or chrome—common challenges in car photography. For dealerships, removing glare from photos is essential to present vehicles in their best light, ensuring images look professional and trustworthy to online buyers. With nearly 90% of car shoppers starting their search online, glare can undermine credibility and cost sales. The good news is that effective solutions exist—from simple shooting adjustments to advanced AI-powered editing—making it easier than ever to achieve clean, glare-free car photos.
Method 1: Adjust Your Shooting Technique to Minimize Glare in Real Time
The most cost-effective way to remove glare from car photos is to prevent it from appearing in the first place. Before you reach for editing software or AI tools, your camera angle, lighting conditions, and timing can make the difference between a reflective, washed-out image and a clean, professional shot. This foundational approach requires no software investment—only intentional positioning and awareness of how light interacts with vehicle surfaces.
Positioning and Angle Strategy
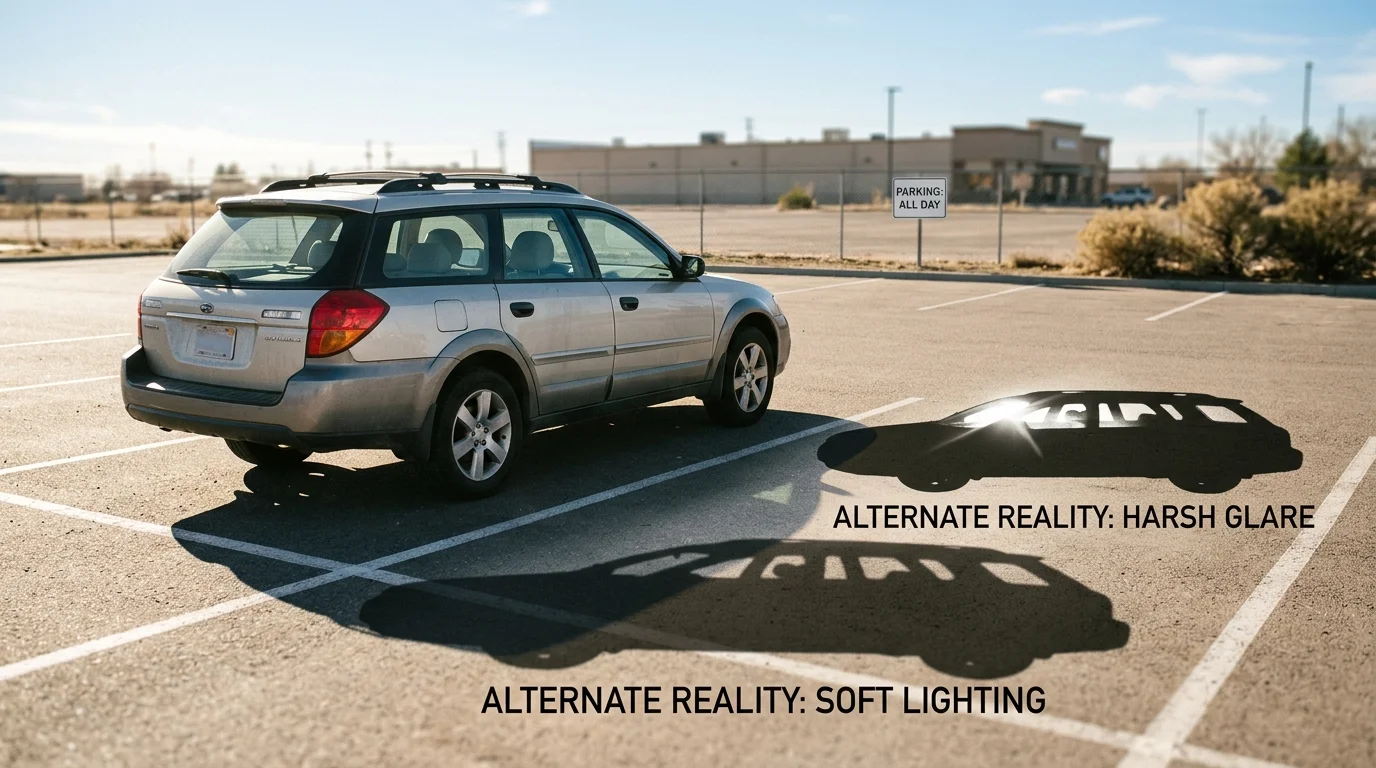
Your camera angle relative to the sun is the primary control lever for glare. Direct sunlight reflecting off the hood, windshield, or side panels creates harsh, blown-out spots that are difficult to recover in post-processing. Instead, position yourself so the light source is at a 45-degree angle to the vehicle rather than perpendicular to it. This creates dimension and highlights the car's contours without producing mirror-like reflections that wash out detail.
Avoid shooting directly into the sun or with the sun directly behind the camera pointing at reflective surfaces. If you're photographing on a lot with limited positioning flexibility, move the vehicle itself—even a 10-15 degree rotation can shift where light hits the paint and glass. Shoot from a slightly lower angle when possible; this reduces the amount of sky (which acts as a giant reflector) in the frame and minimizes glare bouncing off the windshield and roof.
Using Lens Hoods and Diffusers
A lens hood is one of the simplest tools to reduce glare. It blocks stray light from entering the lens directly, cutting down on lens flare and internal reflections that degrade image clarity. For automotive work, a standard rubber or plastic hood appropriate to your lens focal length is sufficient.
Diffusers work differently—they soften harsh light before it hits the car. A translucent diffusion panel (or even a white bedsheet in a pinch) positioned between the sun and the vehicle scatters direct sunlight into softer, more even illumination. This eliminates the hard shadows and bright reflections that create glare on metallic paint. Overcast days naturally provide this diffusion, which is why cloud cover is ideal for car photography. According to MotorDesk's automotive photography guide, shooting during overcast conditions gives even lighting without harsh shadows or glare, while golden hour—shortly after sunrise or just before sunset—provides soft, warm light that reduces unwanted reflections and enhances the car's contours.
Timing matters as much as technique. Midday sun (10 a.m.–3 p.m.) produces the harshest, most directional light and the strongest glare. Schedule shoots for early morning, late afternoon, or overcast days whenever possible. This single adjustment often eliminates the need for extensive editing later.
Method 2: Post-Processing with Desktop Software (Photoshop & Lightroom)
While shooting technique prevents glare, post-processing removes what you couldn't avoid on set. Desktop software like Photoshop and Lightroom offer precision tools for glare elimination, but they demand time, skill, and patience. For dealerships processing dozens of cars weekly, this workflow can become a bottleneck—yet for selective touch-ups or complex reflections, these tools remain industry standards.
The choice between Photoshop and Lightroom depends on your workflow. Lightroom excels at batch adjustments across entire photo libraries, making it ideal for reducing overall glare across multiple inventory shots through exposure, highlights, and clarity sliders. Photoshop, conversely, handles surgical, pixel-level corrections on individual problem areas. Most professionals use both in tandem: Lightroom for global tone adjustments, Photoshop for localized fixes.
Photoshop Reflection Removal Tool (2024+)
Adobe's Reflection Removal feature, launched in December 2024 as part of Camera Raw updates, represents a significant leap in automated glare handling. The tool analyzes reflections on surfaces and intelligently reconstructs the underlying area using generative AI. To use it, open your car photo in Photoshop, select the Reflection Removal tool from the toolbar, and paint over the glare-affected region. The algorithm processes the selection and removes the reflection while preserving the car's surface detail.
However, according to Fstoppers' analysis, Adobe's tool works best on large, flat reflections like window glass covering most of the frame. For smaller, distributed glare spots on curved surfaces—such as windshield corners or chrome trim—the tool struggles. Currently, it processes only RAW files, though JPEG and HEIC support is planned. For dealerships shooting JPEGs directly from smartphone or entry-level cameras, this limitation matters. Processing takes 10–30 seconds per image, depending on selection complexity.
The learning curve is gentle: the interface mirrors other Adobe selection tools, so photographers familiar with Photoshop adapt quickly. Results are often impressive on ideal reflections but require manual touch-up on stubborn or irregular glare.
Healing Brush and Clone Stamp Techniques
For windshields, chrome trim, and curved metallic surfaces where Reflection Removal falls short, the Healing Brush and Clone Stamp remain the gold standard. The Healing Brush samples nearby pixels and blends them intelligently over the glare area, preserving texture and lighting. The Clone Stamp copies pixels directly, offering more control but requiring careful blending to avoid obvious duplications.
Start with the Healing Brush on low opacity (30–50%) and build coverage gradually. This prevents over-processing and maintains natural appearance. For chrome or highly reflective surfaces, sample from an adjacent area with similar angle and lighting. Clone Stamp works better on uniform surfaces like painted metal; use it to copy clean paint over glare spots, then soften edges with the Healing Brush.
Time investment is substantial—removing glare from a single car's windshield and trim can consume 15–45 minutes, depending on severity. Skill matters: poor technique creates blotchy, artificial-looking results that damage credibility. Dealerships considering in-house editing must budget training time and accept that junior staff will produce inconsistent output initially.
For dealerships seeking faster alternatives, AI-powered background replacement tools now handle entire photo transformation in seconds, eliminating the need for manual glare removal altogether by replacing problematic backgrounds with studio-quality options.
Method 3: AI-Powered Glare Removal (Fastest Solution for High Volume)
While manual editing offers control, it demands time most dealerships don't have. AI-powered glare removal eliminates this bottleneck entirely. According to NOBG.space research on AI versus traditional photo editing, AI tools complete the same edits in 3–5 seconds compared to 15–30 minutes for skilled manual work. For dealerships managing 50+ vehicles monthly, this difference translates directly to operational cost and speed.
Rather than surgically removing reflections one by one, modern AI systems take a fundamentally different approach: they analyze the entire image, detect problematic reflections and glare zones, and intelligently reconstruct clean surfaces using neural networks trained on thousands of automotive images. The result is consistent, artifact-free removal across windshields, chrome trim, paint, and glass—without the blotchy, artificial appearance that plagues amateur Photoshop work.
How AI Glare Removal Works
Neural networks detect glare by identifying pixels with abnormally high brightness values and sharp contrast edges characteristic of reflections. The system then uses inpainting—a technique that reconstructs missing or problematic areas by analyzing surrounding pixels and learned patterns from training data. For a windshield reflection, the AI doesn't just blur or clone; it understands the underlying glass texture and lighting geometry, then fills in a plausible, realistic surface. This happens in parallel across the entire image, not sequentially like manual cloning.
The technical sophistication matters because it prevents the telltale signs of poor editing: color banding, texture mismatches, or halos around corrected areas. Dealerships using these tools report that buyers notice professional quality immediately—images look naturally lit, not artificially processed.
Comparing AI Tools: Features and Pricing
| Tool | Speed | Batch Processing | Cost Per Image | Best For |
|---|---|---|---|---|
| Car Photo Booth | 10–30 sec | Yes (unlimited) | $3–7/mo (bulk) | High-volume dealerships; background + glare removal combined |
| Photoshop (AI Generative Fill) | 2–3 min | Limited | $20/mo (subscription) | Precise control; requires skill; slower workflow |
| Luminar AI | 45–90 sec | Yes | $99/year | Photography enthusiasts; less automotive-specific |
| Remove.bg (API) | 5–10 sec | Yes | $0.05–0.10/image | Background removal; limited glare-specific tools |
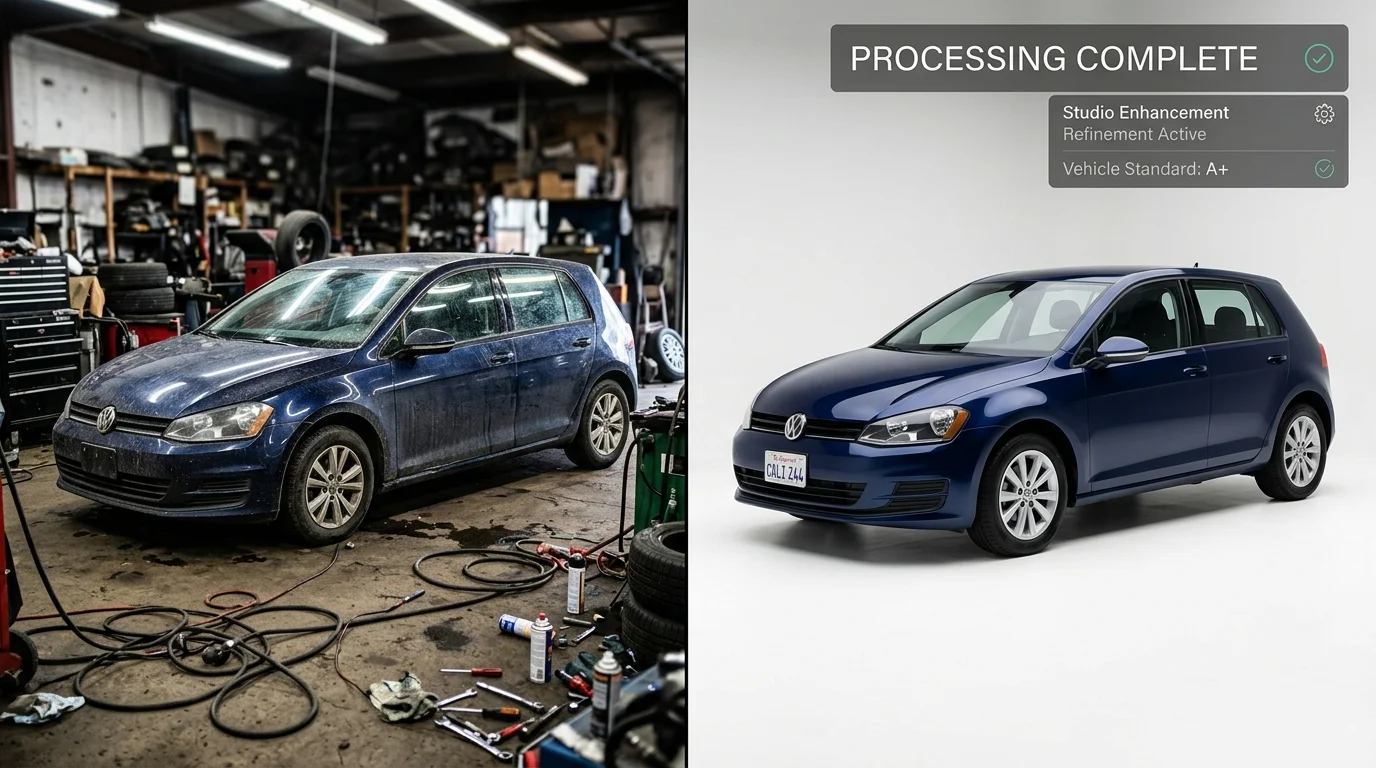
Car Photo Booth stands out for dealerships because it combines glare removal with AI-powered background replacement—solving two problems simultaneously. A single lot photo transforms into a studio-quality asset in seconds: glare vanishes, background changes to showroom or neutral white, and the vehicle emerges polished and professional. Pricing scales with volume; dealerships processing 500+ images monthly see costs drop to $3 per vehicle, versus $30–50 for traditional studio photography or $150+ for skilled retouchers.
The speed advantage compounds over time. Processing 100 cars manually costs 25–50 hours of labor. The same batch through AI takes 17–50 minutes. For Turo hosts and rental fleets managing constant inventory turnover, this efficiency is transformative.
Method 4: Mobile Apps for On-the-Go Glare Fixes
Mobile apps offer convenience for dealerships and Turo hosts who need quick edits without returning to a desktop. Snapseed (Google's free app for iPhone and Android) includes a Healing tool designed to remove glare and reflections directly from your phone. TouchRetouch is another popular option, with a free version available and paid plans starting at $3.99 per month, offering similar glare-removal capabilities through its clone and healing brushes.
However, mobile solutions come with real limitations. Smaller screens make precise glare selection difficult—you're working with your thumb on a 6-inch display rather than a mouse and monitor. Processing speed is slower on mobile hardware, and export quality typically maxes out at 2K resolution, not the 4K standard dealerships need for professional listings. These apps excel as emergency fixes: a Turo host photographing a last-minute rental, or a dealer touching up a secondary listing before posting.
For primary inventory photography, mobile apps remain a backup strategy. The workflow friction—shooting on phone, editing on phone, exporting at lower resolution—compounds when you're managing 50+ vehicles monthly. Desktop software or AI-powered solutions like Car Photo Booth process batches in minutes and deliver studio-quality 4K exports without manual retouching. Mobile apps shine for one-off corrections, not volume operations.
Best for: Emergency touch-ups, secondary listings, Turo hosts managing single rentals, photographers without laptop access.
Choosing the Right Method: Speed, Cost, and Quality Tradeoffs
Not every dealership operates at the same scale, and not every glare-removal method fits every budget. The right choice depends on three variables: how many vehicles you photograph monthly, how much you're willing to spend per image, and whether you prefer hands-on control or automation.
| Method | Time per Photo | Cost per Photo | Learning Curve | Best for 50+ Cars/Month | Final Quality |
|---|---|---|---|---|---|
| Shooting Technique | 2–5 min setup | $0 | Low | ❌ No | Good (if executed well) |
| Desktop Software | 10–30 min | $0.50–$2 | Medium–High | ⚠️ Slow | Excellent |
| Mobile Apps | 5–10 min | $0–$5 | Low | ❌ No | Good (2K max) |
| AI Background Replacement | 30 sec–2 min | $3–$5 | None | ✅ Yes | Excellent (4K) |
For small operations (5–15 cars/month): Master your shooting technique first. Prevent glare on set, and you eliminate post-processing entirely. This costs nothing and scales to your workflow.
For mid-size dealers (15–50 cars/month): Desktop software like Photoshop or Lightroom gives you pixel-perfect control. You'll invest time learning, but you own the process. Budget 15–20 minutes per vehicle for glare removal and retouching.
For high-volume dealerships (50+ cars/month): AI-powered solutions like Car Photo Booth eliminate the time bottleneck. At $3–$5 per car and 30 seconds of processing, you can transform 100 vehicles in under an hour while maintaining 4K studio-quality exports. The math is simple: manual editing at 15 minutes per car × 100 vehicles = 25 hours of labor. AI processing at 30 seconds × 100 vehicles = 50 minutes.
The quality difference narrows when you understand each tool's strengths. Desktop software excels at surgical precision—removing a specific reflection while preserving fine detail. AI removes glare by replacing the entire background with a professional studio setting, eliminating the problem rather than fixing it. For Turo hosts and dealers building consistent online catalogs, this approach delivers faster, more uniform results.
Your volume and tolerance for manual work determine the winner. Choose speed if you're managing inventory at scale; choose control if you're fine-tuning premium listings one at a time.
Transform Your Car Photos: Start Removing Glare Today
You've now seen five proven methods to eliminate glare—each suited to a different workflow and budget. The choice isn't about finding the "best" method universally; it's about matching your operation's constraints and ambitions.
Start where you are. If you're shooting one or two vehicles weekly, perfecting your shooting technique costs nothing and prevents glare before it happens. Add basic post-processing in Lightroom once you're comfortable with exposure and angle adjustments. This foundation alone transforms most dealership photos from amateur to presentable.
Scale matters. When inventory grows to 20, 50, or 100 vehicles monthly, manual editing becomes a time sink. This is where AI-powered solutions like Car Photo Booth shift the economics entirely. Instead of spending 15–20 minutes per car in Photoshop, you process your entire lot in under an hour while maintaining 4K studio-quality results. The per-image cost drops to $3–$5, and consistency across your catalog improves dramatically because every photo receives identical professional treatment.
Mobile apps fill the gap for quick touch-ups on the lot—useful when you need fast fixes without returning to your desk. Desktop software remains the gold standard for precision work on premium vehicles where every reflection matters.
The real ROI isn't in the tool itself. Professional-looking photos drive measurable increases in buyer engagement and conversion rates. Glare-free, studio-quality images build trust and reduce returns caused by mismatched expectations.
Ready to test this? Try Car Photo Booth free for 10 images with no credit card required. See how AI background replacement eliminates glare by replacing the problem entirely rather than fighting it photo by photo.