

A systematic vehicle inspection checklist is the backbone of dealership operations. Whether you're managing a high-volume lot, operating as a Turo host, or running an independent auto business, comprehensive inspections protect your bottom line, shield you from liability, and build the customer trust that drives repeat sales. Without documented inspection procedures, you risk selling vehicles with hidden mechanical issues, facing legal disputes, and damaging your reputation in an industry where word-of-mouth reputation is everything.
Vehicle inspections serve a dual purpose: they safeguard your business by identifying problems before they become costly recalls or warranty claims, and they demonstrate diligence to customers who increasingly expect transparency about what they're buying. Proper documentation also streamlines your workflow, reduces back-and-forth communication with mechanics or detail teams, and creates an audit trail that protects you if disputes arise.
Quick Answer: A vehicle inspection checklist is a standardized, documented process that systematically evaluates a car's mechanical, cosmetic, and structural condition before sale or rental. Auto dealers need one because it prevents costly mistakes, ensures regulatory compliance, builds buyer confidence, and creates accountability across your team. A thorough checklist transforms inspection from an informal, inconsistent task into a repeatable system that scales with your business.
The sections that follow break down every critical inspection category—from engine and transmission diagnostics to paint condition, interior wear, and documentation verification. You'll learn how to prioritize items by risk level, identify common gaps that dealerships overlook, and implement verification methods that confirm each inspection point is genuine. When paired with professional vehicle photography—tools like AI background removal for car listings help present inspected vehicles in their best light—a solid inspection checklist becomes the foundation of a trustworthy, efficient operation.
Table of Contents
- Exterior Vehicle Inspection: Paint, Body, and Lighting Systems
- Body Panel and Paint Inspection
- Exterior Lights and Visibility Components
- Under the Hood and Engine Inspection Essentials
- Fluid Levels and Leak Detection
- Battery, Belts, and Hoses Assessment
- Tire, Brake, and Suspension System Checks
- Tire Condition and Wheel Alignment
- Brake System and Suspension Components
- Interior Condition, Electronics, and Safety Features
- Seat, Trim, and Interior Cleanliness Assessment
- Electronics, Climate Control, and Safety Systems
- Documentation, Photography, and Listing Preparation Strategy
- Creating Comprehensive Inspection Reports
- Preparing Vehicles for Professional Listing Photography
- Implementing a Systematic Inspection Checklist for Dealership Success
Exterior Vehicle Inspection: Paint, Body, and Lighting Systems

The exterior is what buyers see first—in online listings, showroom photos, and in person. A thorough exterior inspection catches cosmetic damage, structural concerns, and safety issues that affect both vehicle value and buyer confidence. This section covers the systematic evaluation of body panels, paint condition, lighting systems, glass, and trim that form the foundation of your vehicle condition assessment and support your car lot business plan.
Body Panel and Paint Inspection
Begin by walking around the vehicle in natural light, examining each panel for dents, creases, scratches, and rust. Look for misaligned gaps between doors, fenders, and hood—uneven spacing indicates previous collision repair or poor panel fit. Check for overspray on trim, rubber seals, or adjacent panels, which signals amateur touch-up work or incomplete refinishing.
Use a paint depth gauge to measure coating thickness on multiple spots per panel. Factory paint typically measures 100–150 microns; readings above 200 microns suggest repainting. Document any areas with significantly different readings, as this reveals repair history that buyers need to know. Inspect for clear coat failure, characterized by haziness, peeling, or orange-peel texture. Look under the hood and in the trunk for rust on frame rails, suspension components, and structural welds—surface rust is cosmetic, but deep pitting compromises safety.
Pay special attention to common rust zones: wheel wells, door bottoms, rocker panels, and areas where trim meets body. Photograph all defects from multiple angles; these images become part of your inspection record and help when preparing professional listings. When you later enhance vehicle photos with professional background replacement, knowing the true condition ensures your photography accurately represents the vehicle's state.
Exterior Lights and Visibility Components

Test all lighting systems with the engine running and ignition in the on position. Verify headlights (low and high beam), fog lights, parking lights, brake lights, turn signals, and daytime running lights function correctly. Check for cracked or cloudy lens covers, which reduce visibility and often require replacement. Inspect wiper blades for cracking, streaking, or missing rubber; test washer fluid spray and pump operation.
Examine all windows and mirrors for cracks, chips, or deep scratches. Verify that power windows and mirrors operate smoothly, and confirm that all trim pieces—door handles, trim rings, emblems—are secure and undamaged. Document any missing components or non-original replacements. These visibility and safety items are critical for buyer trust and regulatory compliance.
Under the Hood and Engine Inspection Essentials
A thorough under-hood inspection reveals the true mechanical health of a vehicle and is essential for building credibility in your dealership listings. Engine condition, fluid integrity, and component wear directly impact buyer confidence and resale value. This section guides you through systematic documentation of engine systems, helping you create transparent, accurate automobile inspection reports that support both regulatory compliance and professional photography preparation.
Fluid Levels and Leak Detection
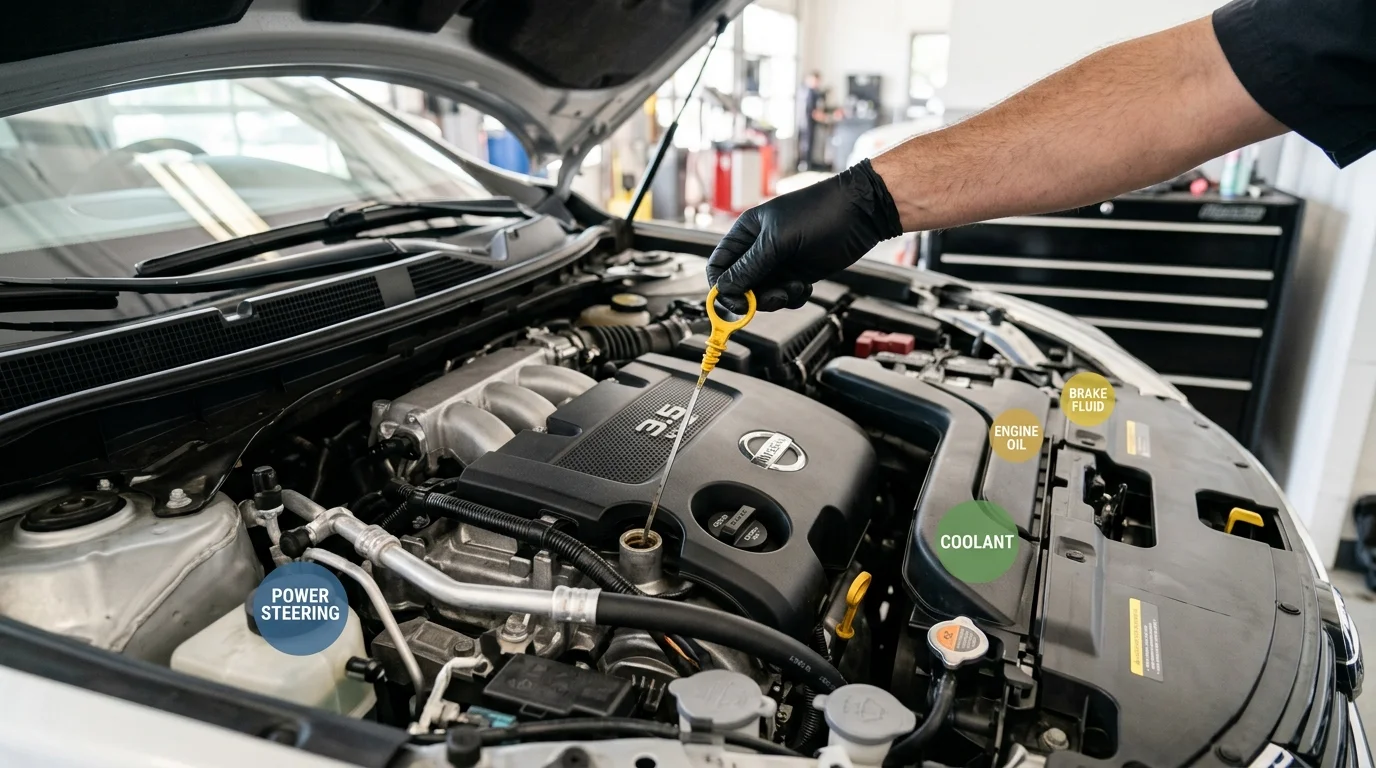
Begin your inspection with the engine cold to ensure accurate fluid readings. Check the oil dipstick first—the level should fall between the minimum and maximum marks, and the oil color should range from amber to light brown. Dark, gritty oil indicates inadequate maintenance and signals potential engine stress. Examine the oil cap and dipstick for metal particles or sludge, which suggest internal wear.
Inspect coolant levels in the reservoir (never open a hot radiator cap). The fluid should be bright green, orange, or pink depending on the vehicle's specification—cloudy or rusty coolant indicates corrosion or contamination. Check brake fluid in its transparent reservoir; it should be clear to slightly amber. Dark or cloudy brake fluid suggests moisture infiltration and requires immediate flushing.
Locate the transmission fluid dipstick (automatic transmissions) and verify the level when the engine is warm and idling. The fluid should be bright red and smell slightly sweet; dark red or burnt-smelling fluid indicates transmission stress. Power steering fluid should be clear or slightly amber in its reservoir.
Scan the engine bay floor and beneath the vehicle for active leaks. Minor seepage around gaskets differs from steady dripping—document the location, color, and severity of any leaks. Oil leaks appear dark brown or black; coolant leaks are typically bright green, orange, or pink; transmission fluid is red; and brake fluid is clear to amber. Photograph any puddles or stains for your inspection record.
Battery, Belts, and Hoses Assessment
Examine the battery terminals for corrosion—white, blue, or green crusty deposits indicate chemical buildup that reduces electrical conductivity. Clean terminals should show bare metal or minimal oxidation. Check that battery cables are firmly connected and show no signs of cracking or damage to the insulation. Test the battery voltage with a multimeter if available; a healthy battery reads 12.6 volts or higher at rest.
Inspect the serpentine belt (the long rubber belt driving multiple engine components) for cracks, fraying, or glazing. A cracked or severely worn belt will fail without warning, leaving the vehicle stranded. The belt should have minimal slack when pressed midway between pulleys. Check all visible hoses—radiator hoses, heater hoses, and bypass hoses—for brittleness, cracks, leaks, or soft spots. Squeeze hoses gently; they should feel firm, not mushy or rock-hard.
Examine all visible engine gaskets and seals for weeping or active leaks. Pay special attention to the valve cover gasket, intake manifold gasket, and head gasket area. A failing head gasket may show white, milky residue on the oil dipstick (indicating coolant mixing with oil) or visible steam from the exhaust. Document the condition of spark plug wires or coil packs if visible, noting any cracks or loose connections.
These under-hood findings form the backbone of your automobile inspection report and directly influence buyer perception. When you later enhance vehicle photos with professional background replacement, buyers will have confidence that the mechanical condition matches the polished presentation—transparency builds trust and accelerates sales.
Tire, Brake, and Suspension System Checks
Tire, brake, and suspension systems form the safety foundation of any vehicle. These components directly affect drivability, handling, and buyer confidence—especially when presenting inventory online. A thorough vehicle safety inspection of these systems protects dealership liability and ensures every car meets road-worthy standards before listing.
Tire Condition and Wheel Alignment
Tire inspection begins with tread depth measurement, the single most critical safety indicator. According to Michelin's tire safety standards, most states require a minimum of 2/32 of an inch of tread for passenger vehicles, though many manufacturers recommend replacement at 4/32 inch for optimal wet weather safety. Use a penny test as a quick check: insert a penny into the tread groove with Lincoln's head upside down. If you see the top of his head, tread is below 2/32 inch and replacement is mandatory.
Beyond tread depth, inspect sidewalls for cracks, bulges, cuts, or uneven wear patterns. Sidewall damage cannot be repaired and requires immediate replacement. Check tire pressure against the vehicle's door jamb specification (not the tire's maximum rating), and verify all four tires match in brand, size, and tread pattern. Mismatched tires compromise handling and alignment. Examine wheel alignment by looking for uneven wear—inner or outer edge wear signals alignment issues that affect steering response and tire longevity.
- Measure tread depth with depth gauge or penny test; document readings at multiple points per tire (~5 min)
- Inspect all four sidewalls for cracks, bulges, cuts, or dry rot; mark any damage (~3 min)
- Check tire pressure against door jamb spec; inflate or deflate as needed (~5 min)
- Verify tire matching (brand, size, tread pattern); note any mismatches (~2 min)
- Assess wear patterns for alignment or suspension issues; photograph uneven wear (~3 min)
Brake System and Suspension Components
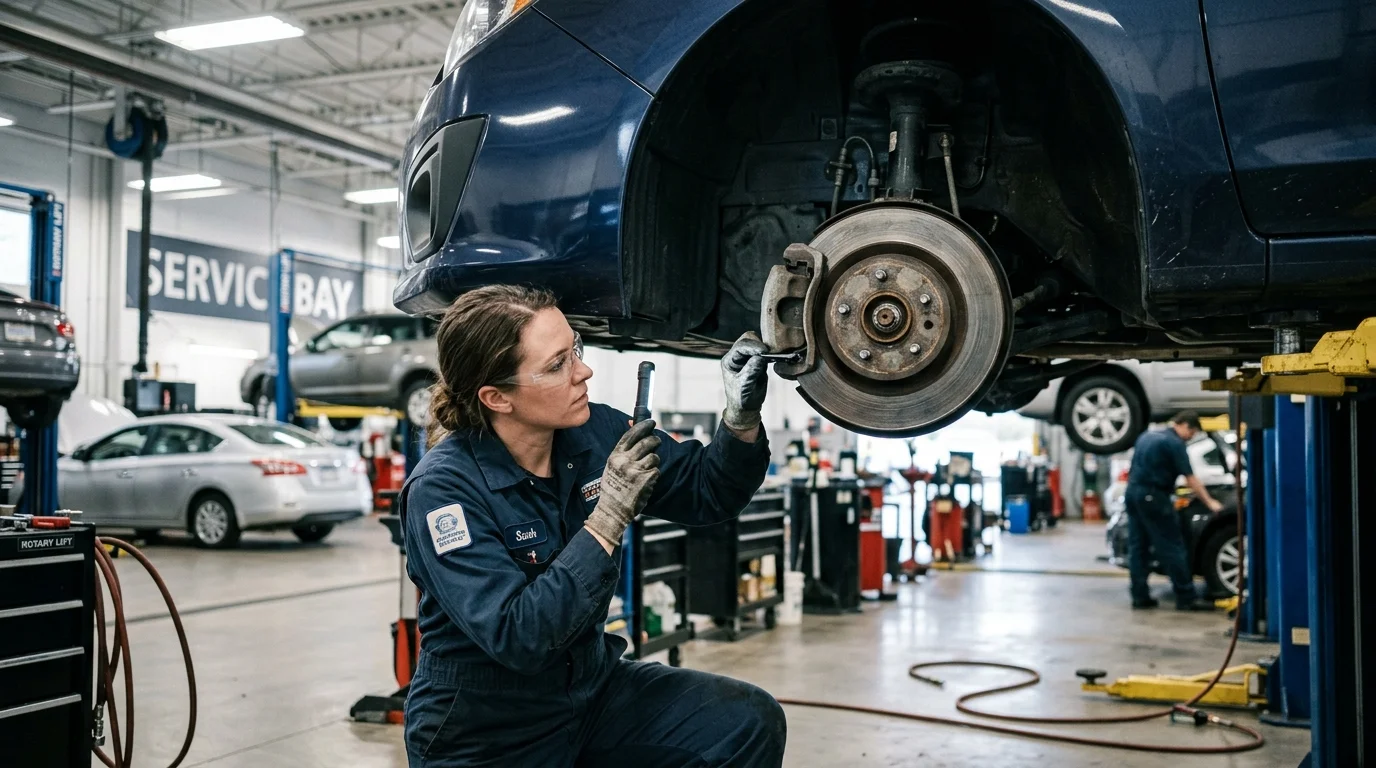
Brake system assessment requires visual and tactile evaluation. New brake pads typically measure between 10mm and 12mm thick; the minimum safe replacement threshold is 3–4mm according to manufacturer specifications. Inspect brake pads through wheel spokes without removing wheels when possible. Listen for brake wear indicators—a high-pitched squealing sound signals pad wear. Check brake fluid color and level; fluid should be clear to light amber, never dark brown or black (indicating contamination or overheating). Soft or spongy brake pedal feel suggests air in the lines or fluid degradation.
Suspension components require careful visual inspection. Look for leaking shock absorbers or struts—oil weeping indicates internal seal failure. Press down on each corner of the vehicle; it should rebound smoothly once or twice, not oscillate repeatedly. Inspect suspension bushings, springs, and control arm connections for cracks, separation, or excessive play. Clunking sounds during suspension checks signal worn components. Check steering for excessive play at the wheel—more than 1–2 inches of wheel movement before the front wheels respond indicates tie rod wear or steering box problems.
- Inspect brake pads through wheel spokes; measure thickness if visible (~5 min per wheel)
- Check brake fluid level and color; top up or flush if discolored (~3 min)
- Test brake pedal feel; confirm firm resistance, no sponginess (~2 min)
- Listen for brake wear indicators during test drive (~5 min)
- Examine shock absorbers and struts for oil leaks or damage (~5 min)
- Bounce suspension at each corner; verify smooth rebound (~3 min)
- Inspect suspension bushings and control arm connections for cracks (~5 min)
- Check steering play at the wheel; confirm responsive feel (~3 min)
Once these mechanical systems pass inspection, professional presentation becomes critical. When you enhance vehicle photos with professional background replacement, buyers gain confidence that the polished visual presentation reflects genuine mechanical integrity—transparency in both inspection and photography accelerates sales and reduces post-purchase disputes.
Interior Condition, Electronics, and Safety Features
Once the mechanical systems check out, the interior becomes your vehicle's silent salesman. Buyers spend considerable time inside the cabin during test drives, and they notice every scuff, every non-functional button, and every warning light on the dashboard. A thorough interior inspection documents the true usability of the vehicle and directly influences purchase confidence. This is where vehicle condition documentation transitions from mechanical integrity to the sensory experience that closes deals.
Seat, Trim, and Interior Cleanliness Assessment
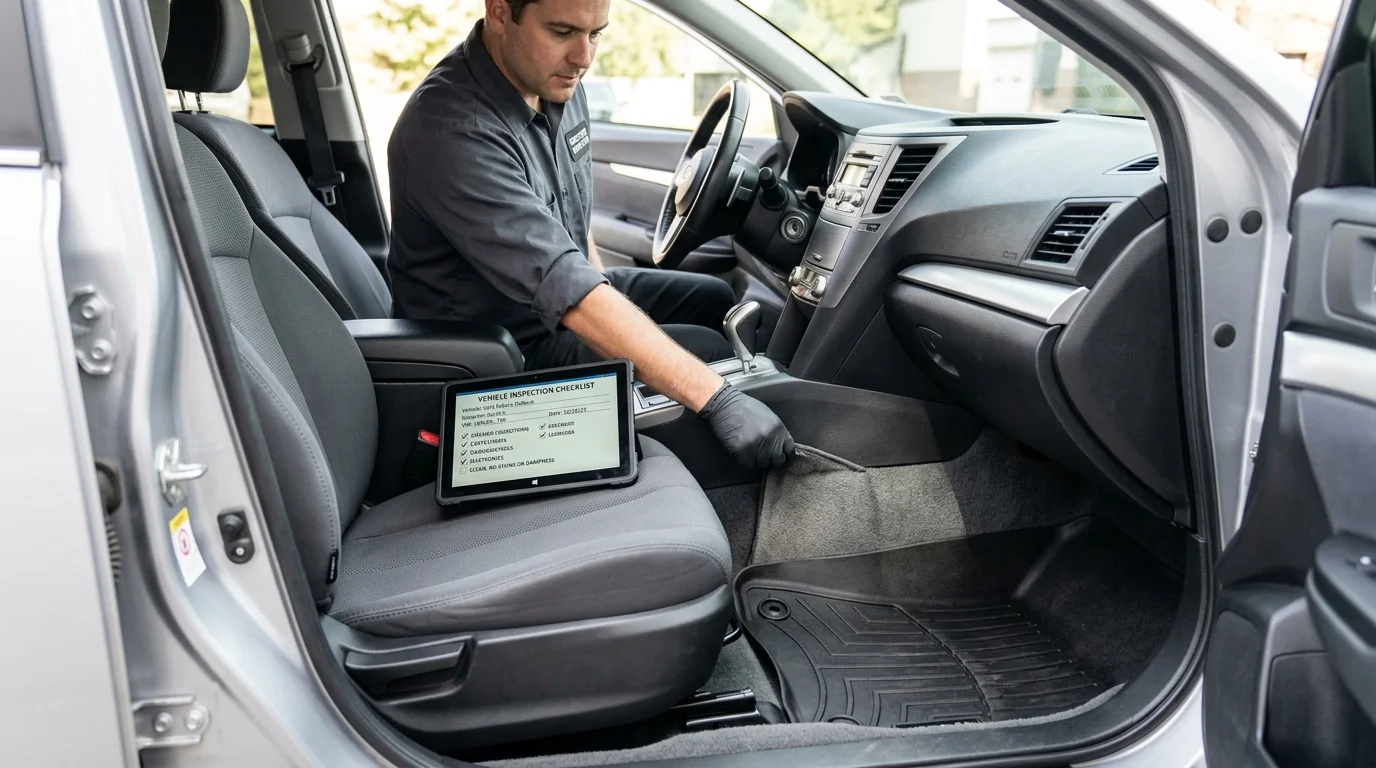
Begin by examining all seating surfaces for tears, stains, and wear patterns that reveal actual usage history. Run your hands across fabric or leather to detect damage that photographs might miss—small rips expand during ownership, and stains compound buyer hesitation. Check seat adjusters in all directions: lumbar support, height, tilt, and forward-backward movement. A seat that won't adjust properly signals either mechanical failure or electrical malfunction, both costly repairs that buyers will use as negotiation leverage.
- Inspect all seat upholstery for tears, burns, stains, and discoloration (~5 min)
- Test seat adjusters (lumbar, height, tilt, slide) in all positions (~3 min)
- Check seat heating and cooling functions if equipped; verify on/off and temperature control (~2 min)
- Examine carpets and floor mats for stains, water damage, or odors indicating past flooding (~5 min)
- Inspect dashboard for cracks, peeling trim, or sun damage (~3 min)
- Check door panels and armrests for cracks, loose trim, or damage (~3 min)
- Verify all interior lights function (dome light, map lights, door courtesy lights) (~2 min)
- Assess overall cleanliness; note any pet hair, food debris, or odors requiring detailing (~3 min)
Interior cleanliness directly affects online listing appeal. When you present vehicle photos with professional background replacement, a clean, well-maintained interior becomes the focal point—buyers perceive mechanical care as extending to cosmetic care.
Electronics, Climate Control, and Safety Systems
The dashboard is a command center of electrical systems, and every non-functional control raises red flags about overall vehicle maintenance. Climate control failures are particularly costly to repair and immediately reduce buyer interest. Safety systems require special attention because they're non-negotiable legal requirements and critical for buyer protection.
- Test air conditioning at all fan speeds and temperature settings; listen for compressor engagement (~3 min)
- Test heating system on high and low settings; verify warm air reaches all vents (~2 min)
- Check defrost function front and rear; confirm adequate airflow (~2 min)
- Test all power windows in all four doors; confirm smooth operation and full travel (~3 min)
- Test power door locks (lock/unlock from driver and passenger sides) (~2 min)
- Verify power mirrors adjust in all directions; check heated mirrors if equipped (~2 min)
- Test infotainment display for cracks, dead pixels, or unresponsive touchscreen (~2 min)
- Confirm backup camera displays clear image; check for cracks or condensation (~2 min)
- Inspect all warning lights on dashboard; note any illuminated indicators requiring diagnosis (~3 min)
- Test safety belt pretensioners by pulling firmly; confirm resistance and retraction (~2 min)
- Verify airbag system indicator shows no faults; check for deployed or missing airbags (~2 min)
- Test steering wheel controls (audio, cruise, phone) if equipped (~2 min)
Safety systems verification is non-negotiable documentation. Any airbag warning light, malfunctioning seat belt, or missing safety component must be disclosed and corrected before sale. These systems directly impact buyer liability and insurance considerations, making transparent documentation essential for dealership credibility.
Documentation, Photography, and Listing Preparation Strategy
Thorough inspection documentation transforms raw condition assessments into actionable business intelligence. Once you've completed the mechanical, safety, and cosmetic checks outlined in previous sections, the next critical step is capturing and organizing this data in a format that supports both dealership operations and buyer confidence. Proper documentation creates a paper trail that protects your business, accelerates the sales process, and directly influences how vehicles perform in online listings.
Creating Comprehensive Inspection Reports
A structured inspection report serves as the foundation of your vehicle documentation system. Rather than scattered notes, create a standardized digital format that captures condition levels, photographic evidence, and repair status for every vehicle entering your lot. This report should include date of inspection, mileage, inspector name, and a detailed breakdown of each system checked—exterior condition, mechanical health, interior functionality, and safety verification. Assign condition ratings (excellent, good, fair, poor) to major components so potential buyers and your sales team understand the vehicle's true state at a glance.
Digital documentation systems allow you to attach photos directly to inspection records, creating visual proof of condition that supports transparency. When a buyer questions why a vehicle is priced at a certain level, you can reference specific inspection findings backed by photographic evidence. This reduces disputes and builds credibility. Additionally, maintaining organized inspection data helps you identify patterns—if multiple vehicles from a particular auction source consistently show suspension issues, you can adjust sourcing strategy or negotiate better pricing. For your car lot business plan, this data becomes invaluable for forecasting repair costs and inventory turnover rates.
Include notes on any items requiring attention before sale: detailing work, mechanical repairs, reconditioning, or cosmetic touch-ups. Track completion dates and costs so you understand true acquisition expenses. This level of detail supports pricing decisions and helps you communicate value to buyers who want to know what work has been performed.
Preparing Vehicles for Professional Listing Photography
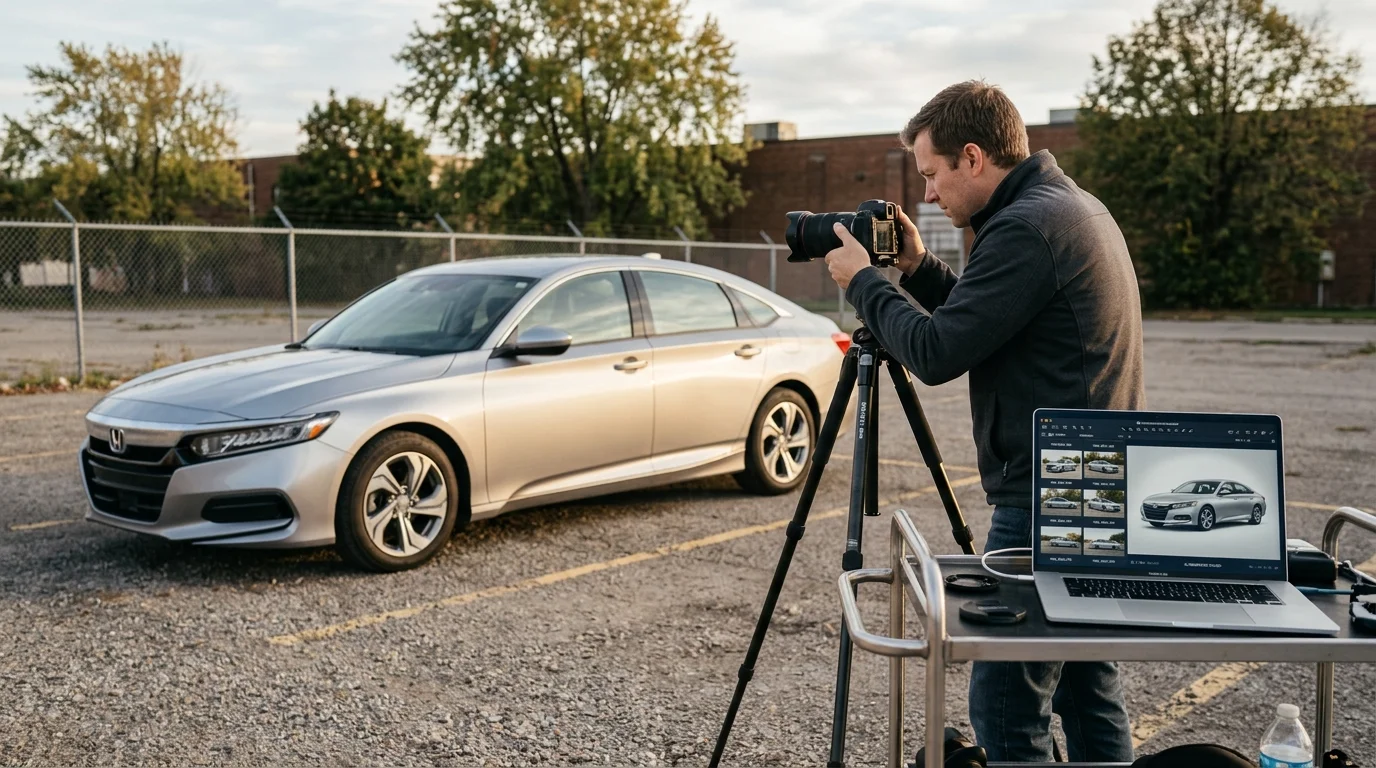
Inspection completion and condition documentation directly inform photography preparation. A vehicle that has passed all safety and mechanical checks should be thoroughly cleaned and positioned to showcase its best features. Begin with exterior detailing: wash and dry the vehicle completely, clean windows inside and out, remove any lot dust or debris, and ensure tires are clean and properly inflated. Interior detailing is equally important—vacuum thoroughly, wipe down surfaces, ensure seats are clean, and remove any personal items or clutter.
Positioning matters significantly in photography. Photograph vehicles at angles that highlight body lines and minimize visible defects. Shoot during optimal lighting conditions—early morning or late afternoon sunlight creates depth and dimension without harsh shadows or glare. Multiple angles (front three-quarter, driver side, passenger side, rear) provide buyers with comprehensive views.
Once images are captured, AI background removal and replacement tools can transform lot photos into studio-quality assets in seconds. Rather than displaying vehicles against cluttered dealership backgrounds, you can place them against professional backdrops—showroom settings, clean white backgrounds, or scenic environments—that elevate perceived value. According to research on AI-powered photo enhancement, dealerships using AI background replacement and photo enhancement tools can accelerate their listing process by over 80% and boost click rates by up to 57%. This technology ensures consistent, professional presentation across your entire inventory without expensive studio rentals or manual editing.
High-quality listing photos directly impact buyer engagement and inquiry rates. Vehicles that appear professionally photographed attract more serious buyers and command better pricing. The inspection documentation you've created provides the factual foundation; professional photography presents that quality visually. Together, they create a compelling, trustworthy listing that converts browsers into buyers.
Implementing a Systematic Inspection Checklist for Dealership Success
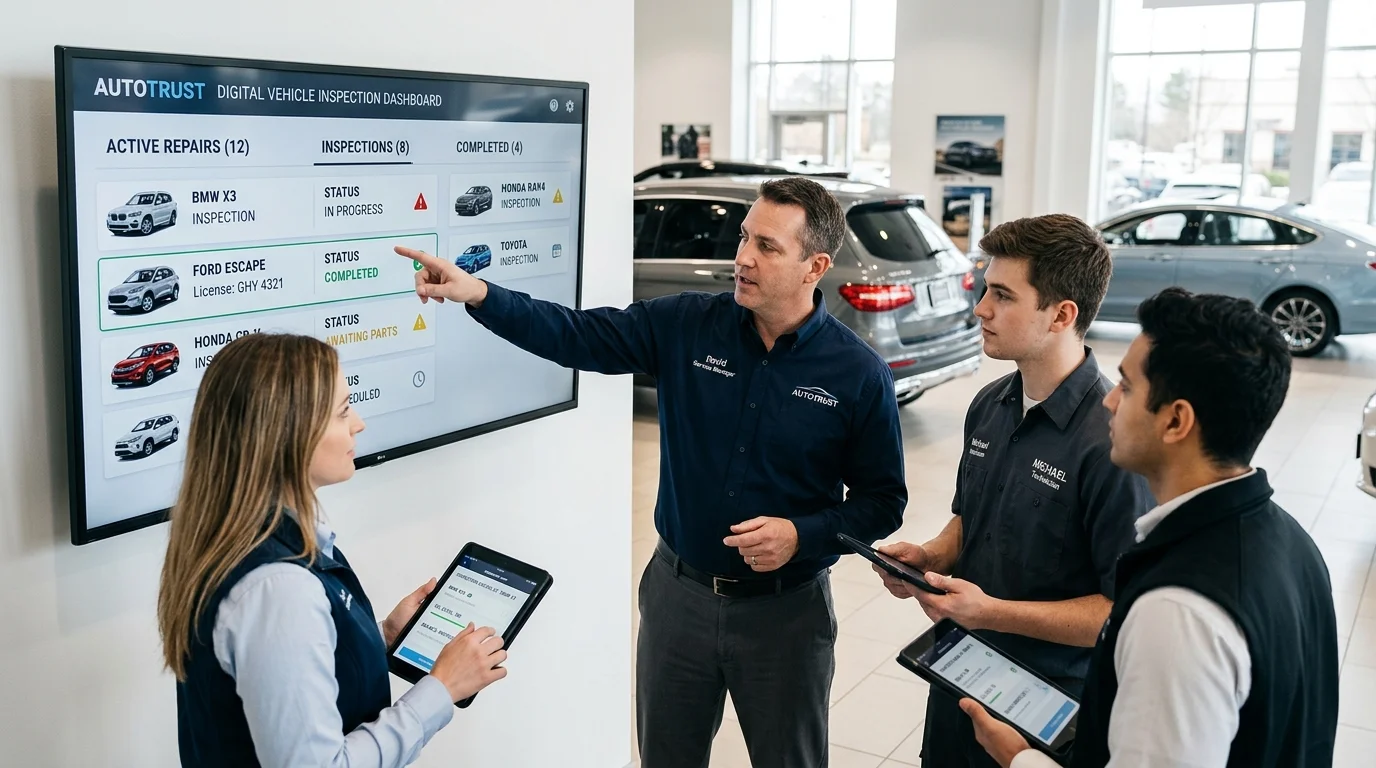
A comprehensive vehicle inspection checklist is far more than an administrative formality—it is the operational foundation that protects your dealership's reputation, ensures legal compliance, and accelerates inventory turnover. When executed systematically, inspection documentation creates a documented trail of quality assurance that builds buyer confidence and reduces post-sale disputes. Every vehicle that passes through your lot deserves the same rigorous evaluation: exterior condition, mechanical soundness, interior cleanliness, safety systems, and electronic functionality. This standardization eliminates guesswork and ensures no critical issue slips through to a customer.
The inspection process directly impacts your car lot business plan by reducing liability exposure, minimizing warranty claims, and enabling faster listing preparation. Vehicles with thoroughly documented condition reports can move to market faster because potential buyers see transparency rather than hidden concerns. When inspection documentation is paired with professional photography—such as AI-powered background replacement that transforms lot photos into studio-quality assets—you create a complete presentation that converts browsers into serious inquiries.
Beyond operational efficiency, systematic inspection protocols satisfy regulatory requirements across most jurisdictions. Detailed records protect you in disputes, support accurate pricing decisions, and provide the factual foundation for honest advertising. Dealerships that adopt structured inspection frameworks report faster inventory cycles, fewer customer complaints, and stronger online listing performance. The checklist framework presented throughout this guide equips your team with the tools to implement this standard across every vehicle, transforming inspection from a bottleneck into a competitive advantage that accelerates sales and strengthens buyer trust.