
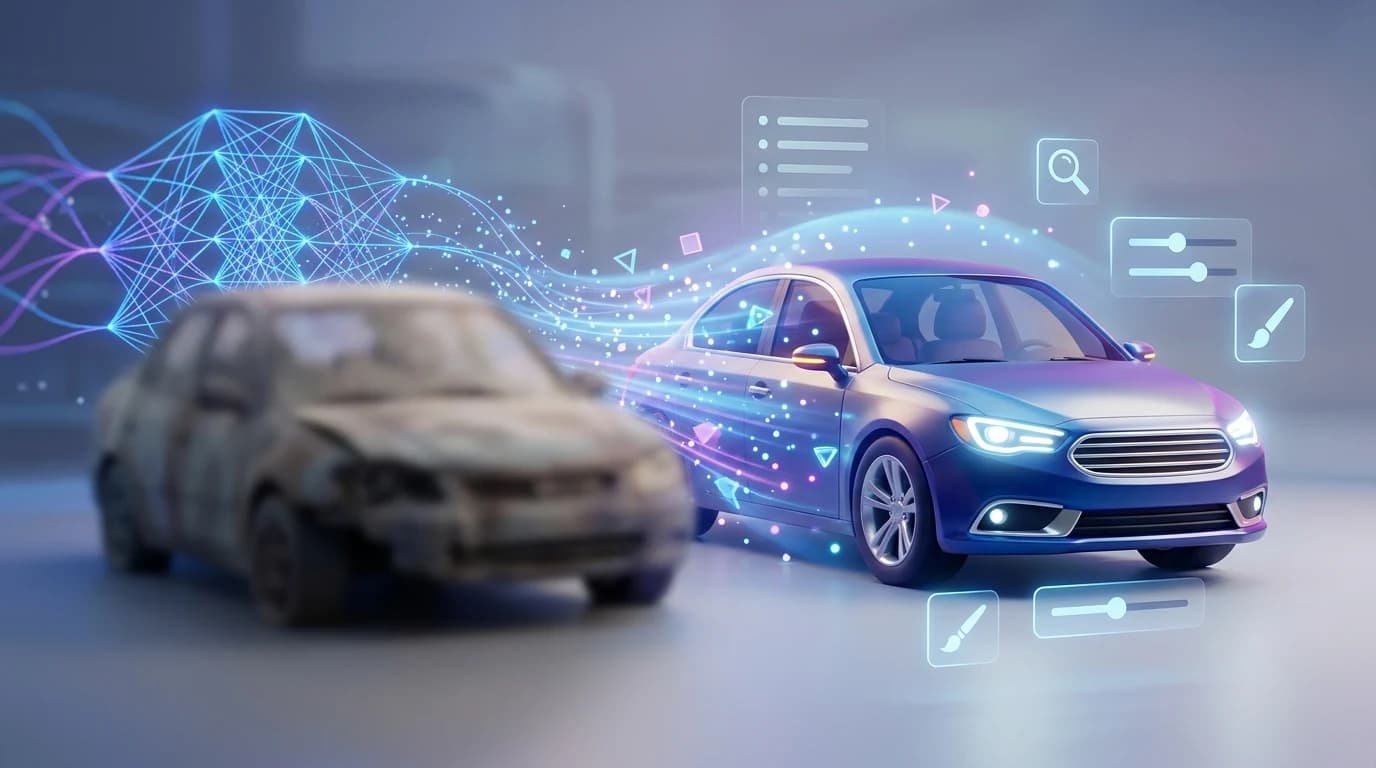
Blurry car photos are a silent revenue killer for automotive businesses. Whether it's camera shake during a quick lot shoot, poor lighting conditions, or an out-of-focus moment, a single unclear image can cost you a sale. Dealerships, Turo hosts, and auto photographers know this pain intimately: a vehicle might be pristine, but if the listing photo looks amateur, buyers scroll past. The stakes are higher in automotive sales because buyers rely heavily on visual clarity to assess condition, details, and value. A sharp photo builds trust; a blurry one signals neglect—whether that's true or not.
The good news is that modern solutions exist to rescue these shots. Blur isn't always permanent, and you don't need to reshoot everything from scratch.
Quick Answer: The fastest way to fix a blurry car photo is using AI-powered unblurring tools like Car Photo Booth, which automatically enhance clarity and sharpness in seconds. For manual control, photo editing software like Photoshop or Lightroom offers sharpening filters, though these require skill and time. AI solutions are ideal for dealers processing dozens of photos quickly, while manual methods work best for selective, high-value images where precision matters.
This guide walks you through both automated and manual approaches to restore clarity, explores why blur happens in the first place, and shows you when each method makes sense for your business. We'll also cover common pitfalls that make blur worse and explain the limitations of each technique—because not every blurry photo can be salvaged, and knowing when to reshoot is just as valuable as knowing how to fix one.
Table of Contents
- Common Causes of Blur in Automotive Photography
- Step-by-Step Guide to Fix Blurry Photos Using AI Technology
- Prerequisites
- Step 1: Upload Your Blurry Car Photo
- Step 2: Select Deblurring Intensity
- Step 3: Apply Additional Enhancements (Optional)
- Step 4: Preview and Compare
- Step 5: Export in High Resolution
- Step 6: Upload to Your Listings
- Common Mistakes to Avoid
- When AI Deblurring Has Limits
- Alternative Methods: Manual Photo Editing and Enhancement Techniques
- Preventing Blur: Best Practices for Capturing Sharp Automotive Photos
- AI Photo Enhancement vs. Professional Reshoot: Cost and Time Comparison
- Transform Blurry Car Photos Into Professional Listings Today
Common Causes of Blur in Automotive Photography
Understanding why a car photo blurs is the first step toward fixing it—or knowing when to reshoot. Blur rarely appears by accident; it stems from specific technical and environmental failures that compound when photographing vehicles on busy lots or in variable lighting.
Camera shake is the most common culprit. When you hold a camera by hand or mount it on an unstable surface, even slight movement during exposure creates visible blur. This becomes severe with slower shutter speeds, especially in low light or overcast conditions typical of dealership lots. According to iPhotography, camera shake becomes noticeable as blur when using a slow shutter speed, with longer exposures being most susceptible as the sensor remains exposed to light for extended periods.
Autofocus failure happens when your camera locks focus on the background instead of the vehicle, leaving the car itself soft. This is common when shooting near reflective surfaces—chrome trim, windows, or wet pavement—which confuse focus sensors.
Motion blur occurs when the vehicle or camera moves during capture. Turo hosts photographing cars in driveways or dealers shooting on active lots sometimes catch moving traffic or wind-blown details that register as blur.
Poor lighting forces slower shutter speeds, compounding camera shake. Harsh shadows across a vehicle's body also hide detail, making images appear less sharp even when technically in focus.
Low resolution and JPEG compression can introduce artificial blur. Aggressive JPEG compression below 50% quality discards fine detail and creates blocky artifacts that resemble blur, making a fuzzy photo fix more difficult than it appears.
Each cause demands a different solution—which is why diagnosis matters before you attempt any correction.
Step-by-Step Guide to Fix Blurry Photos Using AI Technology
AI-powered deblurring has fundamentally changed how automotive professionals restore clarity to imperfect shots. Unlike manual editing techniques that require hours of Photoshop work, modern AI tools analyze pixel patterns, reconstruct lost detail, and sharpen images in seconds—making them ideal for dealers and Turo hosts managing hundreds of listings simultaneously.
Prerequisites
Before you begin, ensure you have access to an AI deblurring platform (desktop software, web application, or mobile app), a stable internet connection, and the original blurry image file in JPEG or PNG format. Most AI tools process images within 10-30 seconds per photo. No advanced technical knowledge is required—these platforms are designed for speed and simplicity.
Step 1: Upload Your Blurry Car Photo
Open your chosen AI deblurring tool and locate the upload button. Select your blurry car image from your device or drag it directly into the interface. The system will immediately analyze the image to assess blur severity, identify the vehicle's edges, and prepare for processing. Expected result: The image preview appears in the editor, ready for enhancement.
Step 2: Select Deblurring Intensity
Most AI platforms offer preset intensity levels—light, standard, or aggressive. For automotive photography, start with "standard" intensity, which balances sharpness without introducing artificial artifacts. Light intensity works well for minor motion blur; aggressive settings suit severely degraded images. Pro tip: If your photo has selective blur (sharp background, blurry car), choose tools that allow masking to target only the vehicle.
Step 3: Apply Additional Enhancements (Optional)
Many platforms bundle deblurring with complementary tools: contrast adjustment, color correction, and noise reduction. For car photos, subtle contrast boost often reveals detail that deblurring alone uncovers. Avoid over-sharpening, which creates halos around edges and looks artificial. Expected result: The vehicle appears noticeably sharper with improved definition on chrome, paint, and trim.
Step 4: Preview and Compare
Examine the before-and-after preview side-by-side. Zoom into critical areas—headlights, grille, wheels—to verify the deblurring preserved fine detail without introducing distortion. If the result appears over-processed, reduce intensity and reprocess. Pro tip: Check for edge artifacts or color fringing, which indicate over-aggressive processing.
Step 5: Export in High Resolution
Download your restored image in the highest available resolution (typically 4K or 2K). Most platforms offer batch export, allowing you to process multiple photos and download them together—critical when managing large inventory. Save files in PNG for maximum quality or JPEG at 90%+ quality to avoid recompression artifacts.
Step 6: Upload to Your Listings
Place the sharpened image into your inventory management system, listing platform, or website. The restored clarity immediately improves perceived vehicle condition and attracts more qualified buyers. Professional-looking photos reduce inquiry response time and increase conversion rates.
Common Mistakes to Avoid
Over-processing: Pushing deblurring intensity too high creates artificial, plasticky textures. Symptoms include halos around edges and loss of natural paint texture. Solution: Use moderate settings and preview carefully before export.
Ignoring selective blur: If only part of your image is blurred (foreground sharp, background soft), applying uniform deblurring to the entire photo wastes processing power. Solution: Use masking tools to target only blurred regions.
Compressing before deblurring: Processing already-compressed JPEGs with low quality settings amplifies artifacts. Solution: Always deblur original or high-quality source files before any compression.
When AI Deblurring Has Limits
Severe motion blur—where the vehicle is completely streaked across the frame—often exceeds AI restoration capabilities. Extreme defocus (completely out-of-focus backgrounds) may not recover fine detail. In these cases, consider retaking the photo or exploring how to upscale car photos with AI to enhance remaining clarity.
For automotive professionals managing high-volume inventory, Car Photo Booth integrates AI sharpening within its background replacement workflow—processing blurry lot photos into studio-quality images with professional backdrops in a single step, eliminating the need for multiple tools and manual post-processing between deblurring and final export.
Alternative Methods: Manual Photo Editing and Enhancement Techniques
Traditional photo editing software offers granular control for those who already own licenses or prefer hands-on refinement. Adobe Lightroom and Photoshop remain industry standards, with Lightroom's Clarity slider and Texture adjustments providing straightforward ways to make a photo more clear without introducing excessive noise. The Unsharp Mask filter in Photoshop allows precise sharpening by targeting specific frequency ranges—useful when you need surgical precision on vehicle details like chrome trim or paint texture.
For dealerships working with tighter budgets, free alternatives like GIMP and Darktable deliver comparable sharpening and noise reduction capabilities. These tools excel at localized adjustments: you can sharpen the vehicle while preserving soft backgrounds, or reduce noise in shadow areas without affecting highlights. The trade-off is time—manual editing demands 5–15 minutes per image, compared to AI solutions that process in seconds.
Key manual techniques include:
- Sharpening filters (Unsharp Mask, High Pass) to enhance edge definition
- Clarity and Texture sliders to recover midtone contrast without over-processing
- Noise reduction (luminance and color) to clean grainy areas from high-ISO shots
- Local adjustments using masks to target only blurred regions
However, manual methods struggle with severe motion blur or extreme defocus—problems that require reshoot or AI intervention. Additionally, improving image quality manually doesn't address the core automotive photography challenge: transforming inconsistent lot photos into cohesive, professional inventory. Where manual editing sharpens individual images, solutions like how to sharpen photos with AI combine clarity enhancement with background replacement, delivering studio-quality results at scale without post-processing overhead.
For high-volume dealers, the time investment in manual refinement often outweighs the cost of automation.
Preventing Blur: Best Practices for Capturing Sharp Automotive Photos
The most efficient way to handle blurry photos is to avoid creating them in the first place. While AI tools can rescue imperfect shots, prevention through proper technique eliminates the need for post-processing altogether—saving time and preserving maximum image detail.
Camera Settings for Sharp Automotive Photography
Start with shutter speed. Fast shutter speeds of 1/1000th of a second or faster freeze motion and capture sharp detail, even when shooting outdoors or near moving traffic. Pair this with a low ISO—100 or 200 in bright conditions—to minimize noise while maintaining vibrant color and clarity. Use aperture settings between f/5.6 and f/8 to ensure the entire vehicle remains in sharp focus from bumper to bumper, avoiding the shallow depth-of-field problems that plague wider apertures.
Composition and Lighting Fundamentals
Stable camera positioning is non-negotiable. Use a tripod to eliminate hand-shake, especially in lower-light conditions where longer exposures become necessary. Position the vehicle perpendicular to natural light sources—ideally overcast daylight, which provides even illumination without harsh shadows that distract from the car's details. Avoid shooting directly into the sun, which creates lens flare and forces your camera to underexpose the vehicle.
Focusing Technique
Manual focus often outperforms autofocus in automotive settings. Lock focus on the vehicle's headlights or grille—the most visually prominent features—rather than relying on continuous autofocus, which can hunt and miss critical moments. Enable focus peaking or magnification on your camera's LCD screen to verify sharpness before capturing.
These fundamentals work together to produce sharp, consistent images that require minimal editing. When combined with professional background replacement—such as the studio-quality backdrops available through Car Photo Booth—sharp source images transform into gallery-ready inventory photos without additional sharpening or deblurring work.
AI Photo Enhancement vs. Professional Reshoot: Cost and Time Comparison
For automotive businesses, fixing blurry images shouldn't mean sacrificing margins or turnaround speed. Traditional solutions—hiring photographers or setting up studio shoots—carry hidden costs that erode profitability. Professional reshoots cost $30–$50 per vehicle, while physical photo booths require $25,000–$60,000 in upfront investment. These delays also slow time-to-market; dealerships using manual processes often take days to publish listings, missing early buyer interest.
AI-powered deblurring and enhancement, such as the technology behind Car Photo Booth, delivers studio-quality clarity in under 10 seconds—for as little as $3 per image at scale. This efficiency directly impacts revenue: dealerships using high-quality visuals see up to a 675% increase in VDP engagement, and 95% of car buyers report that professional images boost perceived vehicle value. With AI, a single employee can process dozens of lot photos daily without leaving the dealership, eliminating scheduling delays and travel fees.
| Solution | Cost Per Car | Time Per Image | Setup Required |
|---|---|---|---|
| Professional Photographer | $30–$50 | 1–2 days | High (scheduling, travel) |
| In-House Studio Booth | $25K–$60K | 30+ min | Full installation |
| AI Enhancement (Car Photo Booth) | From $3 | <10 seconds | None |
By transforming existing photos—blurry or poorly lit—into crisp, background-optimized images, AI eliminates the need for most reshoots. For dealerships and Turo hosts, this means faster listings, consistent quality, and higher conversion rates without recurring overhead. Learn more about enhancing image clarity in our guide to how to sharpen photos with AI.
Transform Blurry Car Photos Into Professional Listings Today
The reality for automotive professionals is clear: blurry photos cost sales. Whether you're a dealership managing hundreds of lot images, a Turo host competing for bookings, or a photographer juggling client deadlines, the ability to fix blurry images quickly determines your competitive edge. AI-powered deblurring eliminates the choice between expensive reshoot schedules and settling for mediocre inventory photos—you can transform existing shots into studio-quality listings in seconds.
Prevention matters, but it's not always practical. Lot lighting changes, smartphone cameras vary, and tight schedules mean imperfect captures happen. Rather than waiting for ideal conditions or hiring photographers to reshoot, modern automotive businesses use AI tools like Car Photo Booth to restore clarity and consistency across their entire catalog. Combined with professional background replacement, this approach delivers the polished, studio-ready aesthetic that drives buyer confidence and higher conversion rates.
Ready to reclaim lost sales from blurry photos? Start your free trial with Car Photo Booth today—no credit card required, instant results. Process your first batch of lot photos and see how quickly professional-quality images transform your online listings into revenue drivers.